|
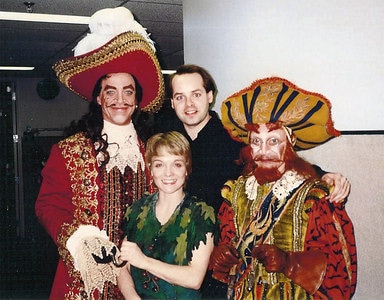
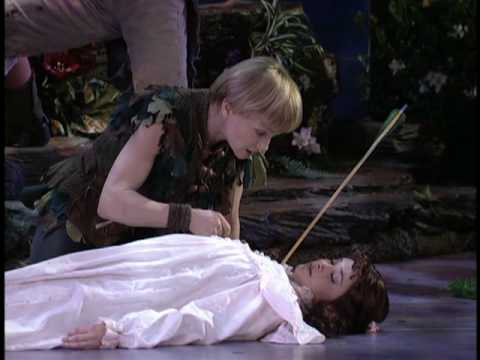
We need a new cosplay for our Renfaire circuit this year. We did Robin Hood in 2014 and Kilts in 2016 and the kids have all grown up and out of them. I wanted to do a pirate-y thing for one of the themed weekends, which we did before but there wasn't a theme, it was just stuff I threw together at the last minute. I posted on FB asking for suggestions but no one came up with anything that I felt like doing. I'd been kicking around the idea of Peter Pan for awhile mostly because Sarah wants me to make her wings after we did Midsummer. It's pirate-y and there's characters for the whole family with the bonus that it's easily recognizable. I am particularly fond of the 2003 movie with Jason Isaacs (Lucius Malfoy) as both Mr. Darling and Captain Hook. Sarah as Tink, Sylvan as Peter (because of course my little boy is never actually going to grow up at this point, might as well capitalize on it while we can), Seth as Hook, Rob as Smee, and me as Wendy. Stay tuned for sketches. Original Illustrations, 1911By David Bedford 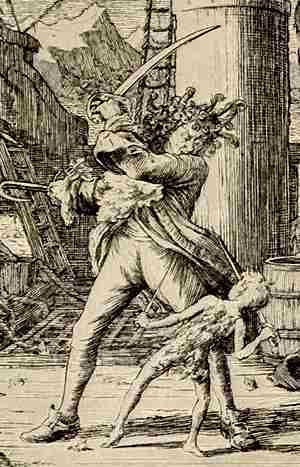 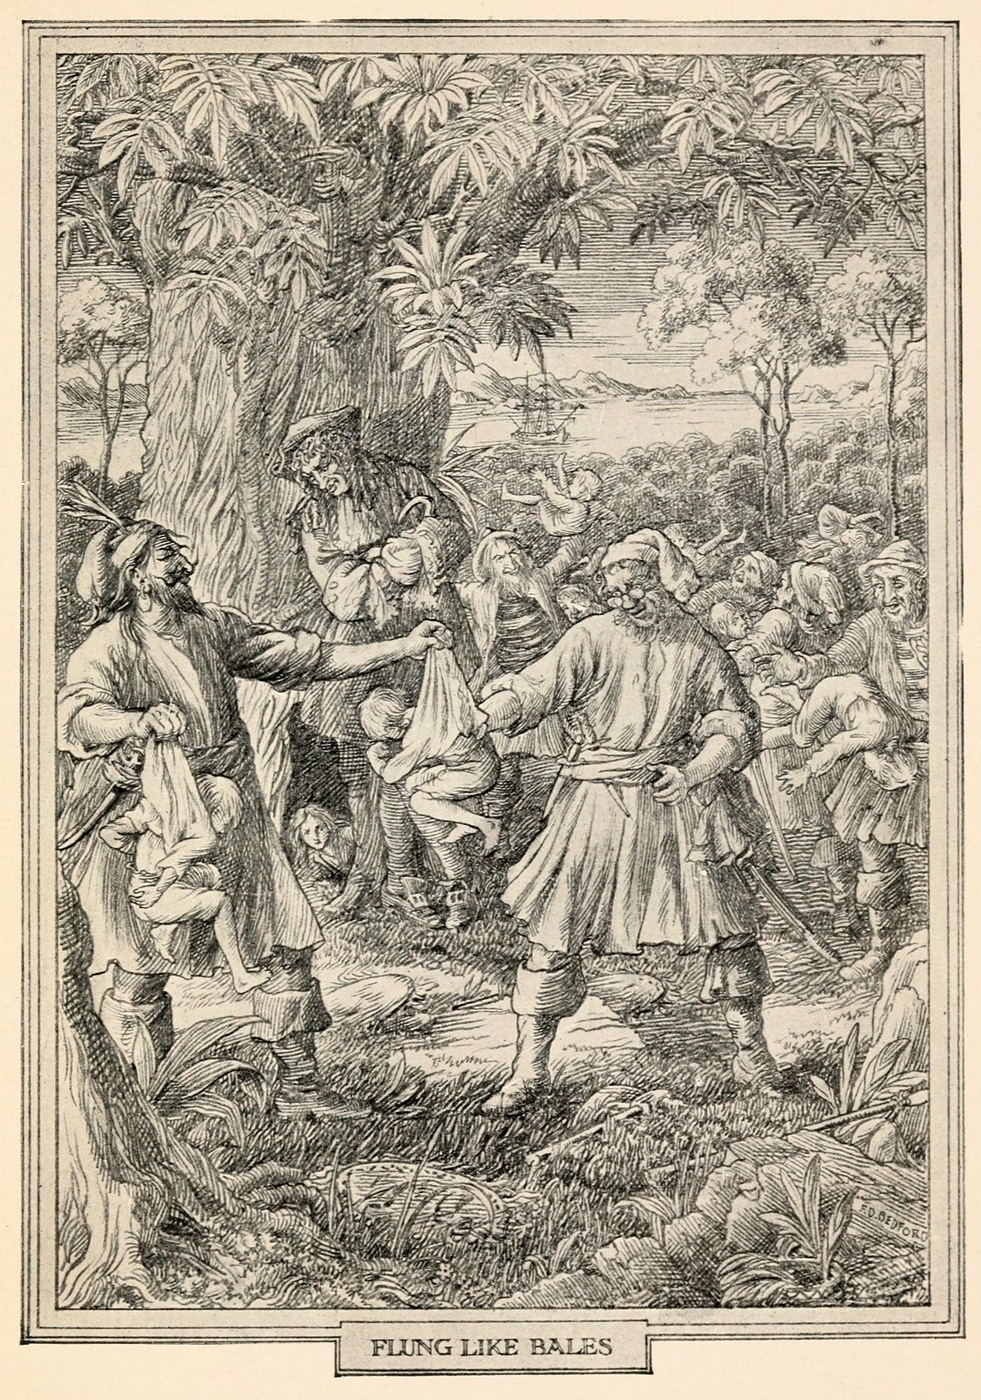 Disney's version, 1953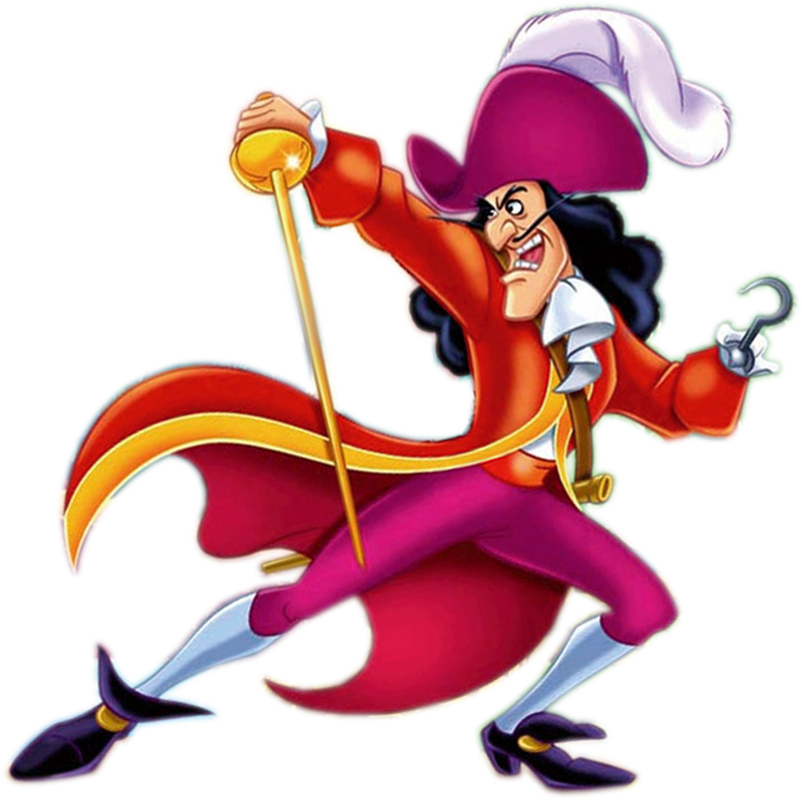  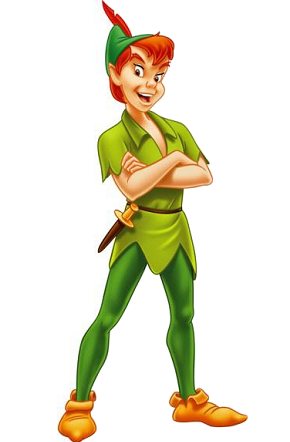  Mary Martin Version, 1955Costume Design by Motley. Tinkerbell was played by twinkling lights. 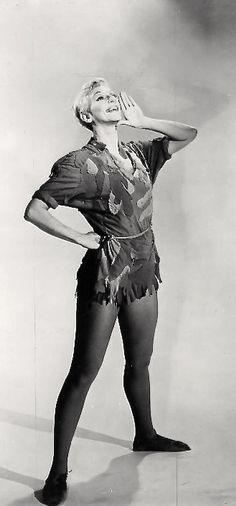 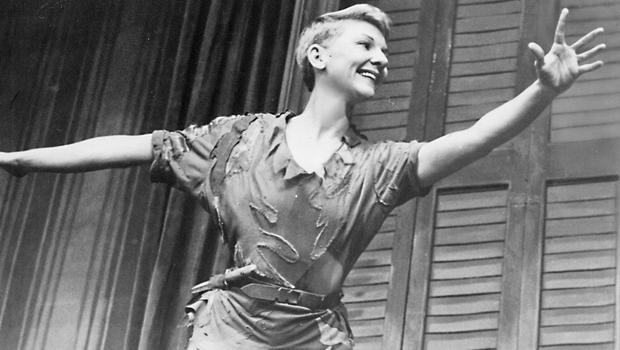 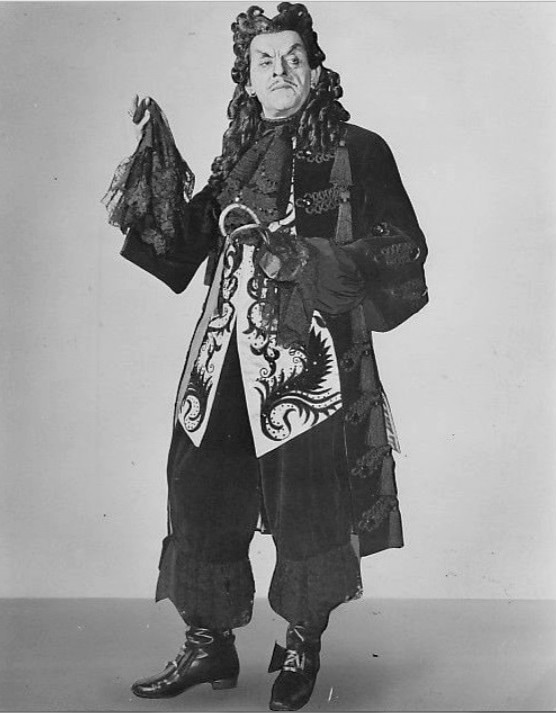 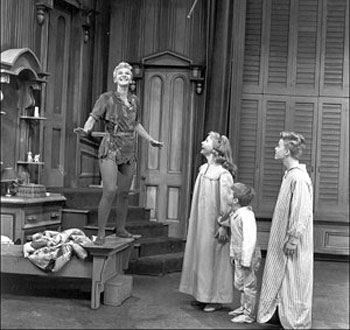 Hook, 1991Costume Design by Anthony Powell. I can't stand this version for the most part, I particularly hate the Tinkerbell costume. But the Smee costume is actually pretty good.   Cathy Rigby version, 1990JK Simmons was her Captain Hook. Peter pan, 2003Costume Design by Janet Patterson. The only thing I don't like about this version is that Peter is played as an American. I get why they did it, but I am American and nope, Peter is British. 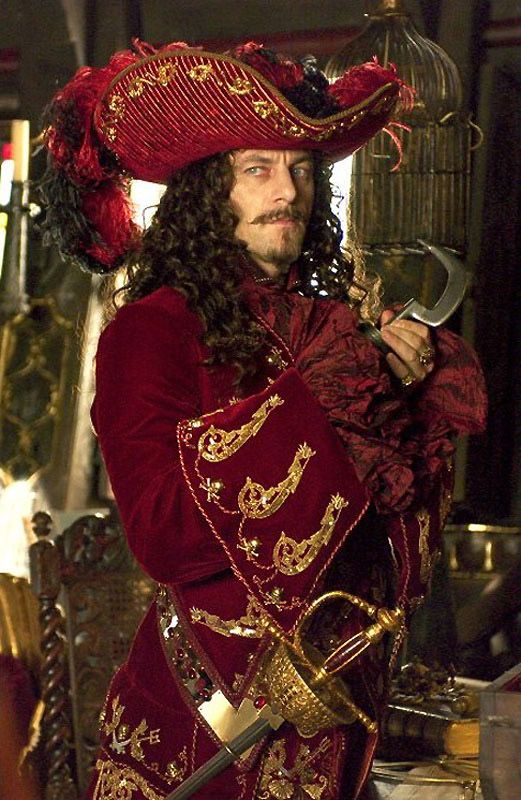  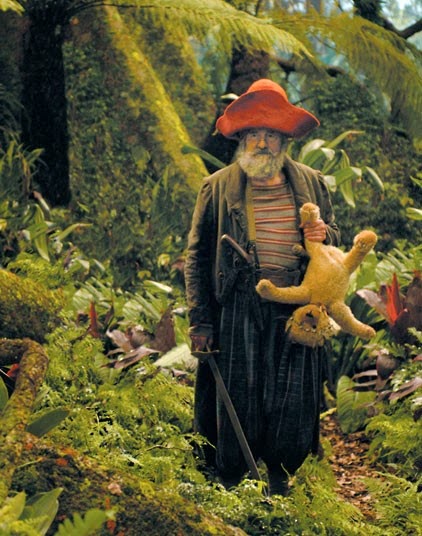 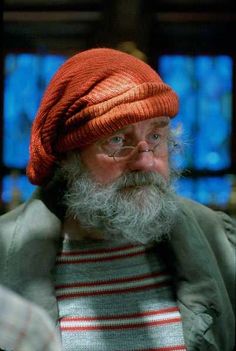 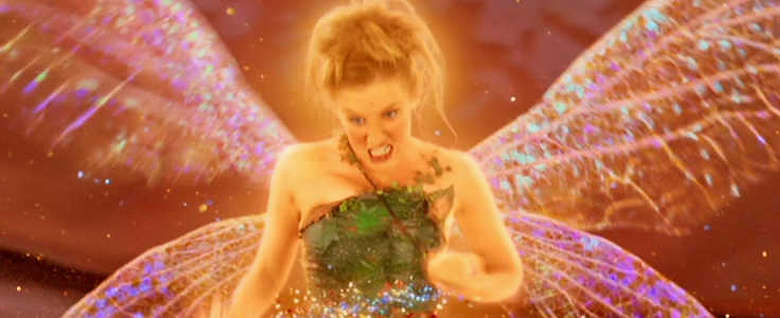 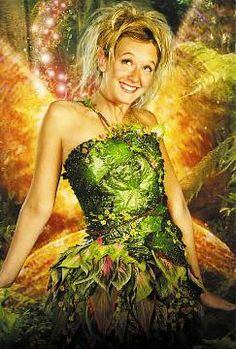 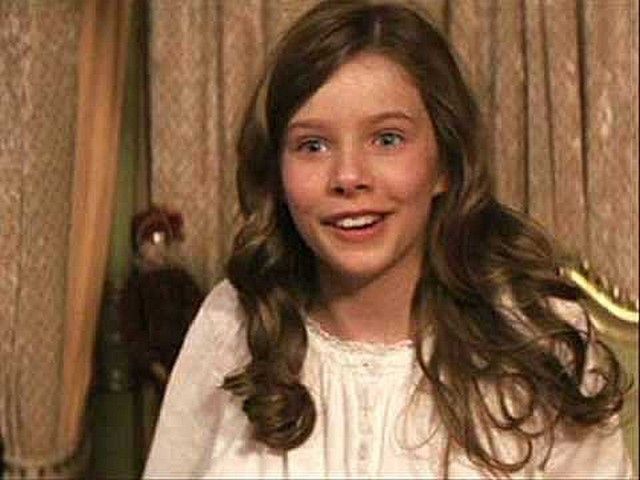 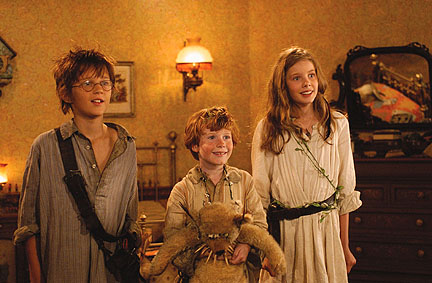 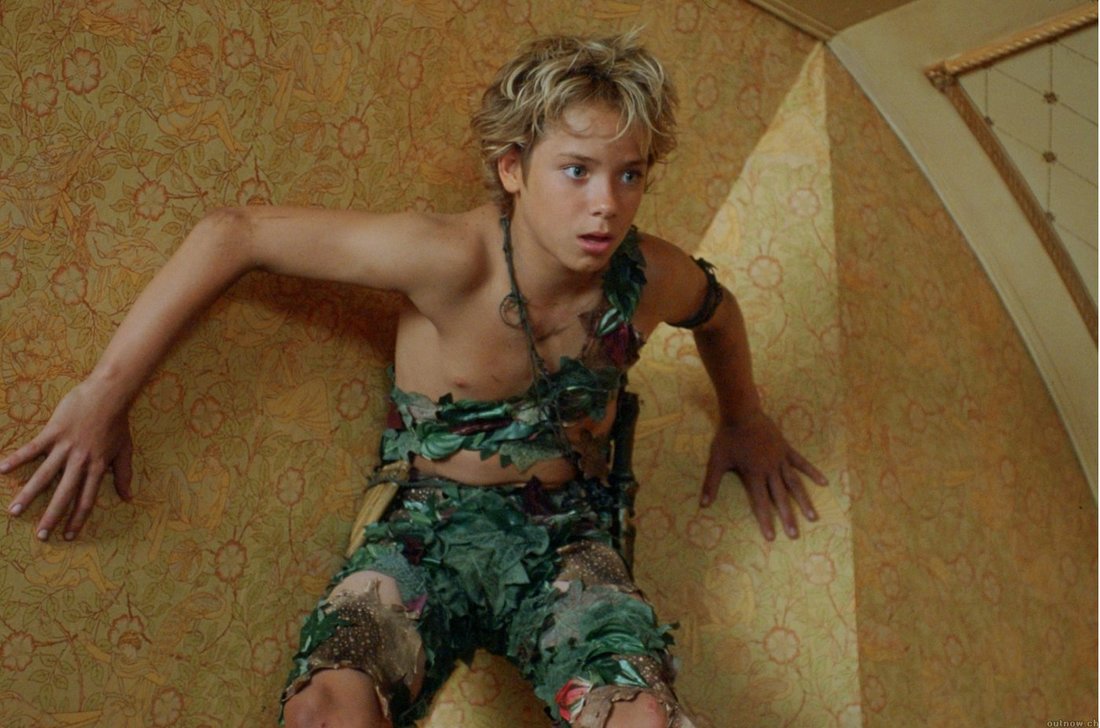 
3 Comments
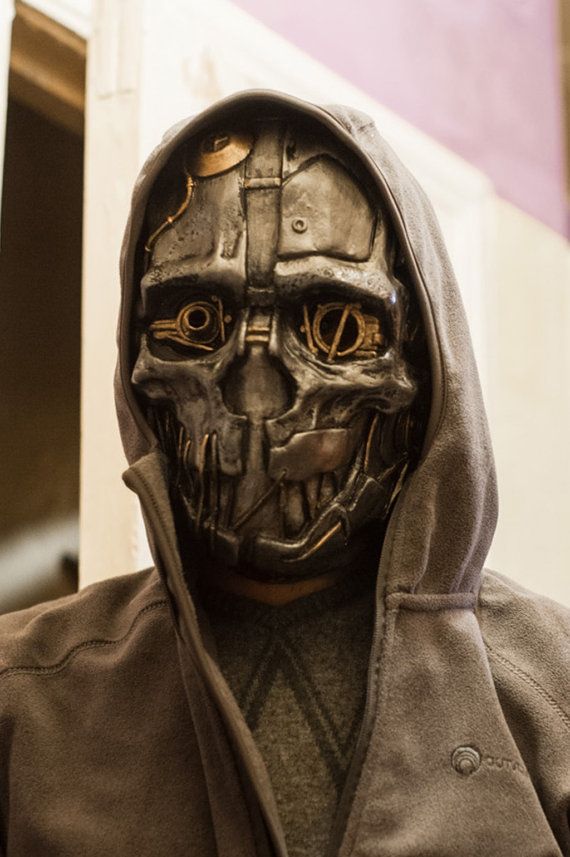
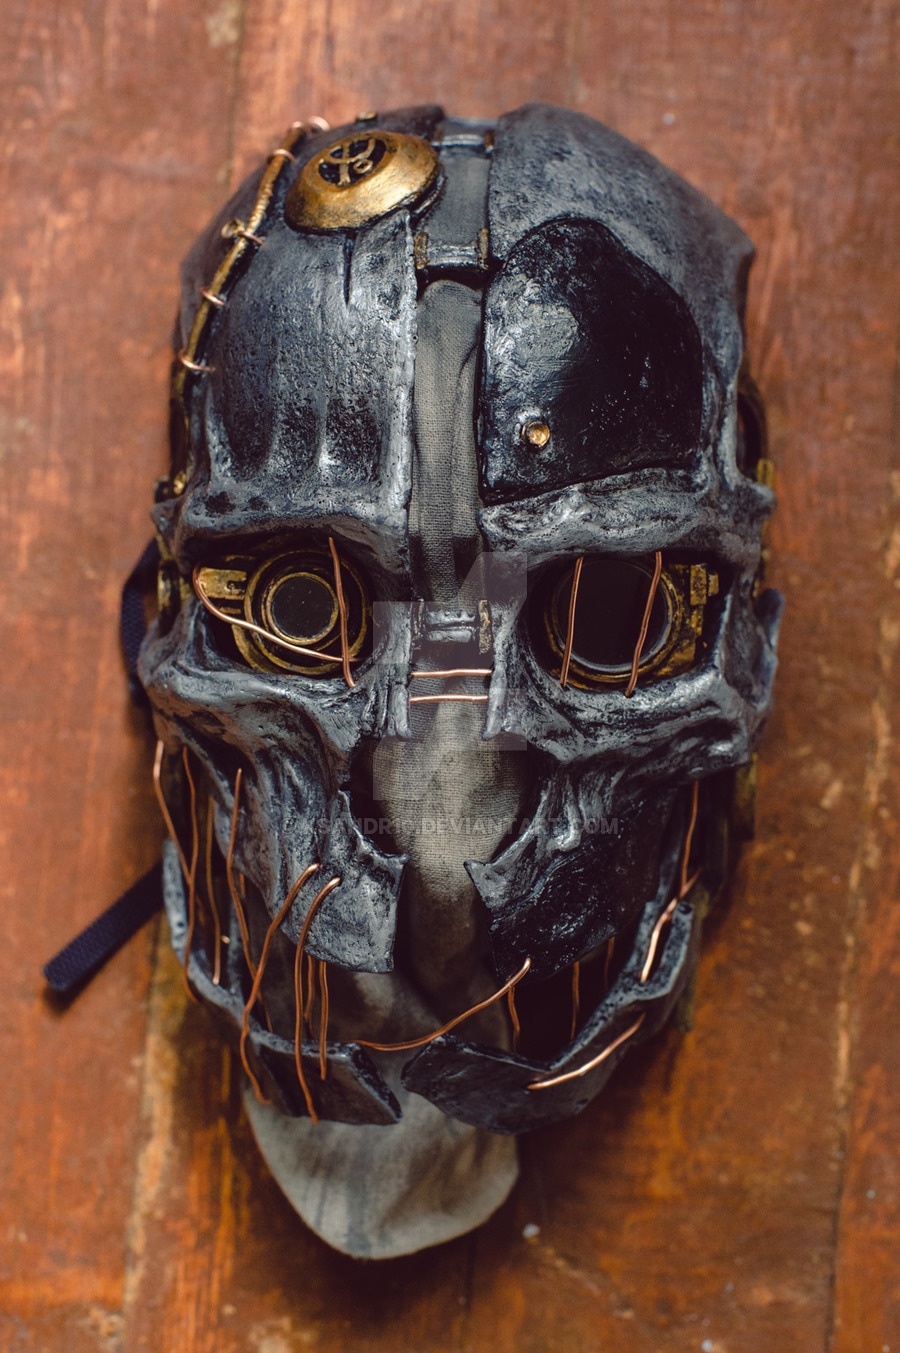
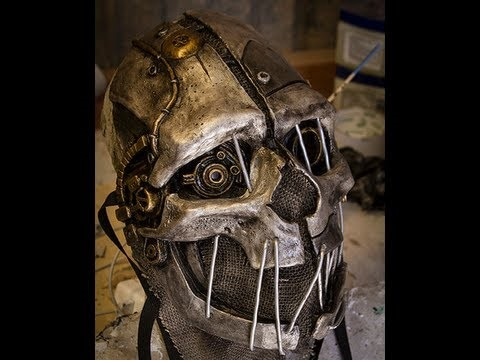
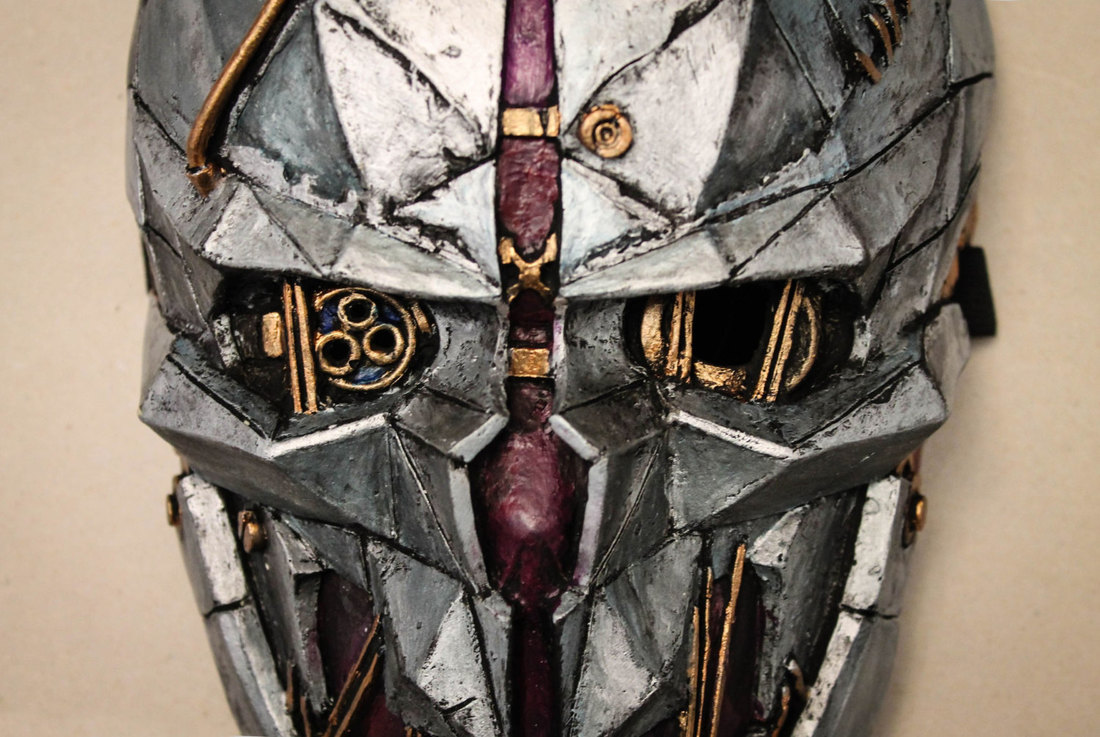
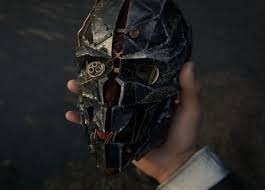
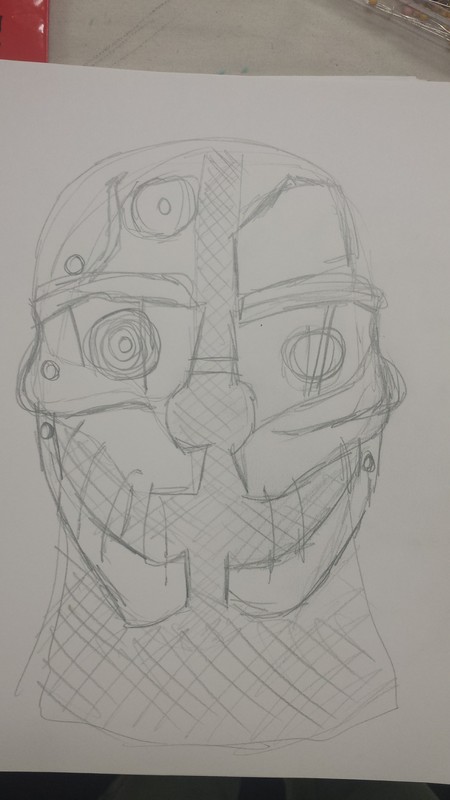
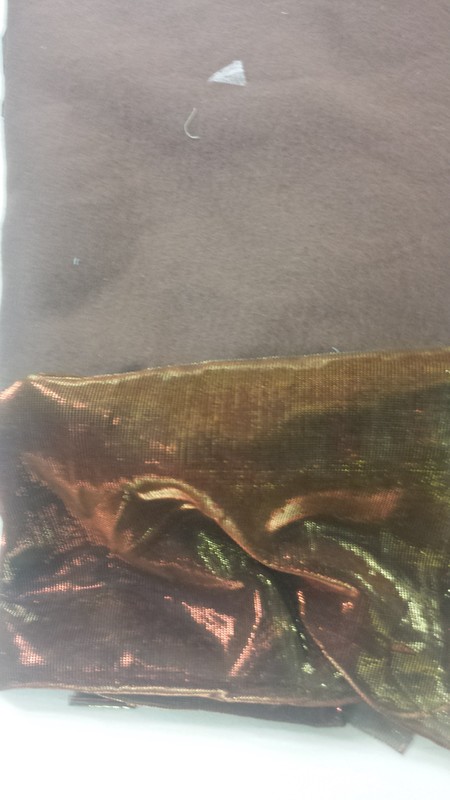
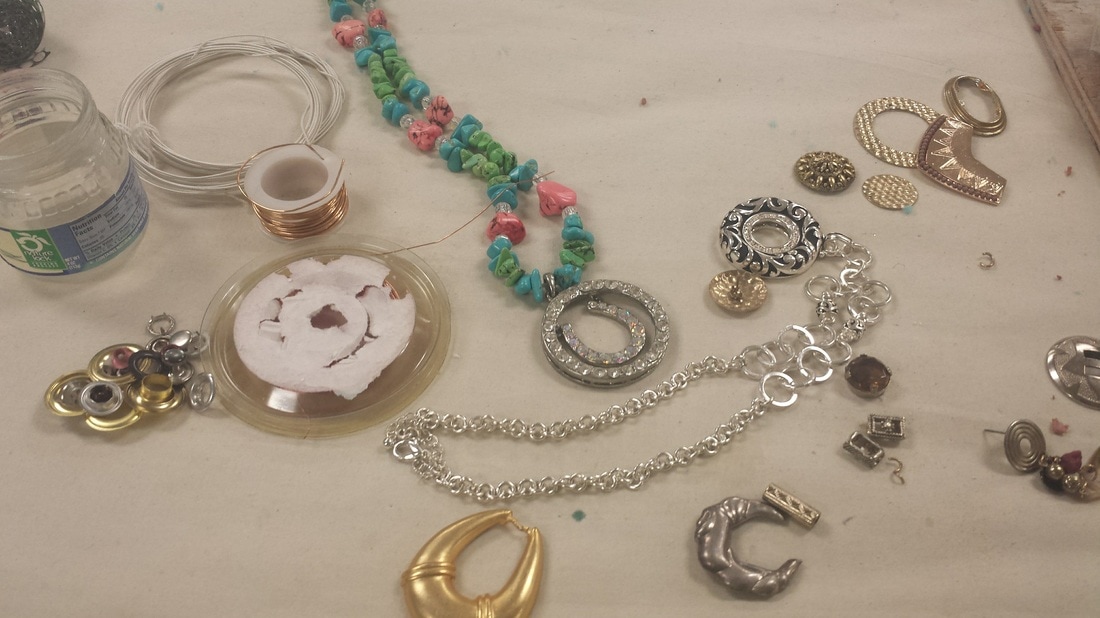
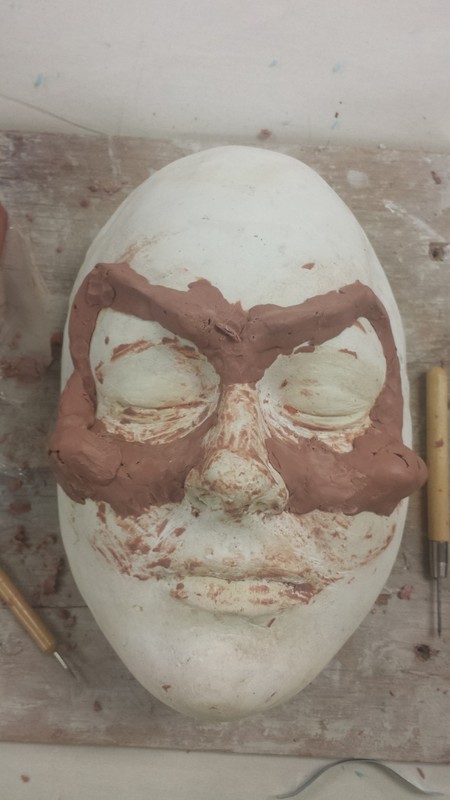
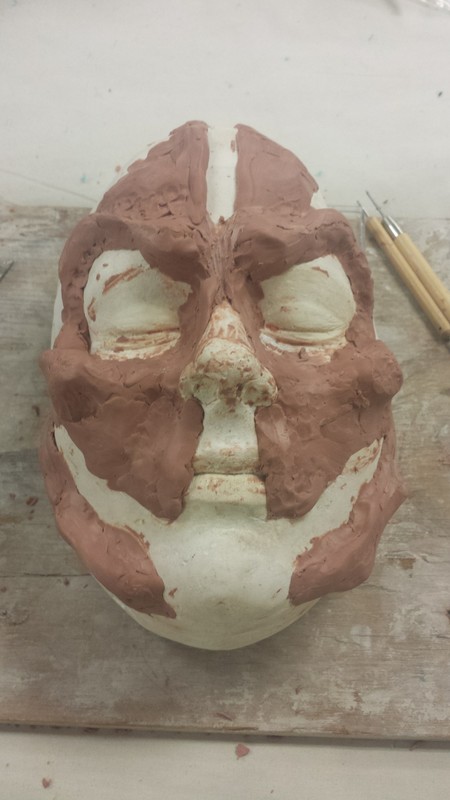
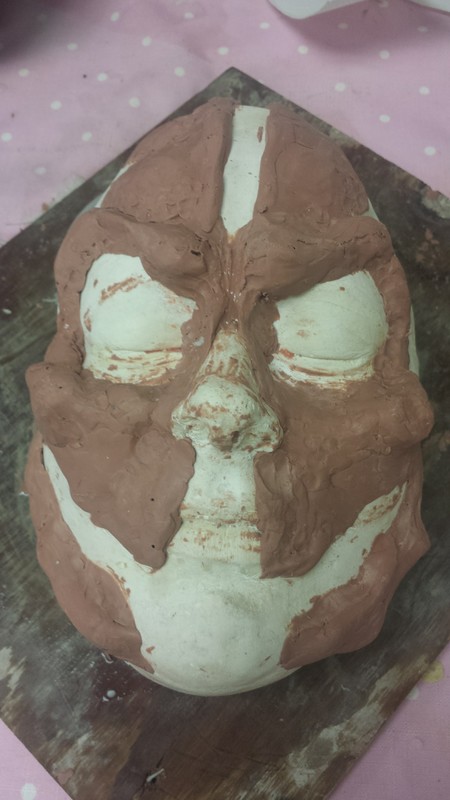
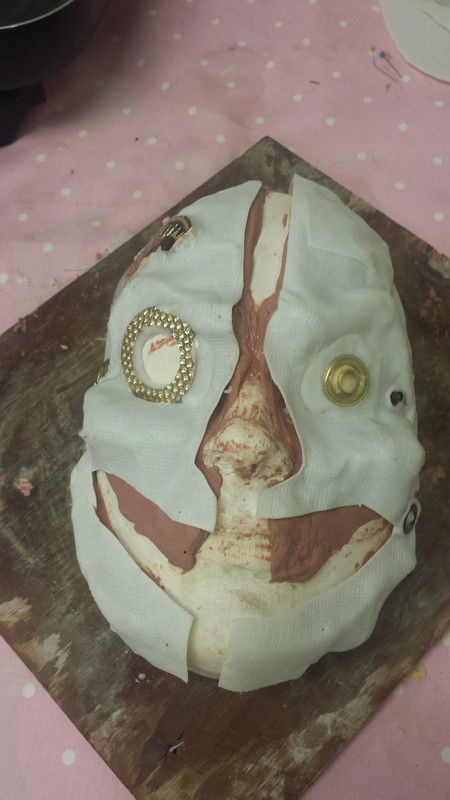
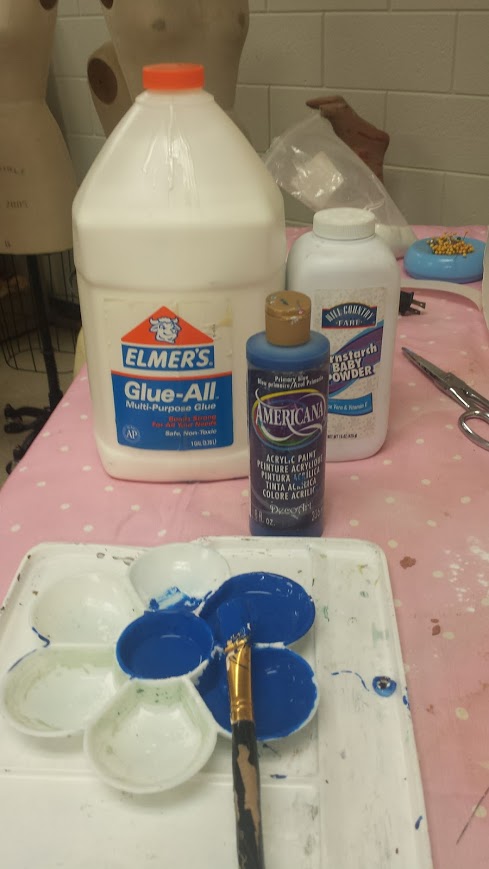
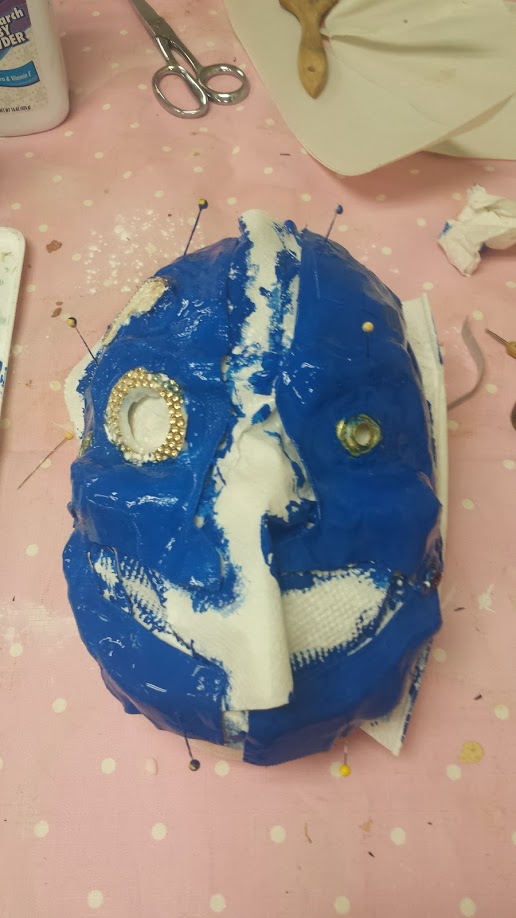
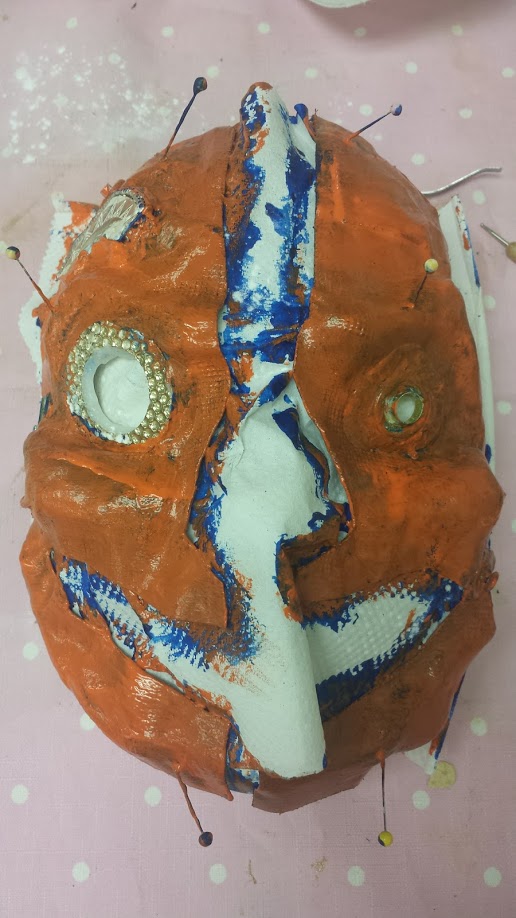
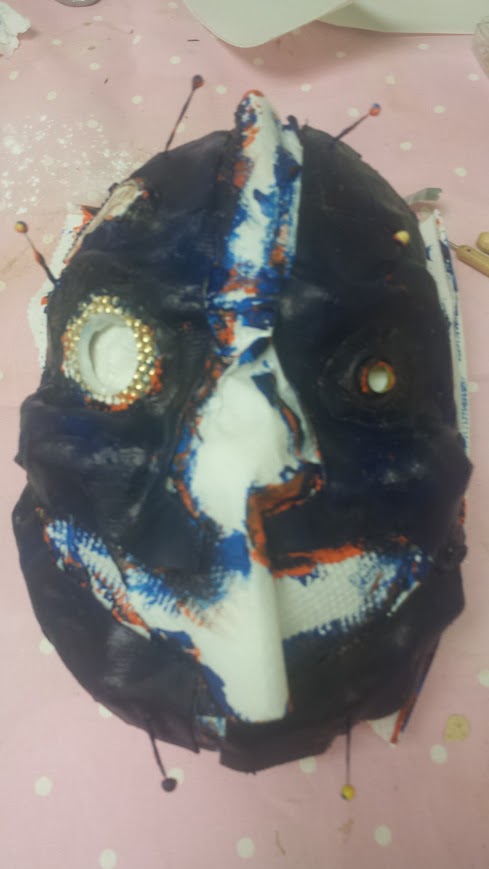
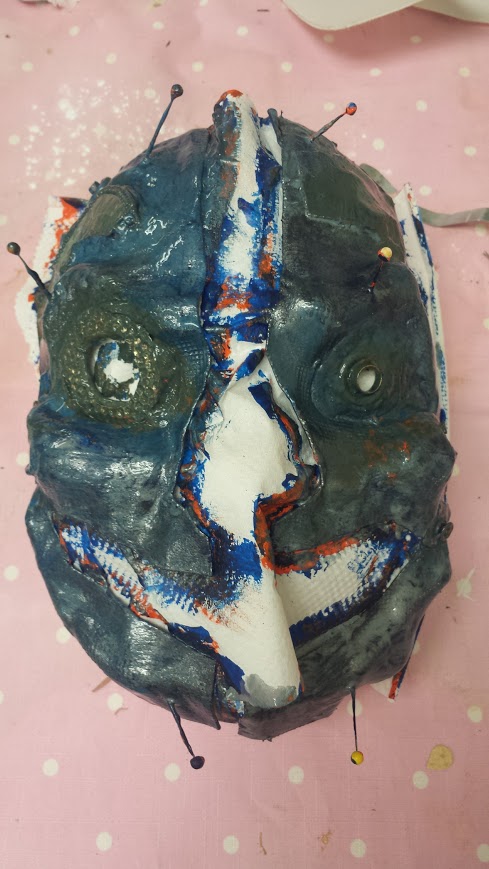
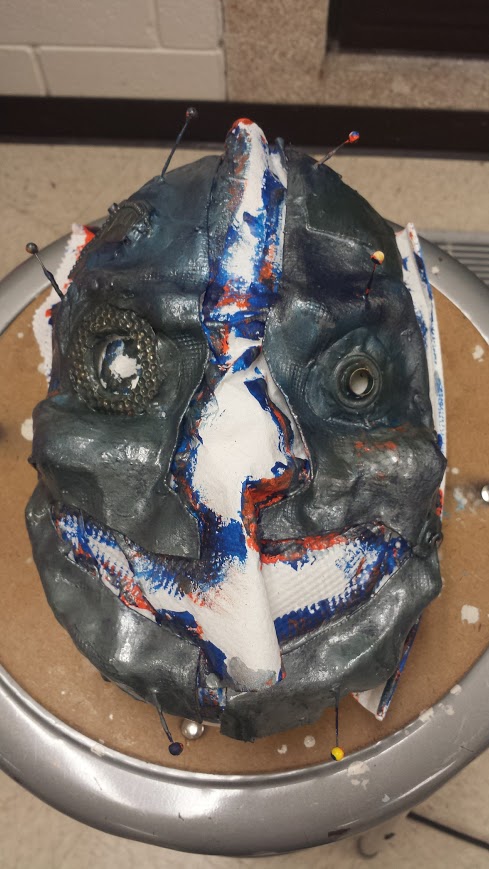
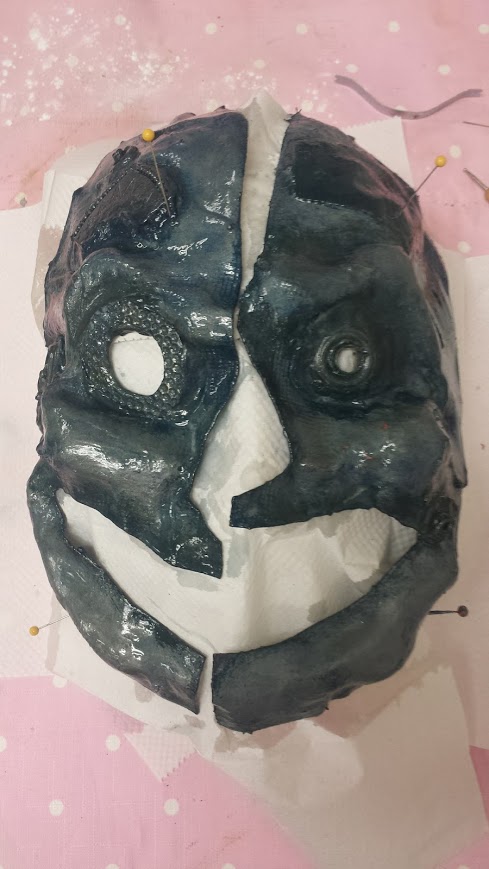
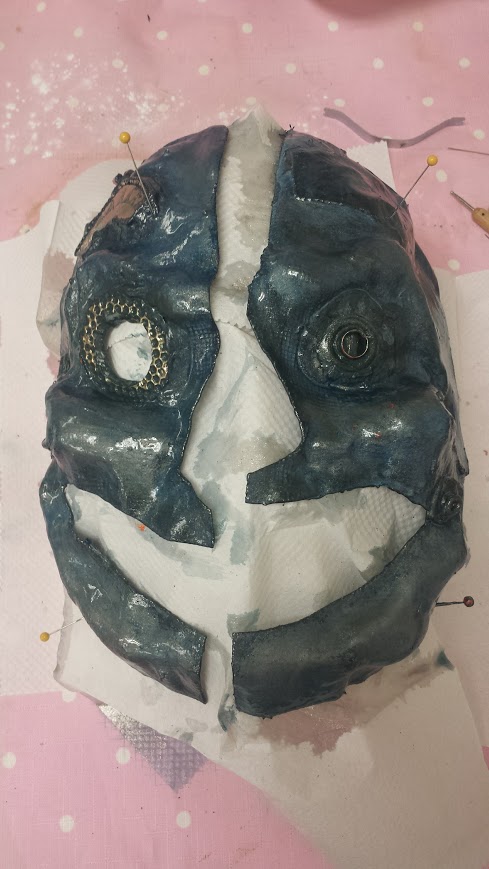
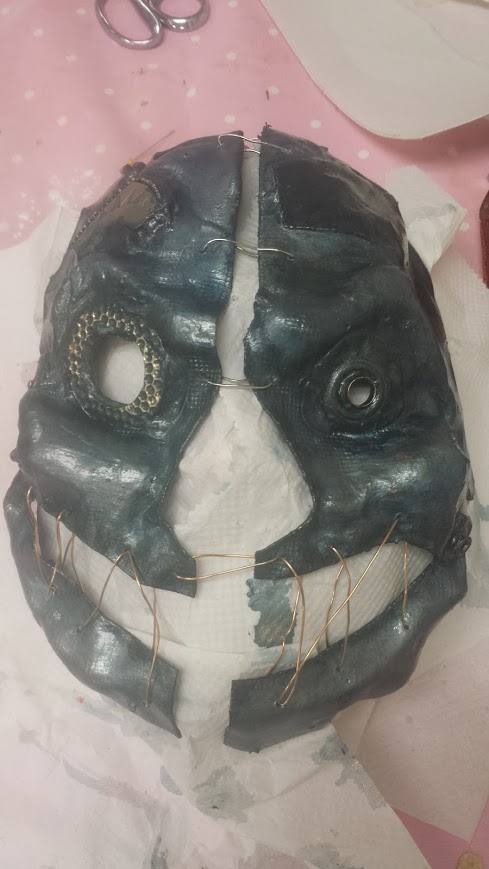
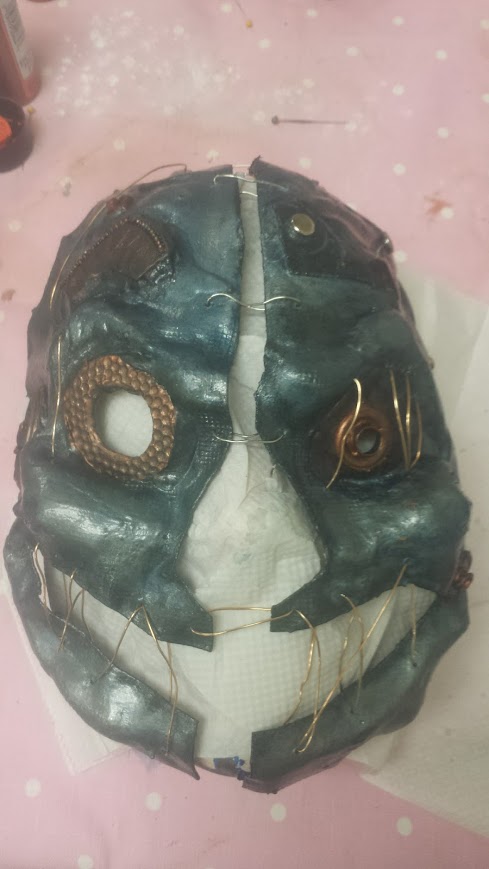
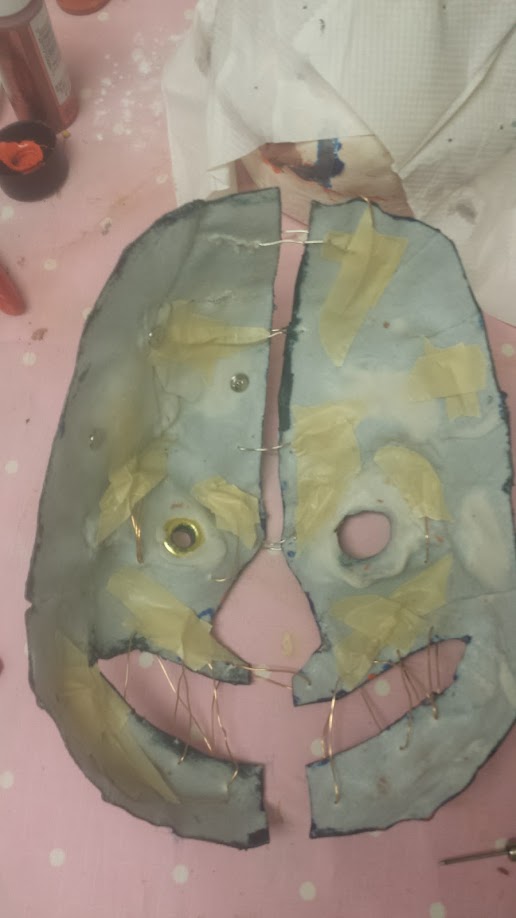
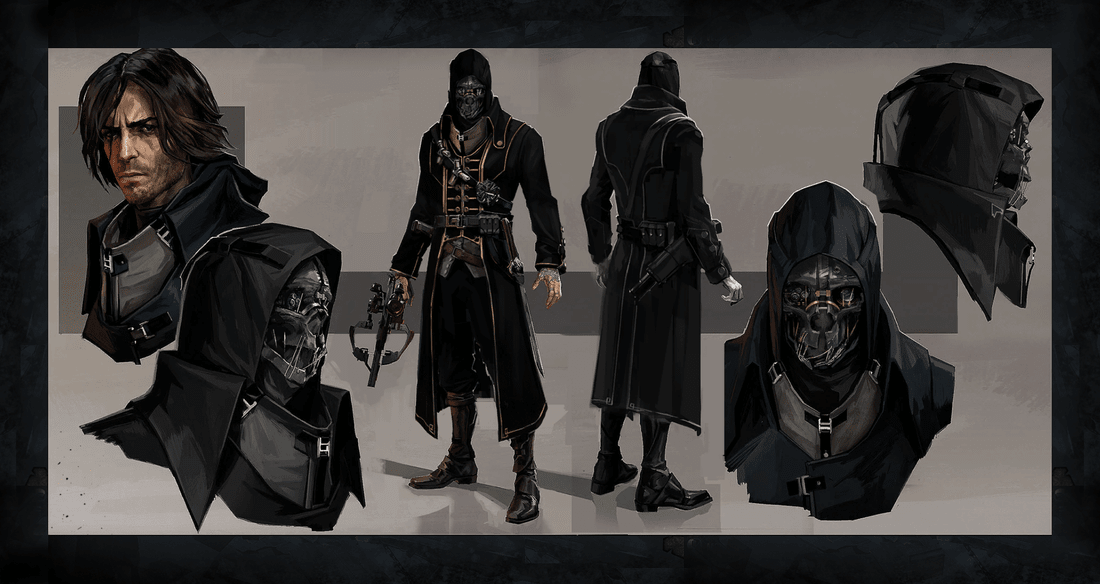 Sylvan loves this game. He's been begging me for a while now that for Christmas all he wanted was Corvo Attano's mask and sword. Well, bless his little heart, it's not like you can go out and buy one anywhere. I checked online and the game publisher did produce a model of the mask that came with the game when you bought the deluxe addition for something like $100. So that was never going to happen. But I figured I could make one fairly easily and for next to nothing. He didn't get it for Christmas because I was too busy making an anime blue cat footie pajama costume. And he didn't get it for his birthday (on the actual day) because school hadn't started yet and there was no way I could do it at home while he was there. So here I am with 5 days till the party, throwing this together. I hope you enjoy the process. Research Gallery MONDAY: The first thing I did was some research. I've never played this game before so didn't have a clue about this character (other than what Sylvan tells me on a almost daily basis). I figured out that the mask itself is steam punk. Apparently, he was a handsome man before some accident. Now he has to wear a mask. Nope, sorry that's Handsome Jack from Boderlands 2 the presequal, the other game I've heard about endlessly. Corvo Attano wears the mask so that he can do bad things in order to rescue the princess who's actually his daughter. Underneath the mask is fabric that hides his face. The two halves of the mask are held together by wire. I only now learned that the mask evolved after the first game (it got much-needed upgrades to its tech in the 15 years in between the events of the first game and this second one). So that the photos of the skull inspired design are from Dishonored 1, the Cubists designs are from Dishonered 2. Too late, I already went with the skull design. All I got done that afternoon was to clean off old clay from the face cast I chose. TUESDAY: Now it was time for some sketching. I feel that the gist of the mask design is that it's emphasizing the skull-like qualities with a missing nose and eyes. There appears to be gears or wire in the eye orbital. I rounded up some backing fabric and felt, raided my jewelry findings, got out the clay and started sculpting. I built up the entire eye orbital as well as the jawbone. I built up around the nose so that when his actual nose protrudes under the backing fabric it won't be so obvious. I finished sculpting before lunch. After lunch, I used thermoplastic to create the main parts of the mask, then used thermoplastic beads to fill in cracks and attach the findings. WEDNESDAY: I began the painting process by making my own modeling paste, since I was out and didn't feel like running to the store. One part white glue, I part acrylic paint, and 1 part baby powder, or you can use corn starch or baking soda. Two coats and let dry in between. If you need the help the paint/glue dry use a fan or a hair dryer that has a cold setting. If you use a heat gun to dry your glue, it will just melt the thermoplastic. Two coats ended up being three coats. I really like to cover up the mesh of the thermoplastic. The first acrylic coat was orange (the complement of blue which is the undertone in silver which is the final color the mask will be). I only got one coat on today. THURSDAY: I put on the second orange coat, let it dry with a fan, then put on two coats of the blue acrylic, letting the fan dry them in between. I then did two coats of silver, letting them dry. Now I'm detailing. I was going to leave the metallic findings unpainted but that got too obnoxious, so I painted over them with orange and blue and will do some touch ups with Rub-n-Buff when all the painting is done to bring them back to their original warm metallic finish. Painting in shadows is particularly important. Now that that's all dry, the last painting step is to give the whole thing a couple of coats of Jubilee floor polish with added silver bronzing powder. Remember that when you work with bronzing powder it's cancerous until it gets in solution, so wear your dust filter mask while you are adding it to your FEV, or in this case, Jubilee Floor Polish. FRIDAY: Today was all about the wire work. The first thing I had to do was attach both sides to each other with silver wire down the forehead. That was difficult to do either on or off the sculpt. I used an awl to punch holes in the thermoplastic and then ran the wire through like I was sewing big stitches. I tied the wire off and tried to hide the twisted knot into a recess so it wouldn't rub on his face. I used silver wire for this step. The copper wire I used to sew the mouth shut and go across the eyes and as a decorative element on the forehead as in my research. I then used masking tape to tape all the wire knots into their recesses so they wouldn't flop around. For a final touch, I used three rivets to "attach" the darker patch above the eye, as in the research. After finishing the wiring, I went back over the metallic findings with bronze and copper acrylic paint to bring them back into looking like metal. The most difficult part of this whole process was gluing in the metallic mesh backing fabric to the inside of the mask without getting glue on the parts down the middle, in the mouth, or the eye. To make the whole process worse, the backing fabric being metallic mesh, would not stick to the thermoplastic. It was very frustrating. Even brushing another layer of glue on top of the mesh only served to move the mesh around rather than stick it to the inside. If I'd chosen something more cottony or cheesecloth, this wouldn't have been a problem. But no, Sylvan is a magpie and loves shiny things. I finally ended up wrapping the sculpt in a dry cleaners bag, put the mask back on the sculpt, turning the whole thing upside down and placing it in a small box filled with fabric. Basically treating it like I was making a face cast and it was full of plaster. Then I gave it some time to dry. I took it back out and to see if that was going to work and it wasn't. Then I cut some of the mesh away so that they felt would have some plastic to stick to. Then I glued in the felt like you normally would. Trimmed the excess away, and repeated the upside down, in the box, drying position from before. That's where it is now. It still needs an elastic strap and it will be done, but that's going to have to measured on his face, so it will have to happen after the party and be done at home. I really hope it fits and that it doesn't poke him anywhere or fall apart. That's the problem with making things that you also want to be a surprise: NO FITTINGS, which is why I don't usually work this way. PRocess GalleryFinished ProductIt looks very blue in this photo, but in real life it's much more gray/silver. 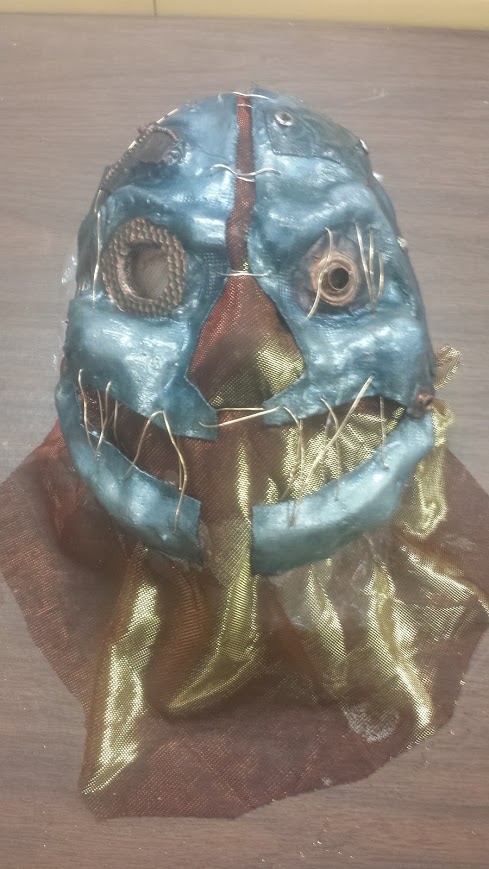 |
CategoriesArchives
July 2024
|
 RSS Feed