|
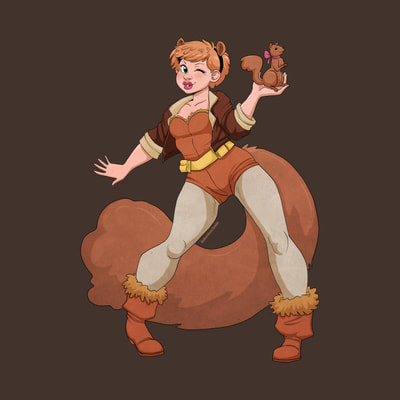
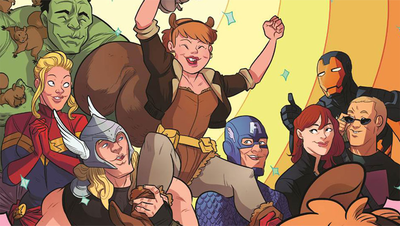
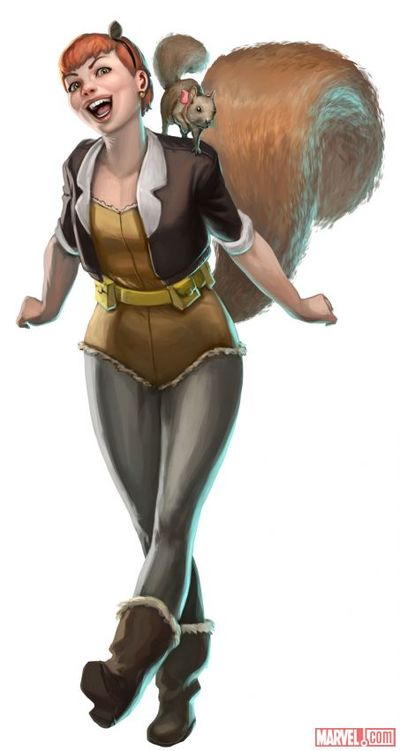
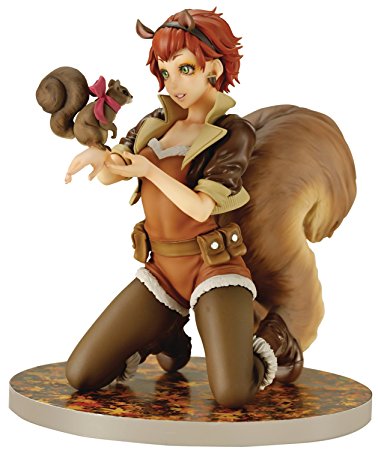
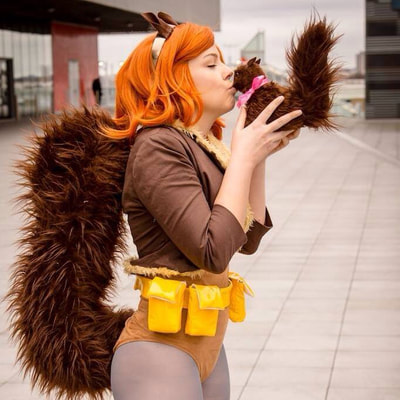
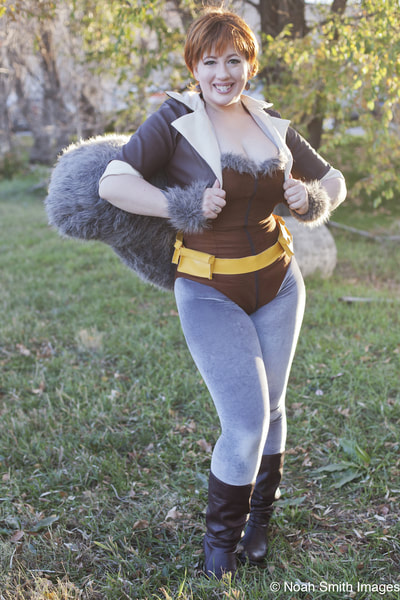
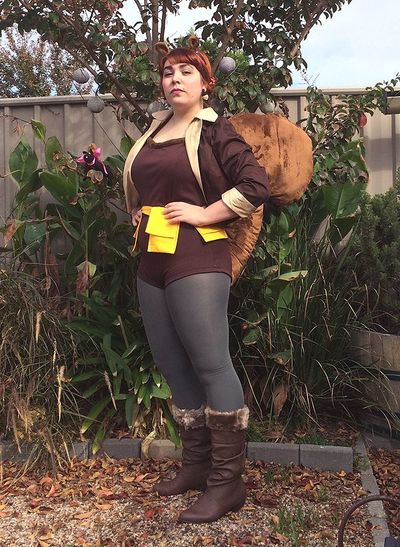
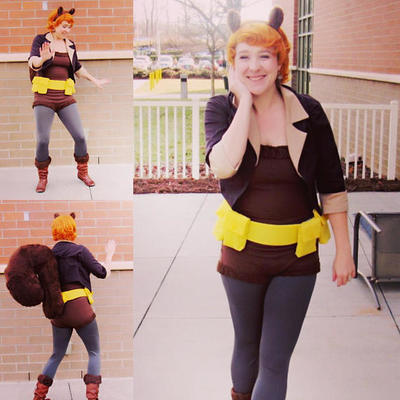
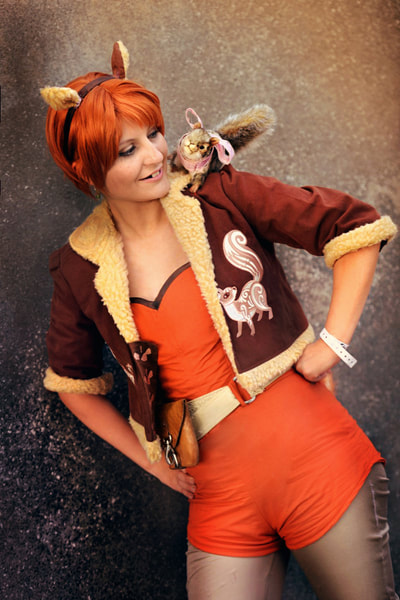
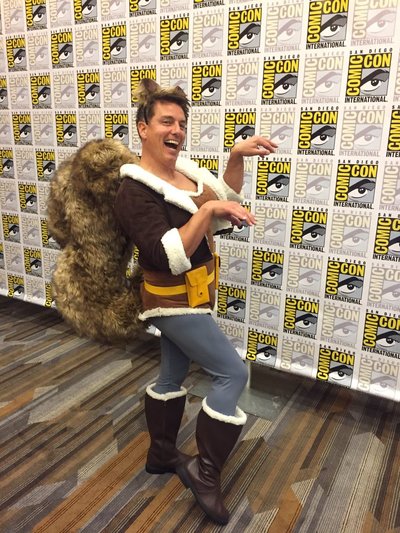
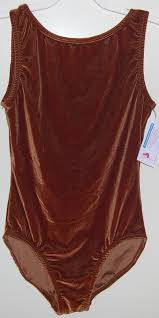
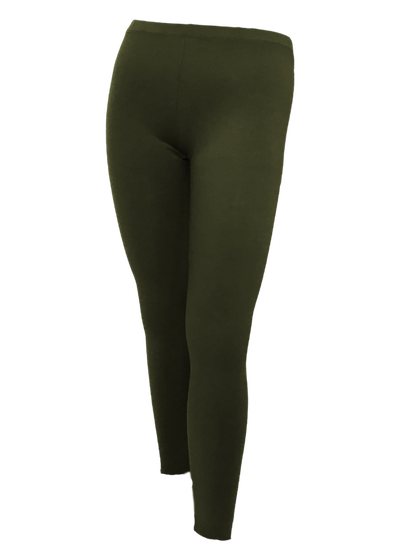
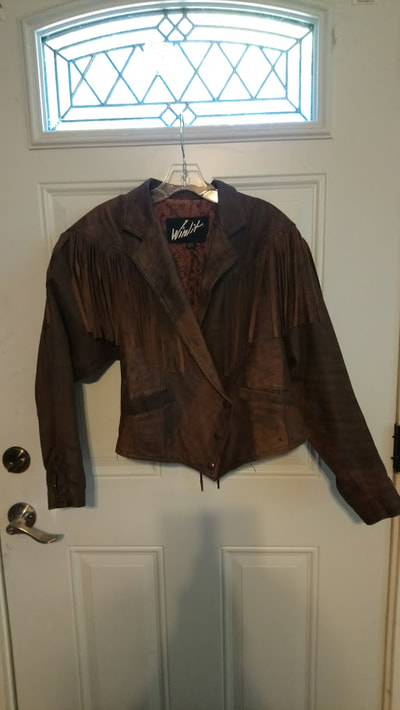
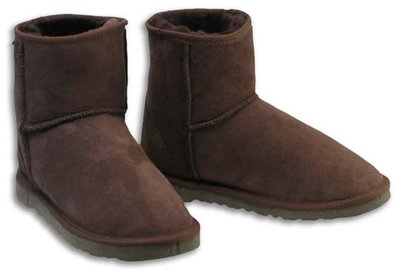
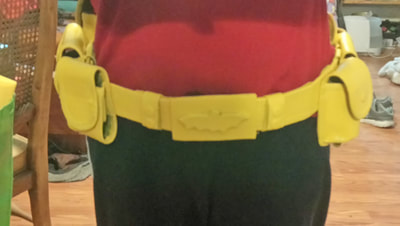
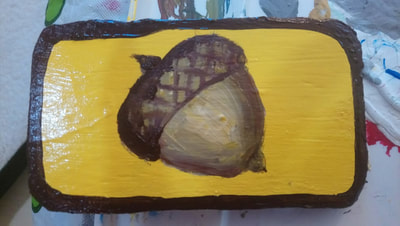
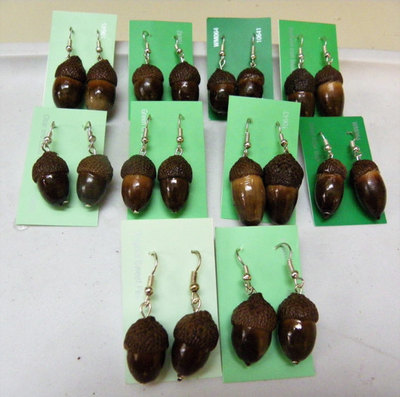
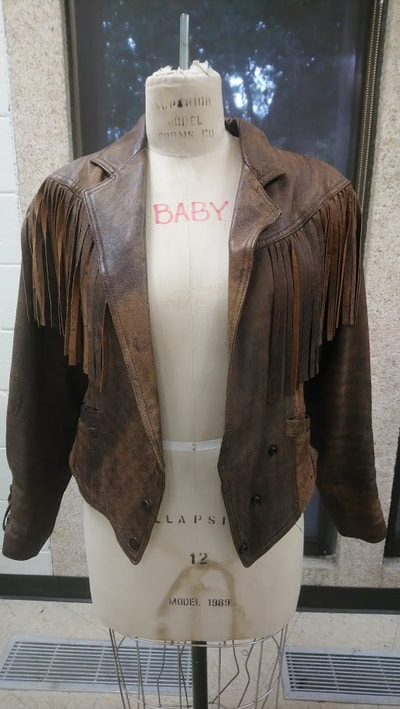
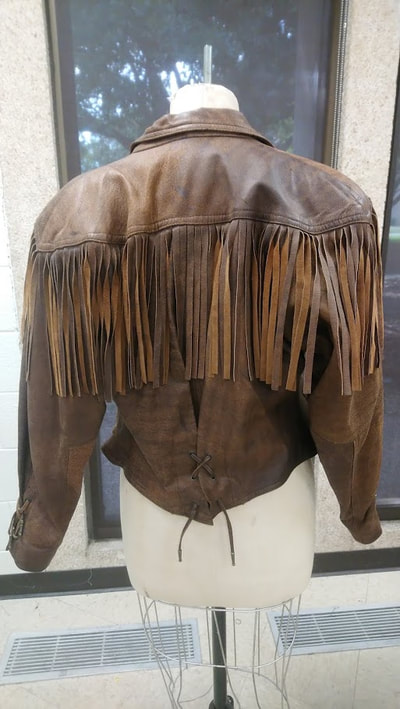
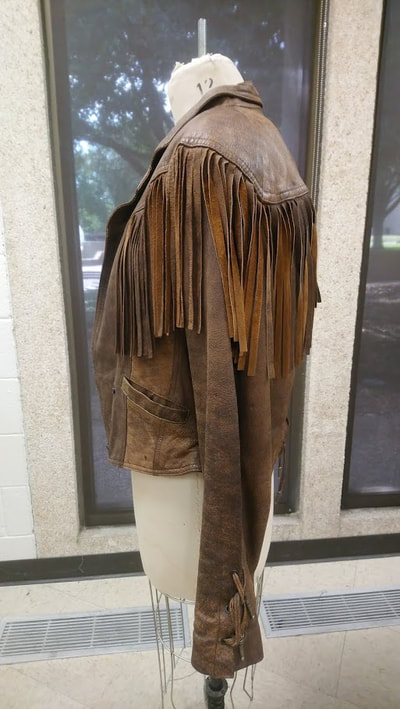
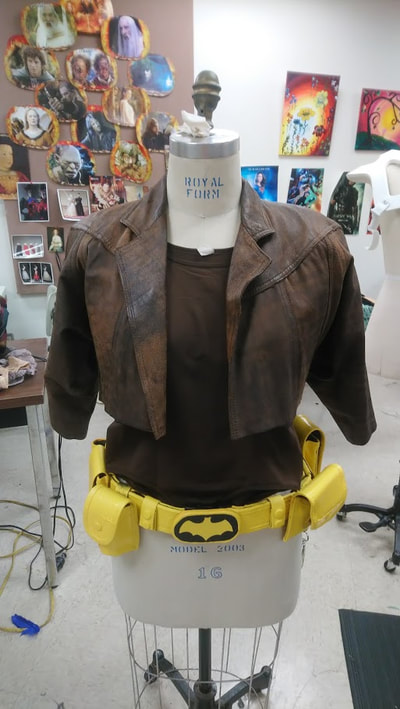
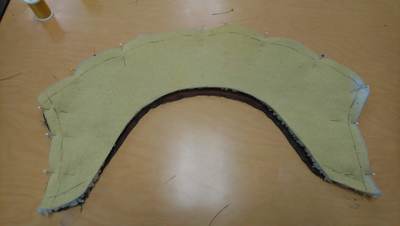
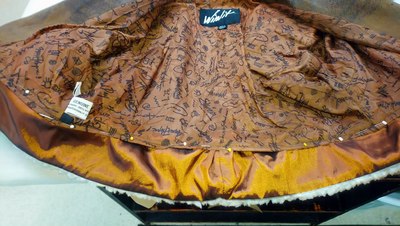
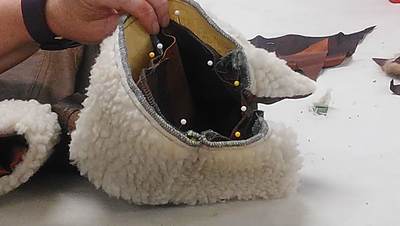
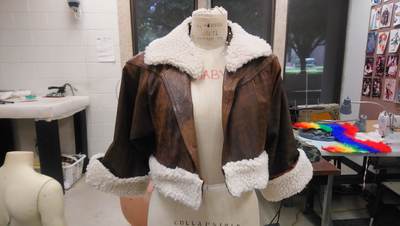
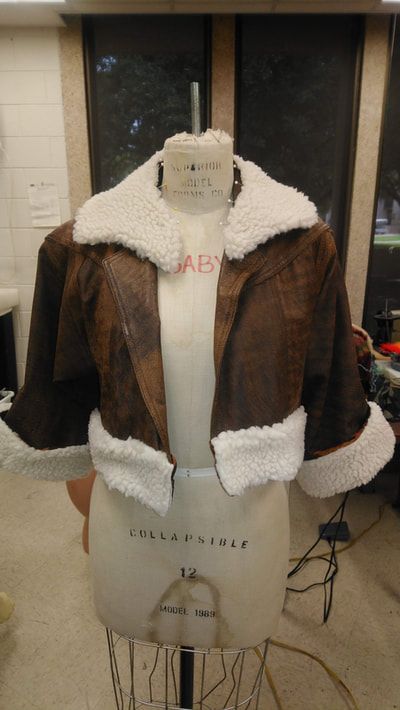
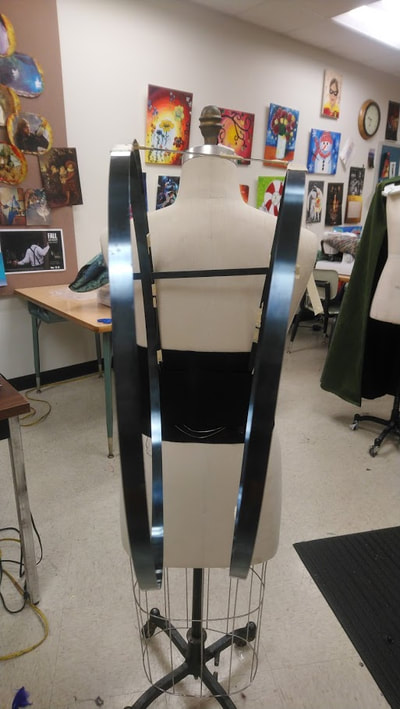
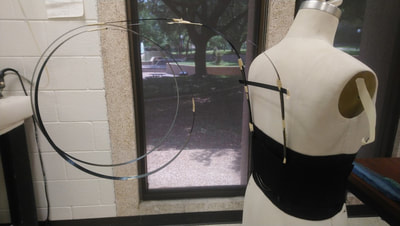
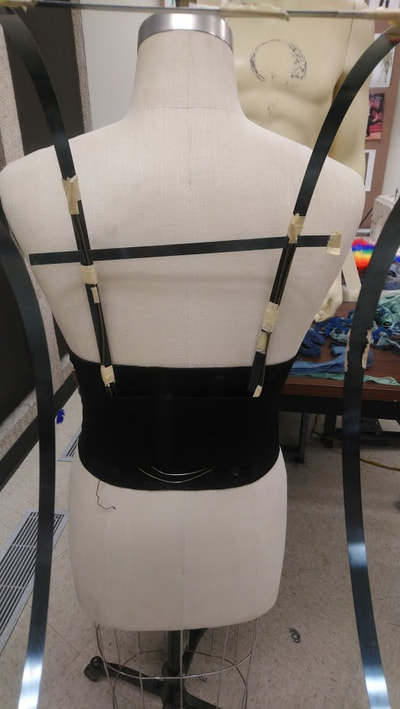
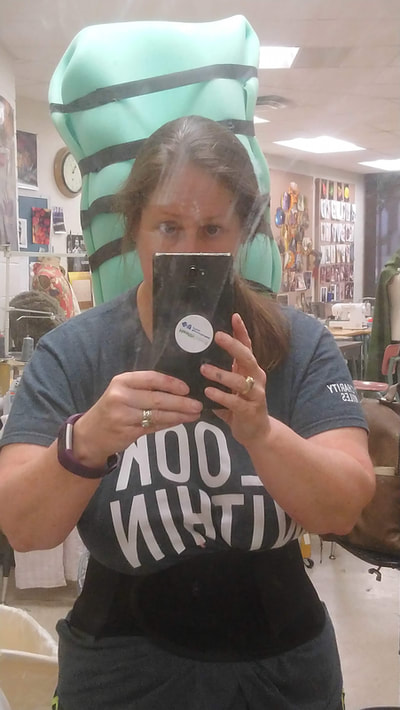
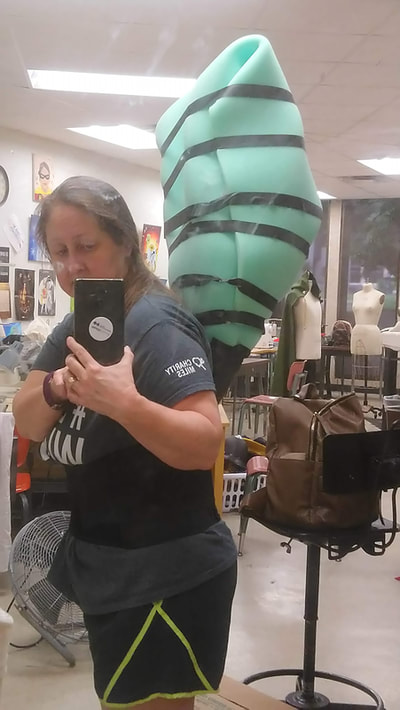
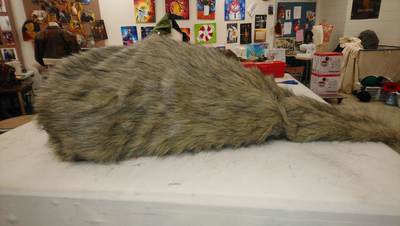
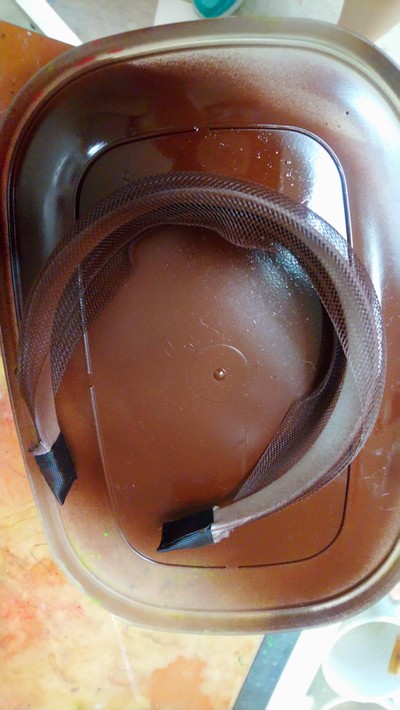
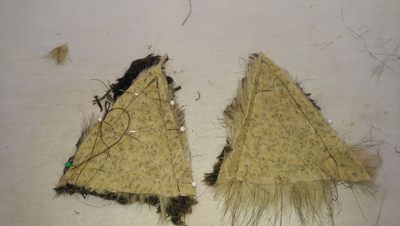
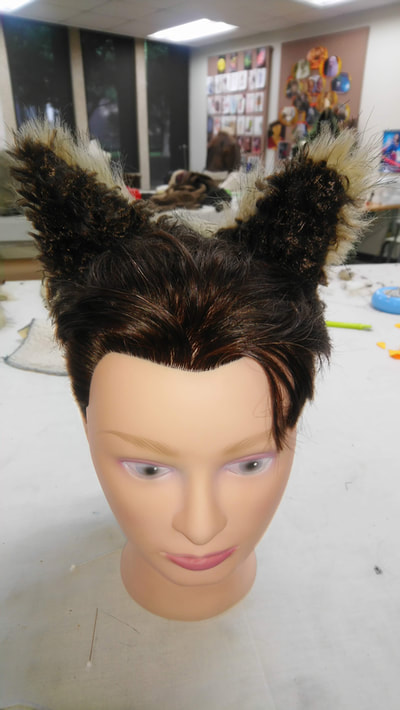
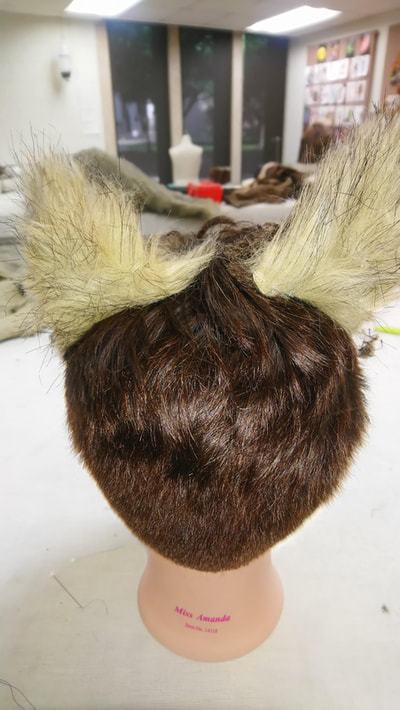
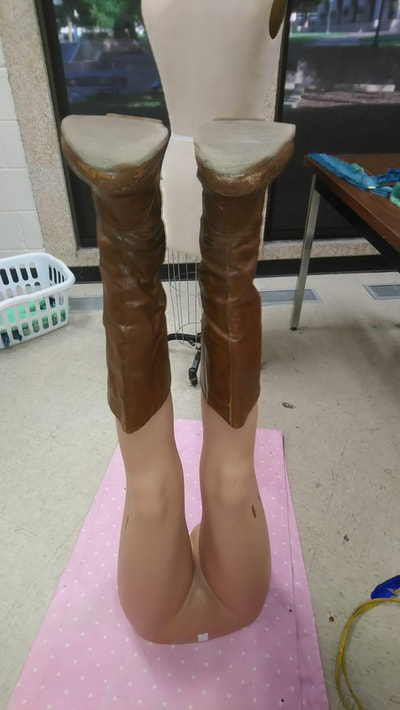
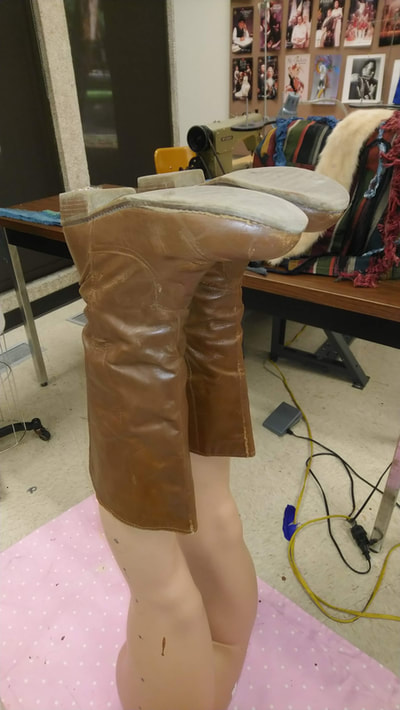
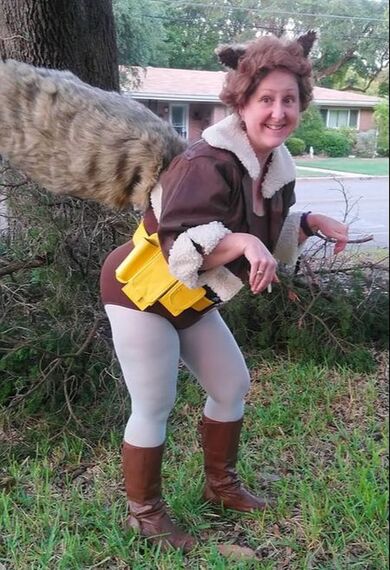
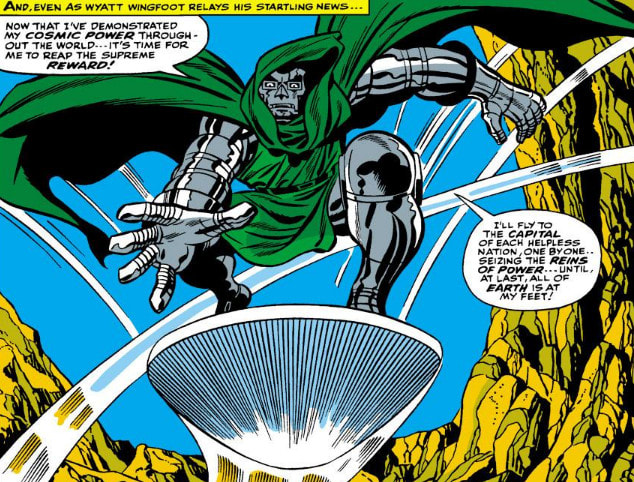
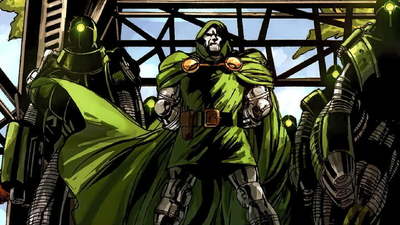
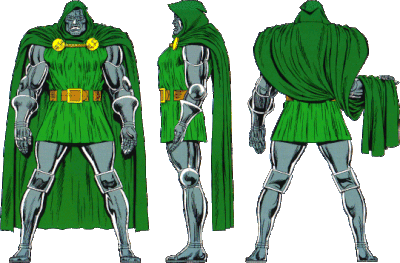
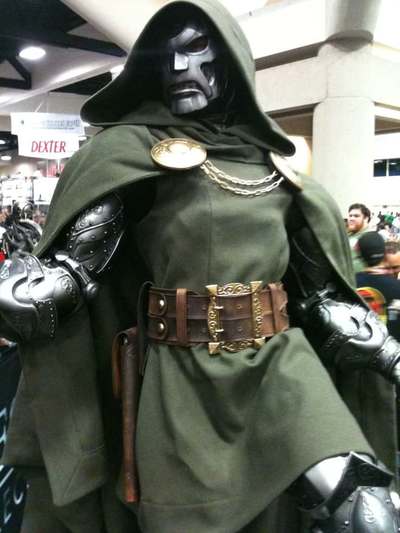
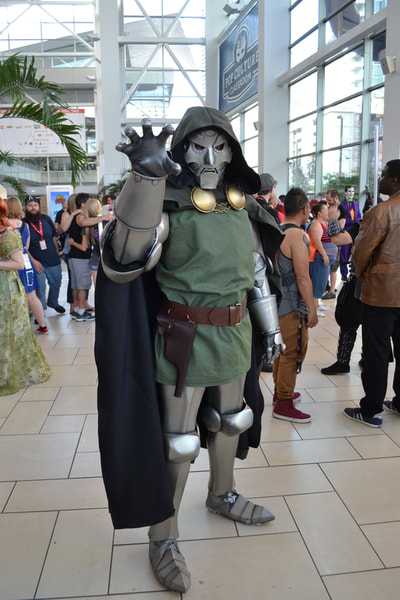
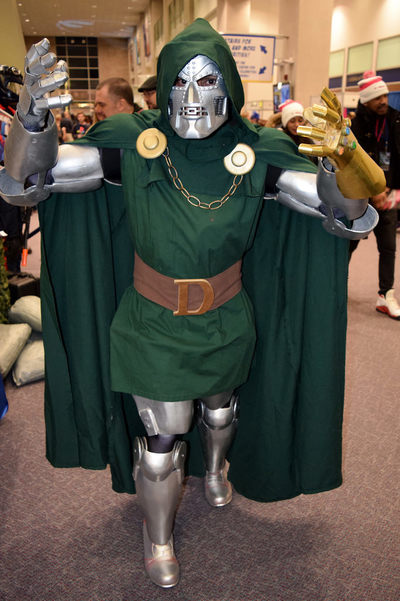
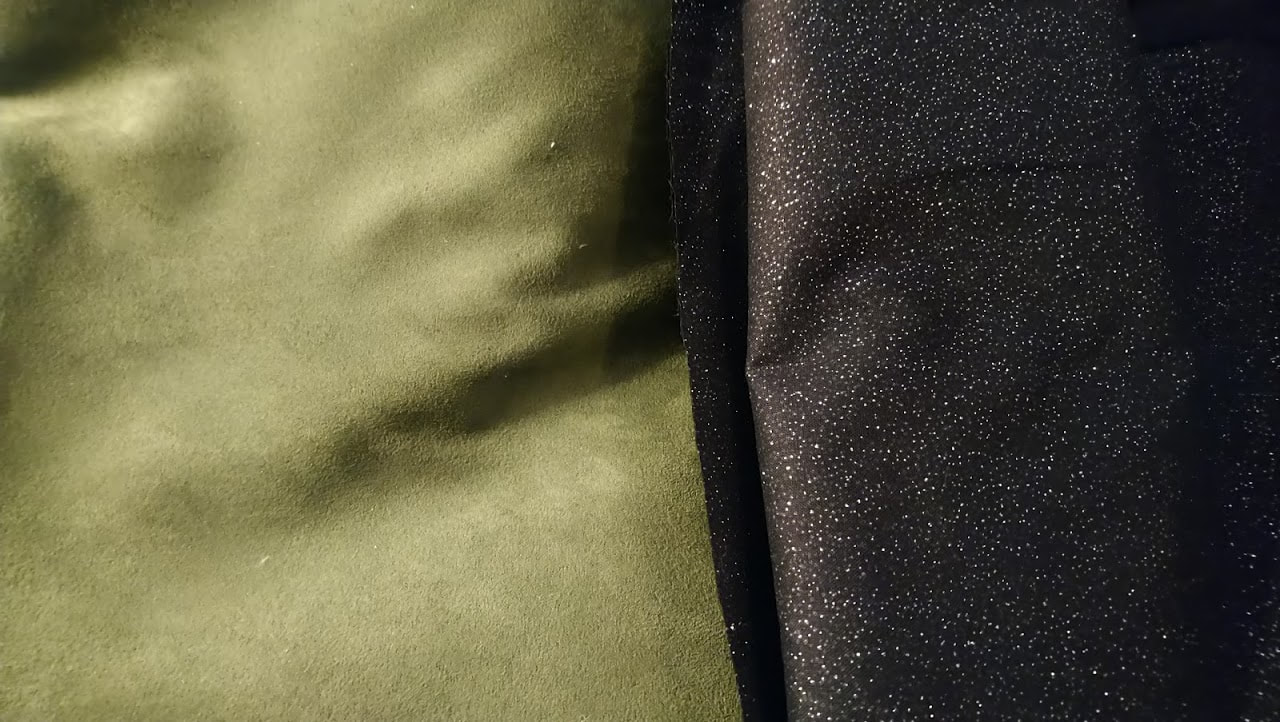
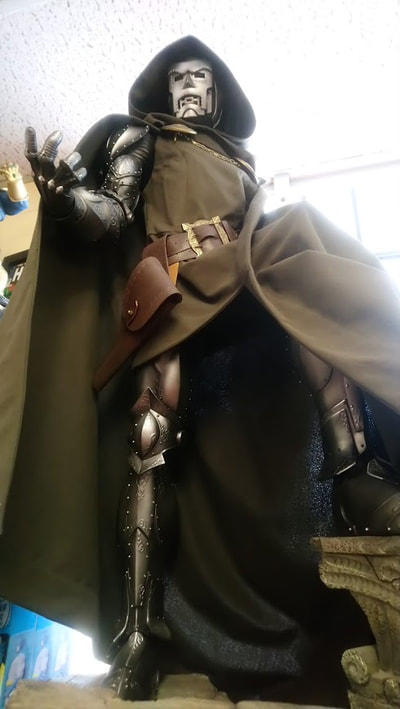
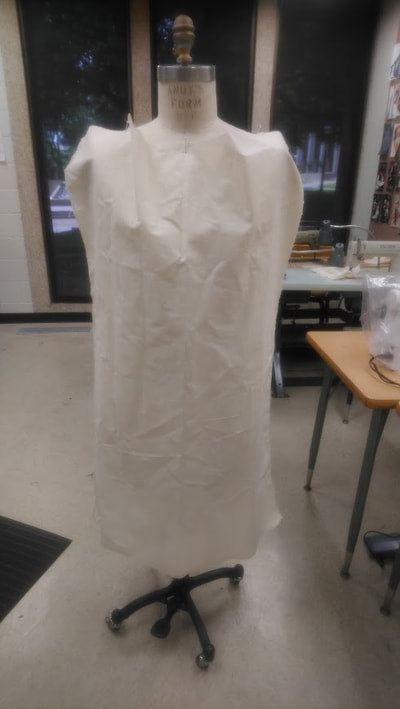
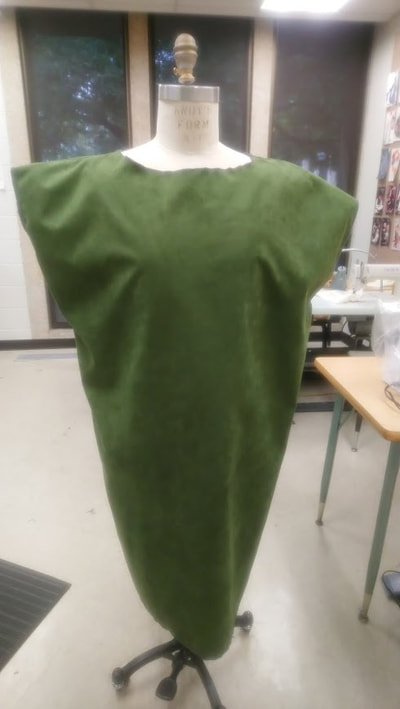
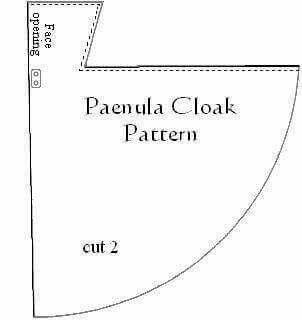
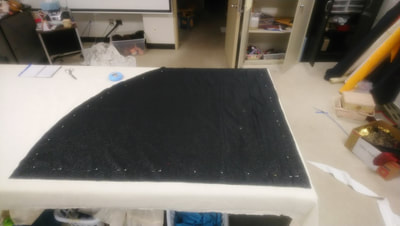
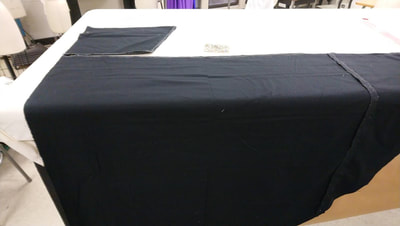
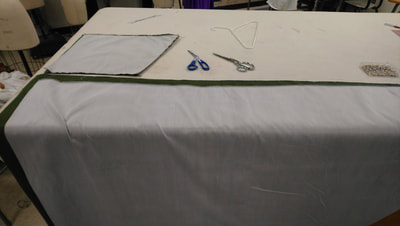
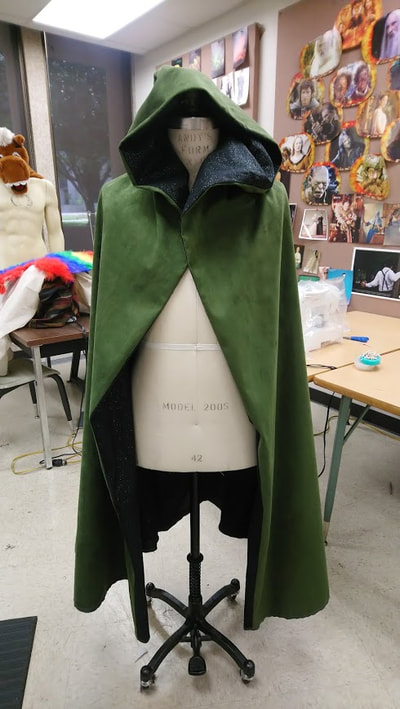
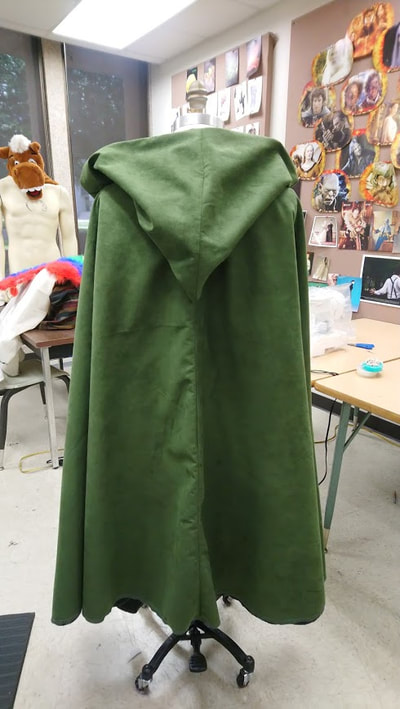
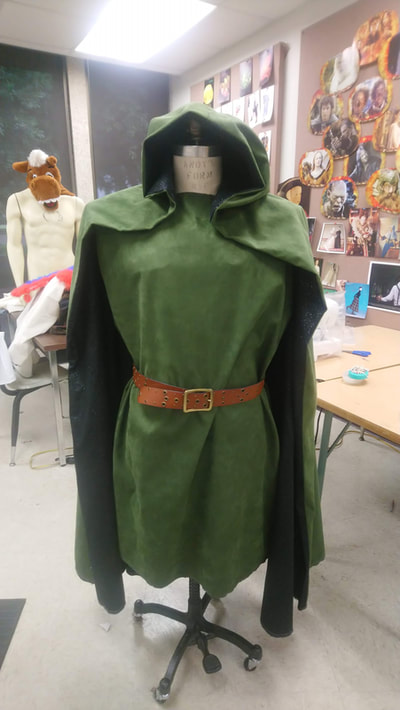
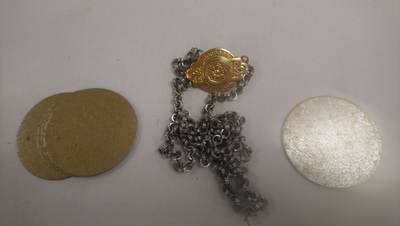
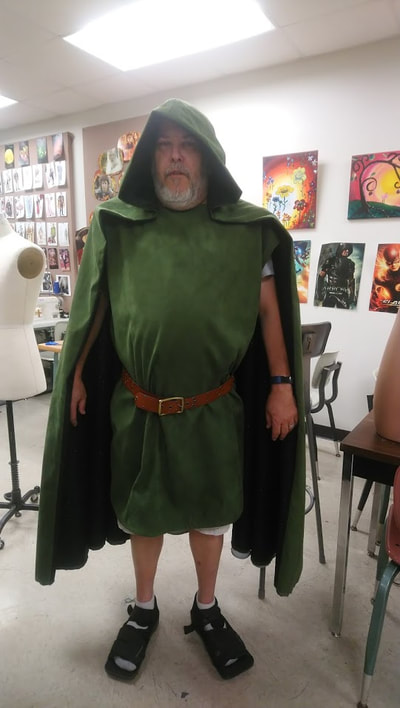
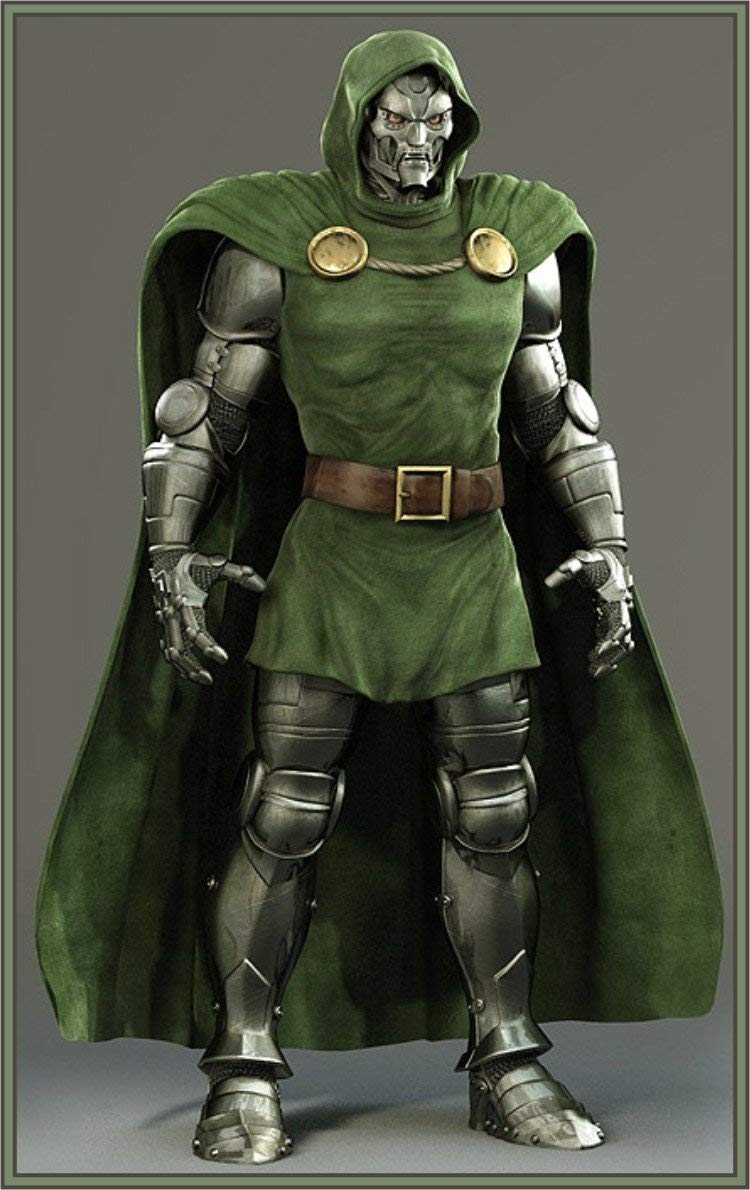
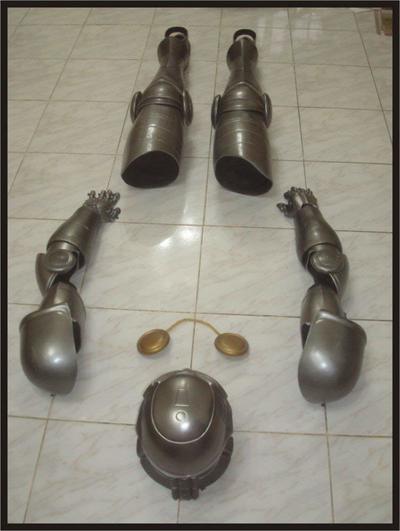
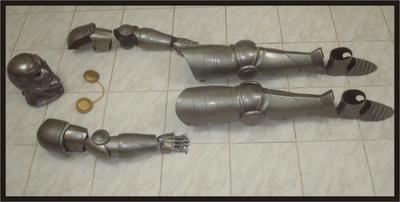
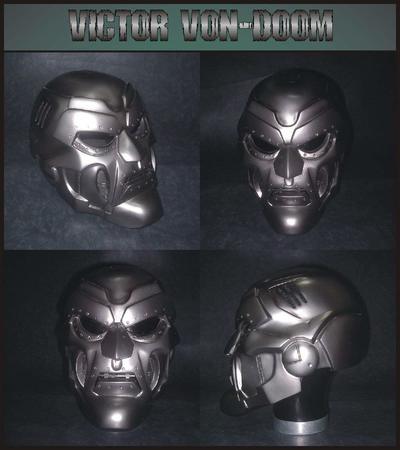
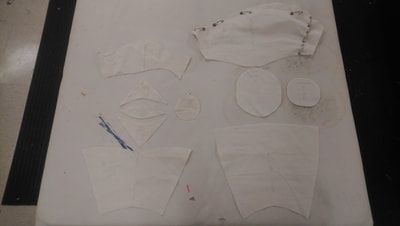
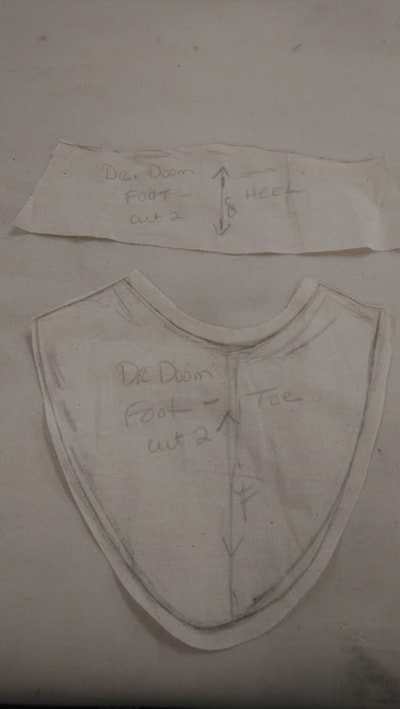
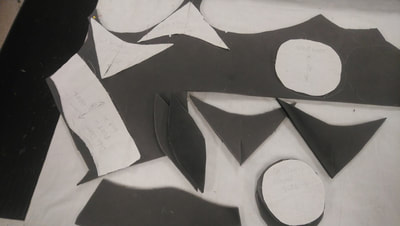
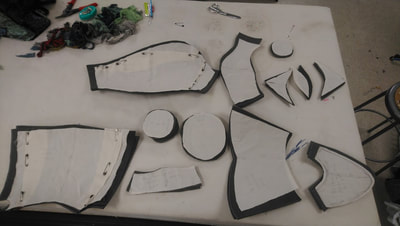
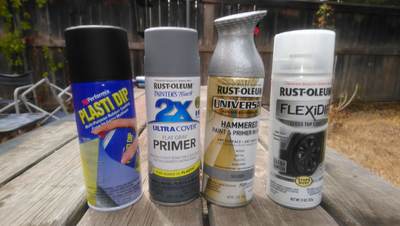
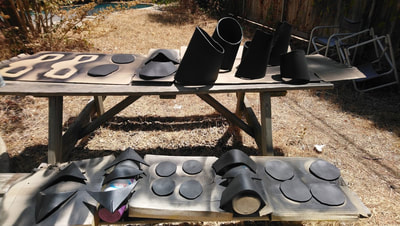
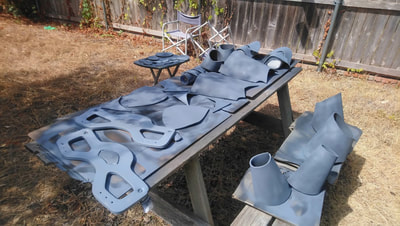
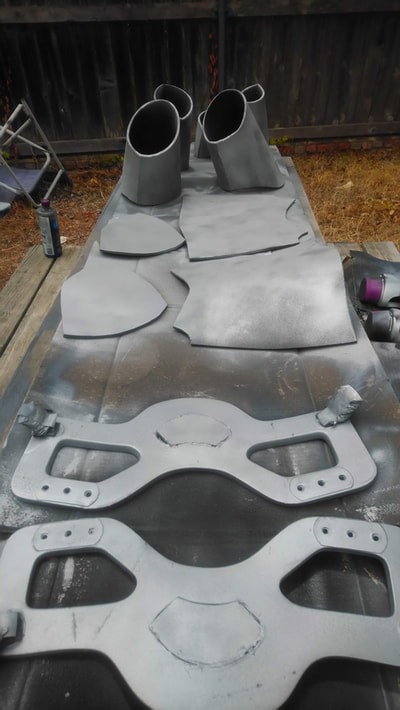
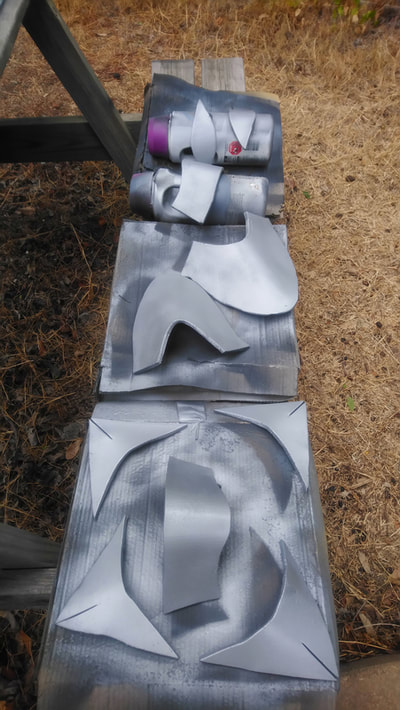
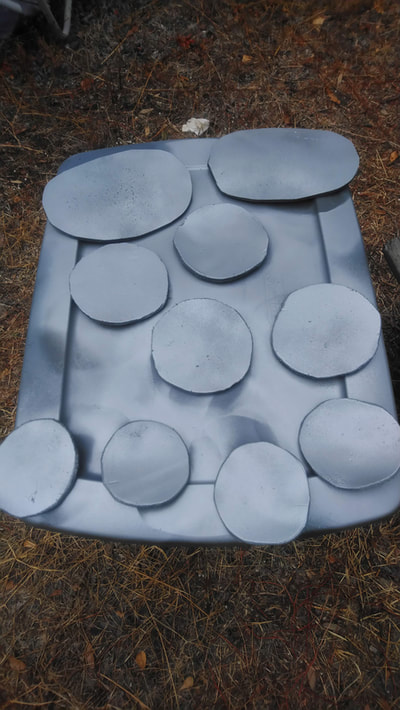
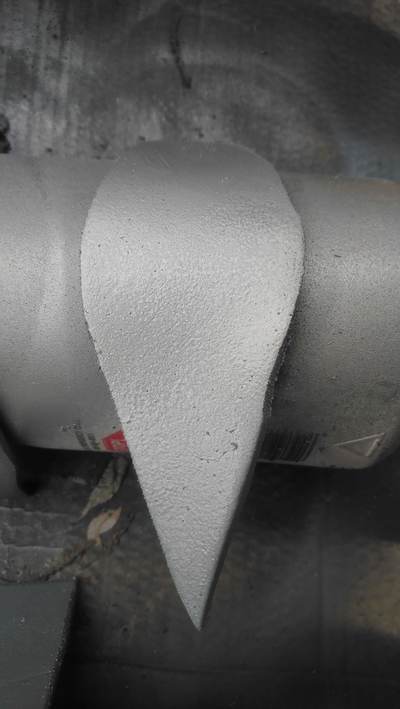
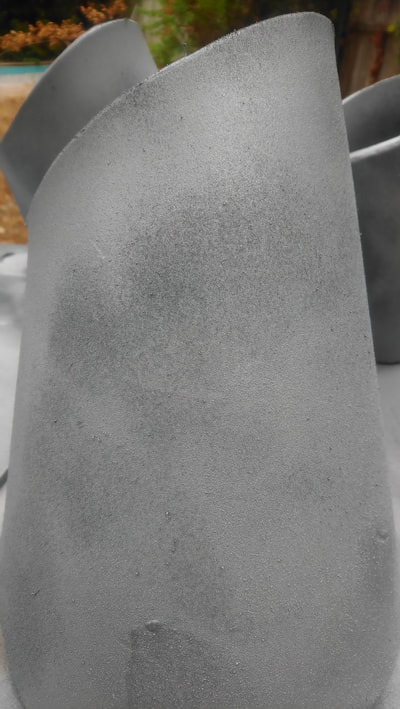
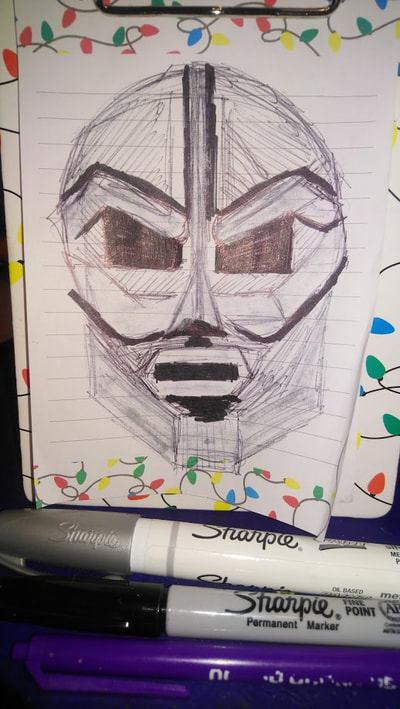
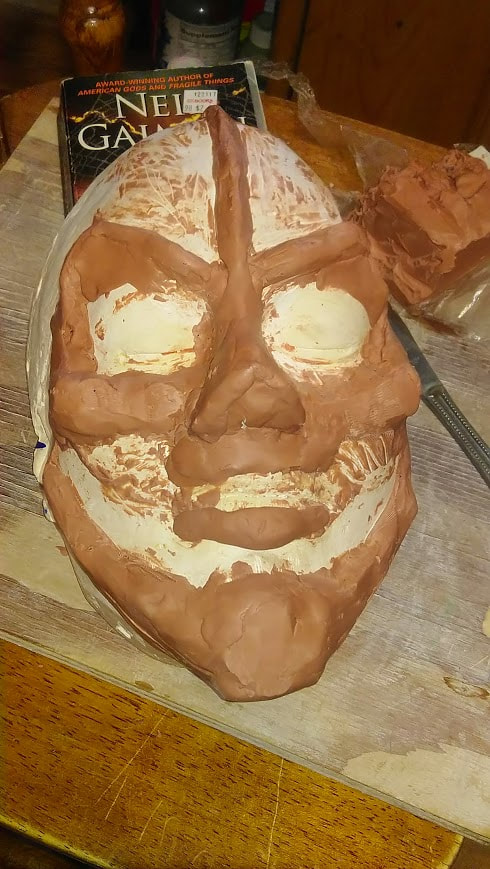
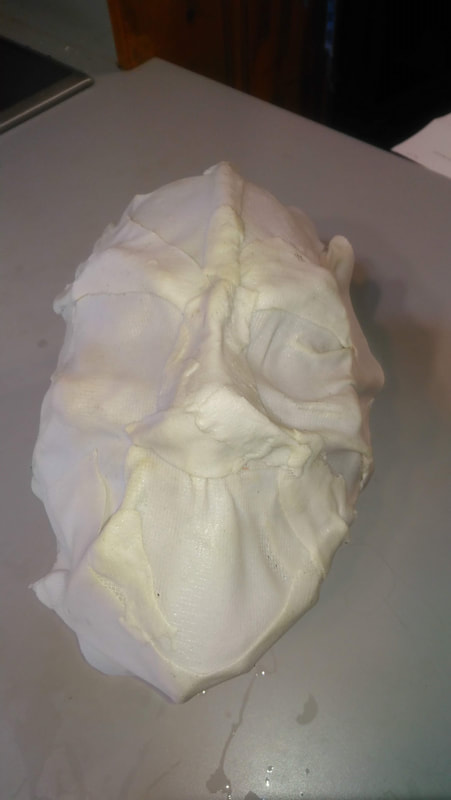
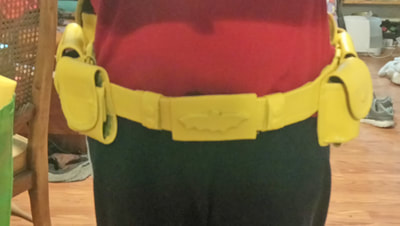
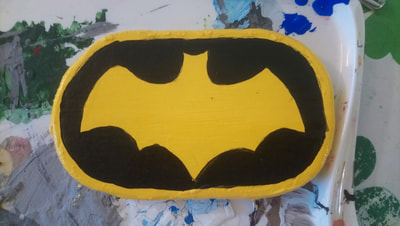
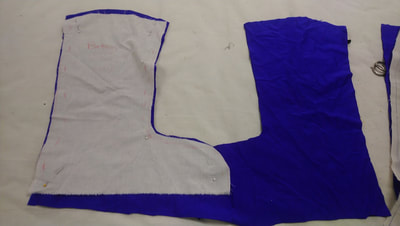
I just had to make squirrel tails for Wind in the Willows and it put me in mind of Squirrel Girl, who happens to be one of my husband's favorite Marvel Women. He'd just finished reading the Deadpool graphic novel that starred SG in which they went through a transporter and ended up with recombinant DNA daughter, Squirrelpool. It was hilarious! I love it that she defeats all her enemies with a chipper, can-do attitude and that there's nothing at all grey in her moral code. She's perky and positive and so happy to help, just like me! ResearchOther CosplaysBuildAll I need is OD tights, brown leo, brown bomber jacket which I already have thanks to the 80's, my Batgirl utility belt, brown Uggs, and to make yet another squirrel tail. There's an Etsy shop that sells real acorn earrings that I have already found. And then a brown headband with squirrel ears. And a ginger, short-haired wig. Easy peasy lemon squeezy! I just have to finish our Batman alterations first, then do Flash, then finish out Catwoman and Batgirl, then I can get started on this. Oops! When I was making my Batgirl belt buckle, I went ahead and made my SG belt buckle too. Update June 21: I ordered the brown leo from We Love Colors. My Robin tights accidentally got washed with the Batman stuff, so now they're grey, I ordered a new pair and will use the old pair for SG. Now I just need boots. Aug 2: I started on my costume by altering my 1980's leather jacket. I cut off all the fringe, then cut it much shorter at the hem, and cut 6 inches off the sleeves. I'm going to add fur to the collar and cuffs and around the hem. Then I used two coathangers and some crinoline hooping to make the armature for the tail. I need a good set a plier to bend the support ends over and a roll of gaff tape to wrap the whole thing up in. It took 3 hours today. I spent another three hours last night cutting and lining all the fur trim for the collar, cuffs, and hem of the jacket. Tues Aug. 14: I spent two hours that morning finishing the collar and cuffs fur trim on the jacket. I went back in the afternoon and spent another three hours on the tail. I also had to give my boots a quick acrylic paint touch up because they were falling apart. I used brown enamel spray paint to paint the white headband I found at Joanne's. It had some stiff net glued to it underneath a layer of stretch lace, which I ripped off. That dried really quickly. Then I cut ears out of the tail fur leftovers and stitched them together and handsewed them onto the headband. I was really happy with the tail until I got home and put it on and it ended up being so top-heavy that it fell over. I'm considering taking the whole thing apart and completely redoing it to be smaller and less top heavy. But today (Wed) I've pulled something in my back and can't really move anymore. This may be a doomed effort for Geekfest this weekend. Dr. DoomBecause Squirrel Girl needs someone to fight (and defeat) Rob said that he would condescend to be a Marvel villian and I let him pick his favorite among all of SG's vanquished. The costume is really simple: green tunic and hooded cape with a brown belt. The armour bits are more complicated, which is why Rob chose this one. He's still upset that I haven't built him a full suit of Dracula armour yet. Other CosplaysThe BuildJust bought these fabrics from Joanne's. The green poly was on the clearance table for $7 a yard. It's a bit like ultra suede but thinner. There were only 5 yards left so I took them all. It's going to be the tunic and the cloak. The black cotton with silver sparkle was on sale for $6 a yard so I got almost 6 yards which was what they had left. It's going to line the cloak. I also got two spools of green thread which was also on sale. Plus with my 15% teacher discount I only spent $66.15. I wish there had been more of the green, but it's very wide so I'll just have to make do. My plan is to pattern the tunic and cloak first and get all the sewing out of the way. Then I'll need to pattern the armour. I plan on making that out of L200 foam and paint it silver. It will be worn over his grey Batman unitard and brown Capt. Mal boots. I've already acquired a brown leather belt that's fairly wide. All I need to find is the gold broaches and chain to keep the cloak on him. To complete the costume, he will need a mask that resembles his armour and covers his entire face. I will not make that out of L200 foam, but instead use thermoplastic and paint it to match. Stay tuned for my progress this week. July 23: I patterned the tunic as well as the greaves (calf), poleyn (knee), and cuisse (thigh) portions of the armour. July 24: I patterned the vambrace (forearm), couter (elbow) and bicep (rerebrace) portions of the armour. Then I ordered the foam padding that is supposed to go under the actual football shoulder pads. I was trying to buy the whole thing but the adult sized ones were way too expensive so I just bought the padding for $25. I'm going to use it to attach the rest of the upper body armour to. I will need to pattern the pauldrons after the padding arrives on Thursday. I also still need to pattern the sabaton (foot). July 25: I patterned the sabaton as two pieces, a front that covers the toes and a back that goes around the heel. My plan is to attach them at the ankle with velcro. I also cut out the tunic and cloak pieces. I worked for 3 hours. I did a fitting on the tunic so it's ready to hem. July 26: I serged the cloak pieces and sewed them together individually. I bag-lined the cloak as one big piece so that there's no seam up the CB. I will still have to hem the circular edge, but the CF and hood are done. July 30: for the broach, I found metal disks and a piece of chain that I'm going to use to create the cloak closure. All I need is two dog clips and backings for the disks. I can probably get them at Joanne's. The ArmourThis is the e-book I downloaded for the low, low price of $10. The author is Bill Doran. He is with Punished Props. It's a great manual. I found this for sale. It's a life size Dr. Doom armour set, for larger cosplayers only (6ft and taller). It's made from fiberglass and the helmet alone is $400. If you want the whole suit it's going to set you back $2000, but since it was custom-made they only did the one and it was sold, so there aren't any more of them. But I can totally use the photos for reference. Aug. 2: I cut out all the armour pieces. It took an hour. There are 32 individual pieces. Aug 6: I went to Home Depot and bought $100 worth of paint: 4 cans of black plastidip, 4 cans of grey primer, 3 cans of silver, 2 cans of Plastidip clear gloss, plus gaff tape, glue sticks, and a mask. I also began sculpting the face for his mask. I'm going to make it out of thermoplastic, but use all the same paint as the armour. Aug. 7. I got out my dremel and heat gun and went to town shaping and smoothing all the pieces. Then I realized that I didn't have the right attachment, I'd been using one for sanding wood, and had to order the right grinder one from Amazon and it will be here sometime today. I got 9 different grinder tips for $6. plus free shipping. I decided that if the edges really bothered me I could go back and re-smooth them after I did the painting, because I couldn't lose two whole days of not working. My grinder bits didn't show up. Aug. 8: I did three coats of the black Plastidip after I watched this video. It was in the evening and shady when I did this. The plastidip dried really quickly, Aug. 9: My grinder bits finally showed up. I smoothed some edges and then quit. I did three coats of grey primer. Unfortunately, it was over 100 degrees outside and I was doing it in direct sunlight, like an idiot. The foam melted back into it's pre-heat shaped flatness on several pieces, because it was just too hot. The pre-made and sealed shoulder pads never dried/hardened and remained sticky. The humidity was really high and it started raining later that night. I noticed that the grey primer made the plastidip grow fur and now all my pieces look like they're supposed to be made of granite, not metal.
Aug. 10: It started raining and then rained on and off the whole weekend. I was able to get two coats of the galvanized silver color on so far. At this point the silver is not doing the galvanized thing it's supposed to be doing on any of the pieces. It may be the humidity or the fact that they grey primer made it furry. I don't know. It's not working. I'm forging ahead and damn the consequences. Aug. 11: I got two coats of clear coat on before the rain started. The consequences of this weather are that when I bend the pieces now, the paint immediately cracks. This sucks. All the paint cans say to only use it when the temps are between 50 and 90 degrees and it was over 100 every day this week. Also, the humidity is supposed to be below 65% and it was way above that starting on Thursday. Also, the wind was not cooperating either. It kept blowing all my pieces off the table. I feel like my Dr. Doom armor is just doomed. Aug. 13: I got out my thermoplastic and started forming it over the sculpt. Normally I am very good at this, but I think that the stress of the paint cracking and wanting to get this all finished by Friday was too much for me and the thermoplastic ended up folding over on itself in the hot water and getting pretty much ruined. I persevered and tried to fix it as best as I could, but the mask looks like Clay Face instead of like metal armor. I will use the same paint techniques on the mask and see if the cooler temps this week (because of the rain) will help. Thermoplastic literally melts in the heat. I don't know how the absurd humidity will affect it. At this point, I don't even care, I'm so done with this project.
0 Comments
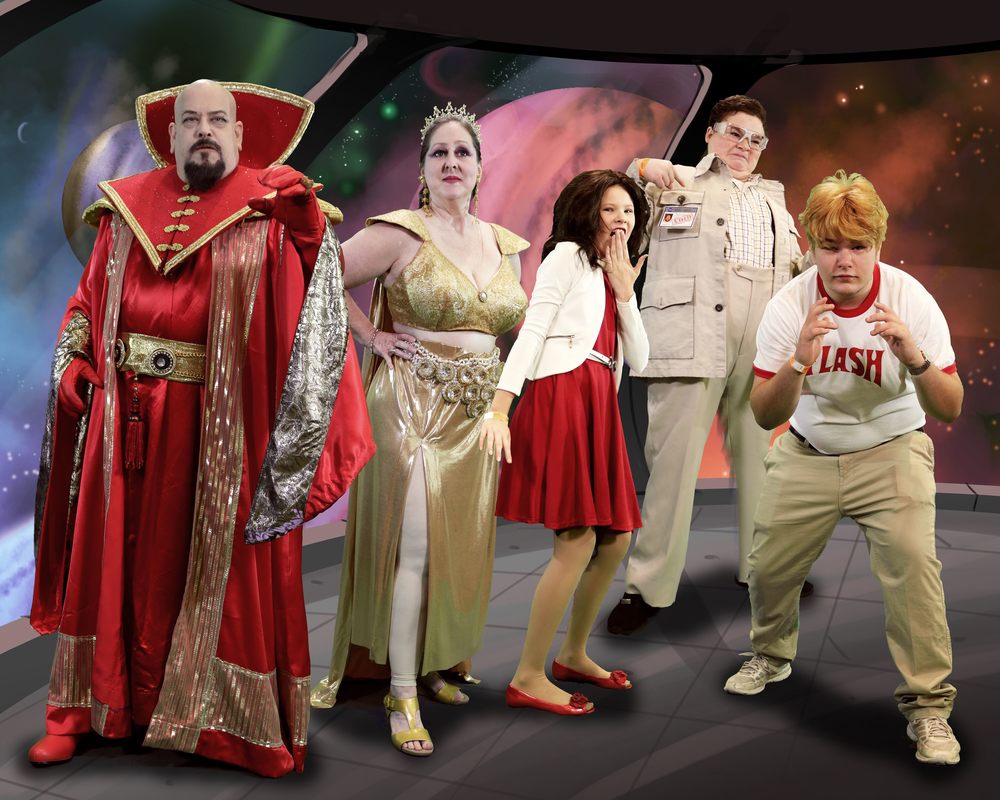
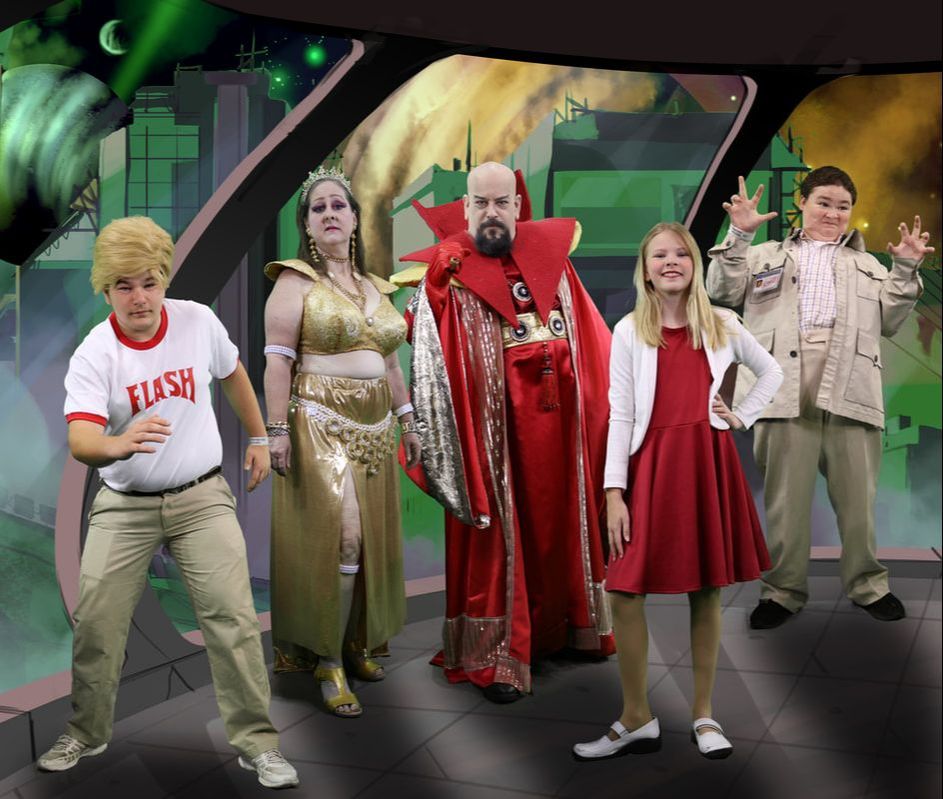
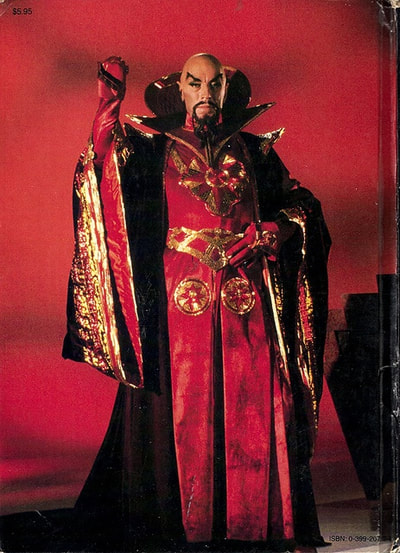
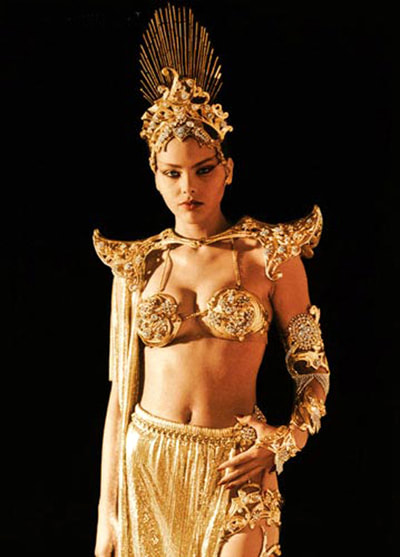
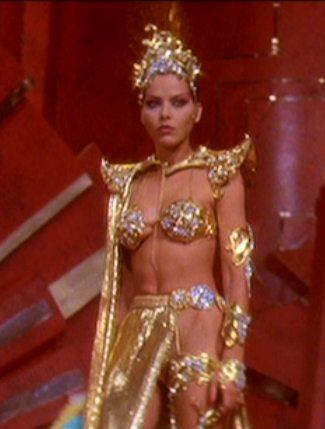
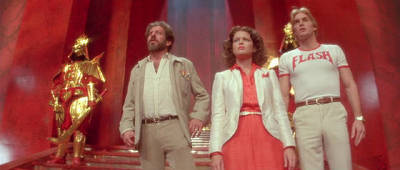
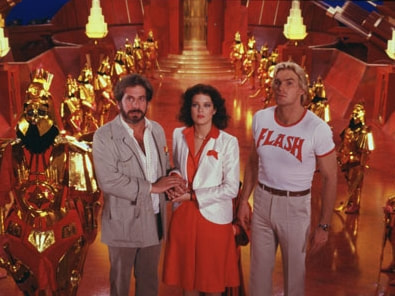
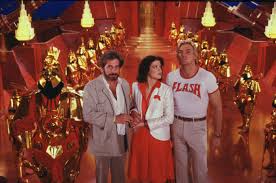
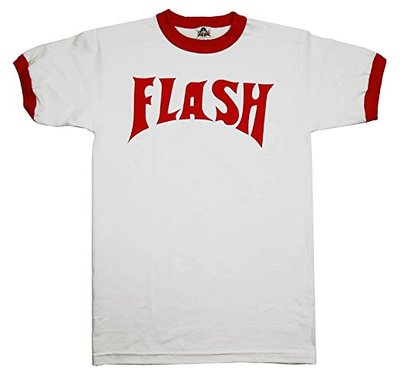
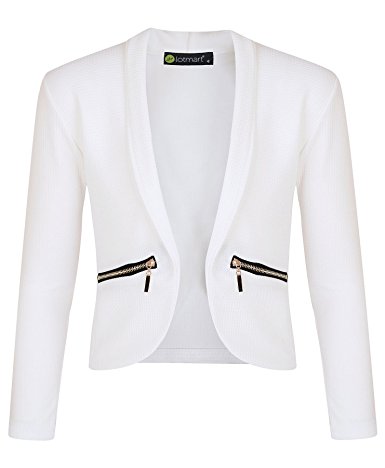
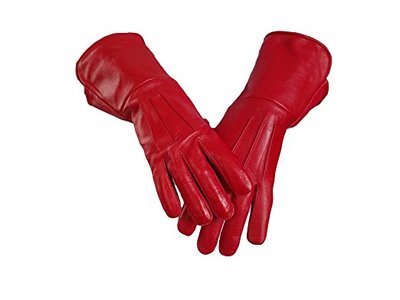
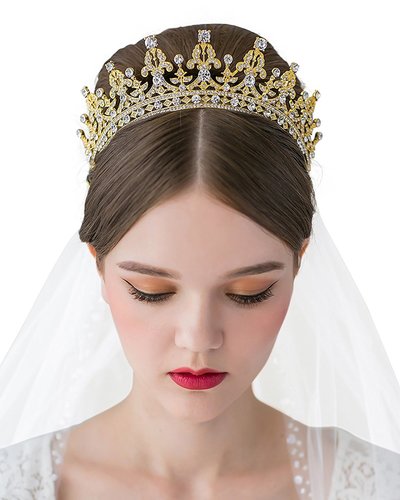
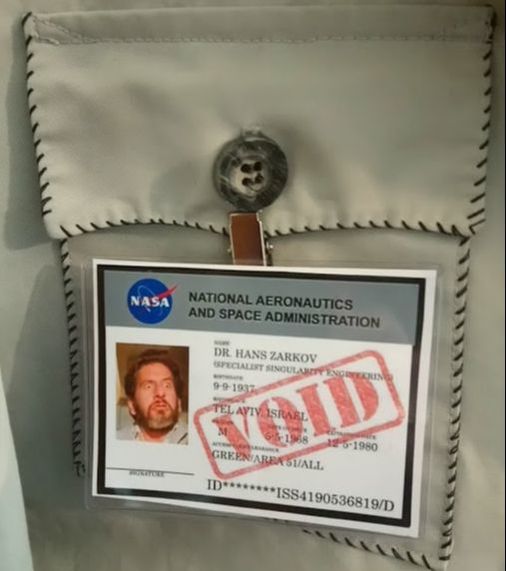
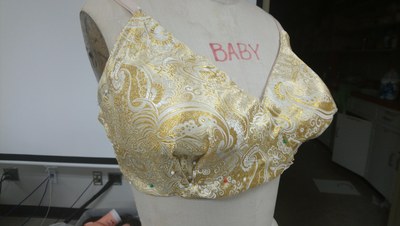
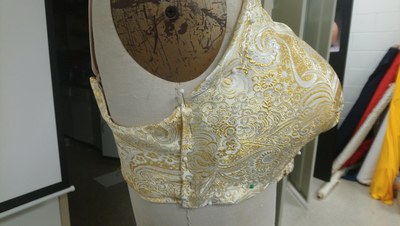
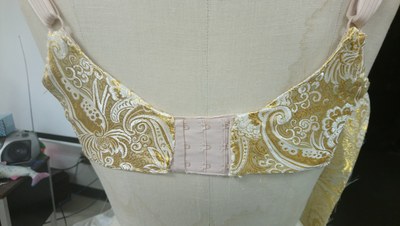
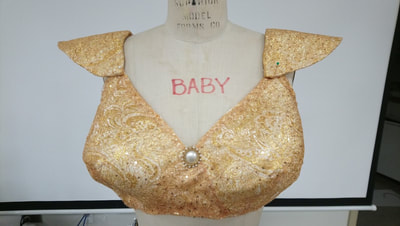
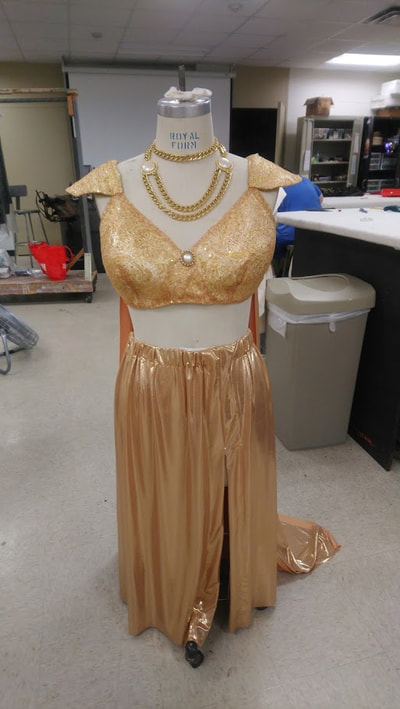
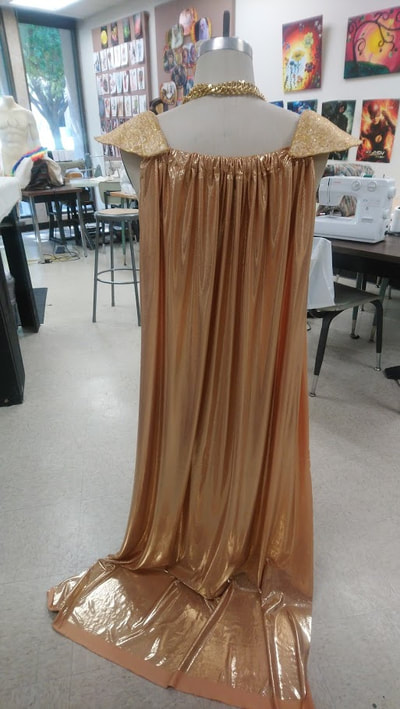
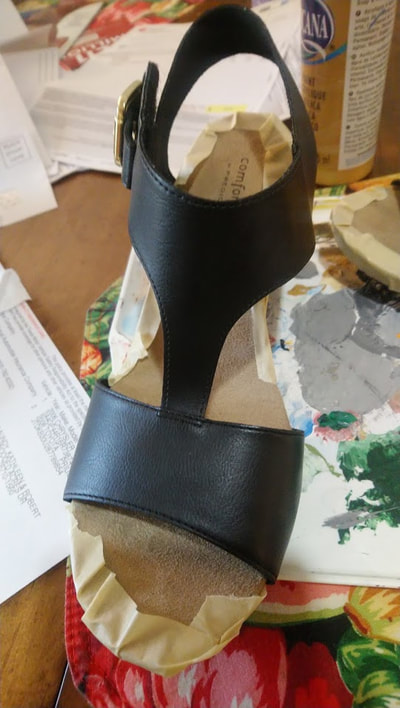
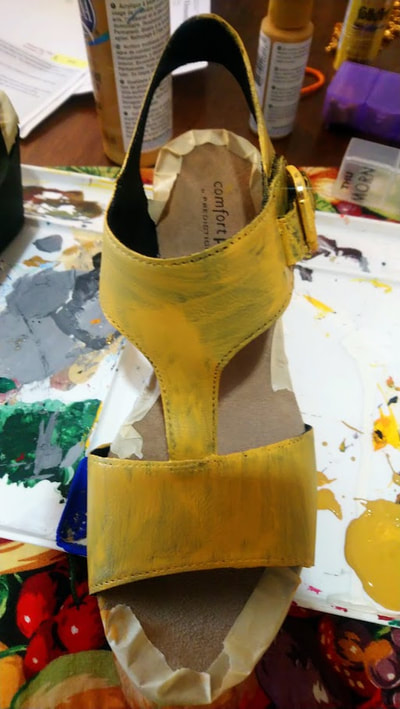
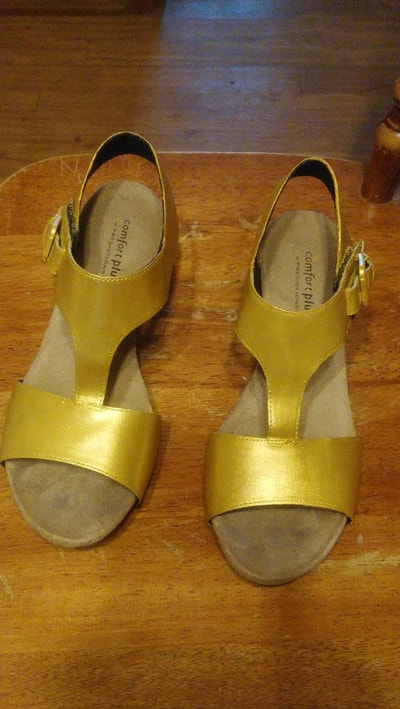
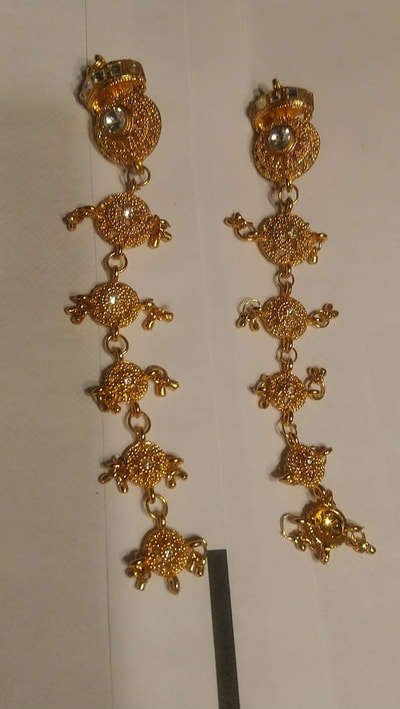
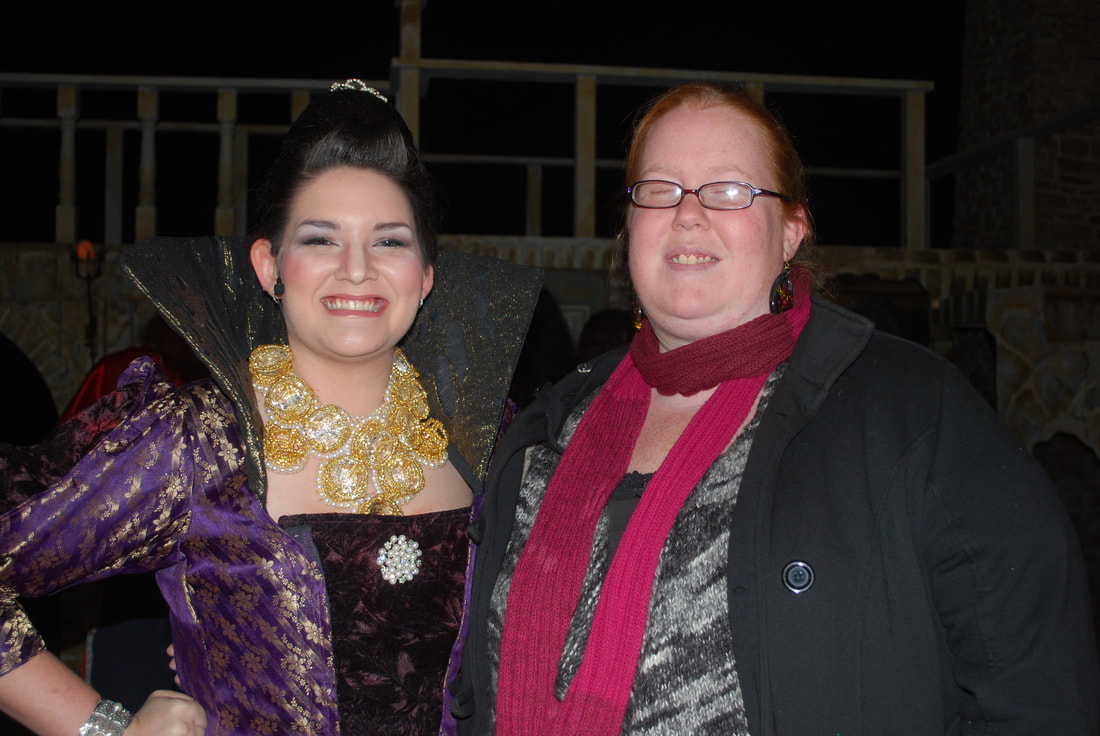
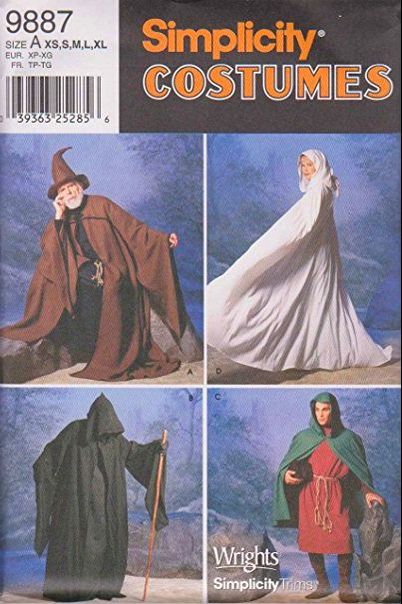
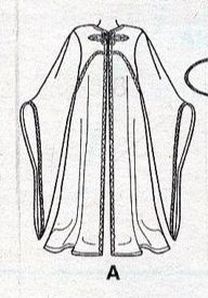
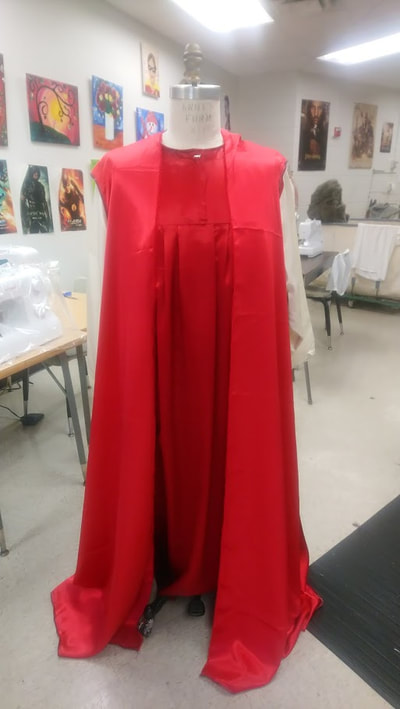
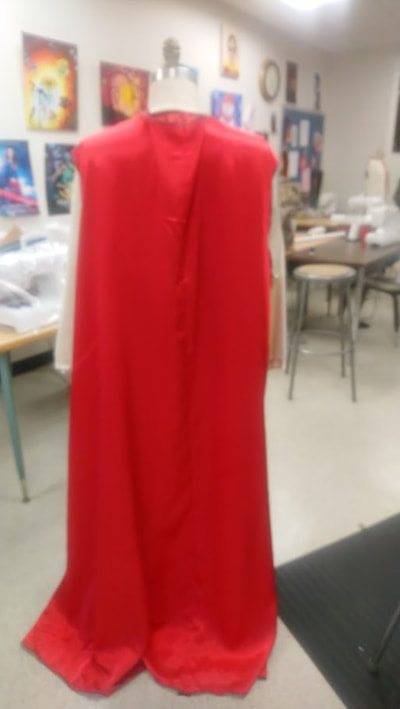
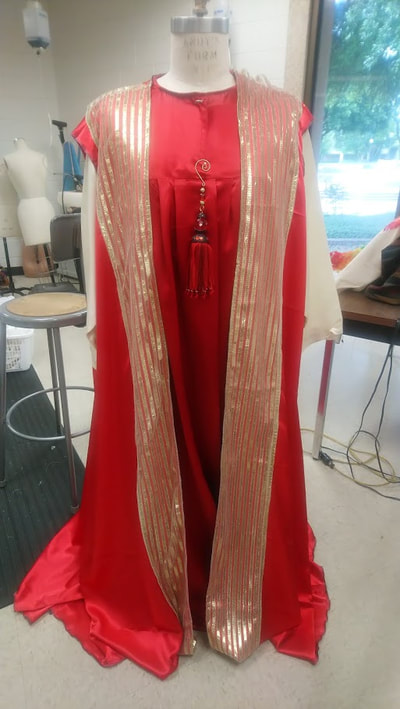
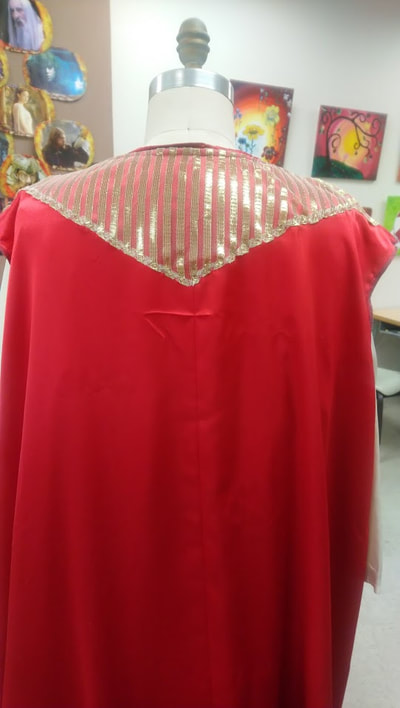
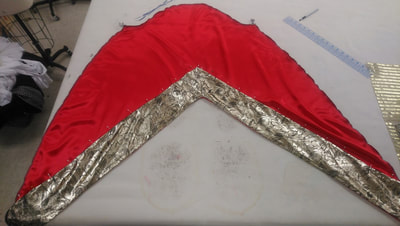
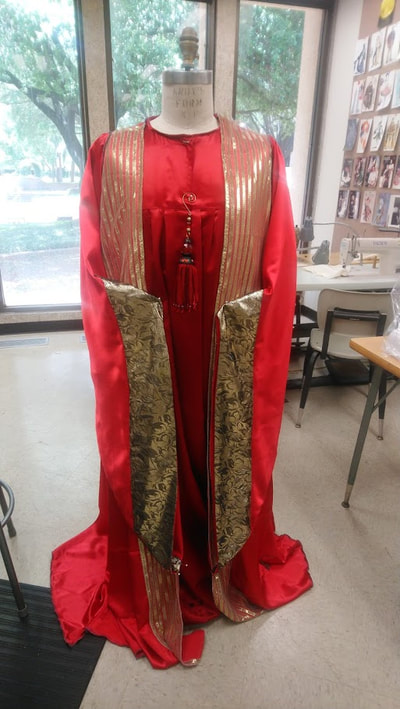
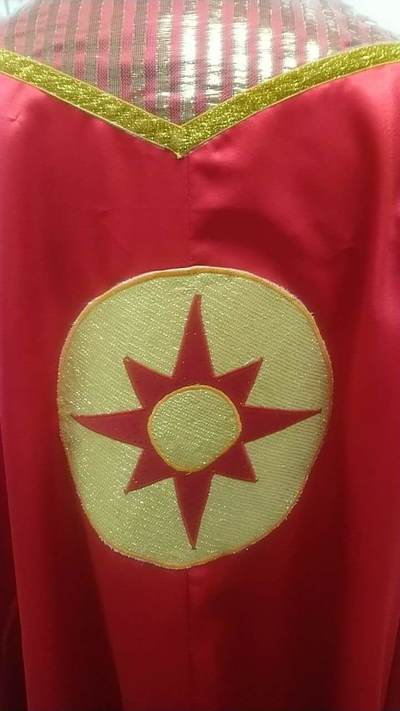
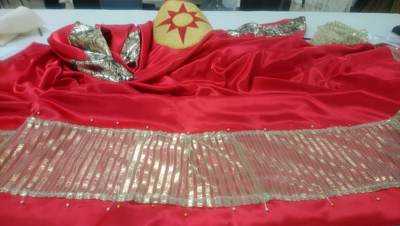
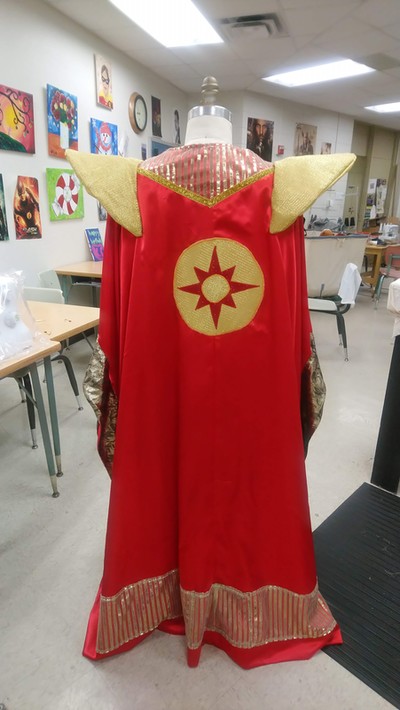
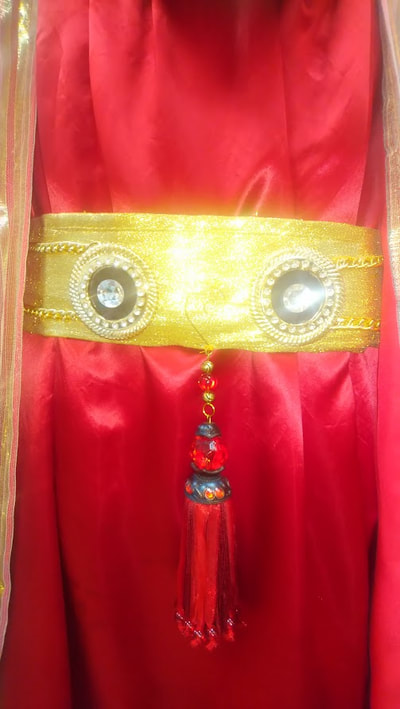
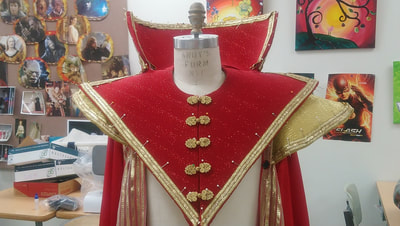
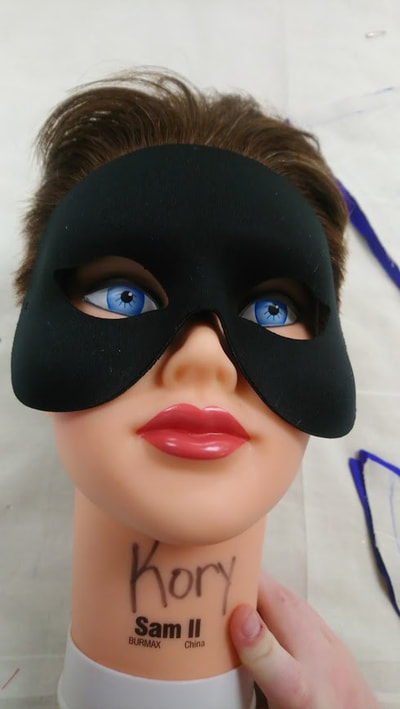
We decided to do this cosplay because Sam Jones and Melody Anderson are going to be at the Greater Austin Comic Con in June. It was actually Seth's idea. I mulled it over for about 24 hours trying to figure out if I could pull this off in the very little time I had after Wind in the Willows was over minus the three weeks we were going to be in London. I decided that Yes, I had the time and since it would be AWESOME, we're doing it. I love this movie! Rob is going to be Ming the Merciless, I"m going to be Aura, Seth is Flash, Sarah is Dale Arden, and Sylvan is Dr. Zarkov. This time around the kids are the good guys and we're the villians. ResearchPurchasesAmazon Smile and Prime membership is an amazing tool that I highly recommend! The first thing I did was order the Flash shirt. That was the easiest thing to find. Dale's dress and jacket combo was much more difficult since people don't really design business blazers sexy, red shirt-waist dresses for children. I came across the red gloves while shopping for driving gloves for Toad for WITW. They were only $22 and they're real leather in a size 2X. The taira wasn't a perfect match, but it's something I can add to. Both the boys are in khaki pants, not a problem, but Sylvan needed a plaid shirt for Zarkov and a khaki jacket/shirt combo with lots of pockets. Goodwill here we come. So I made this, this morning, using Photoshop and sent it to Walgreen's for printing on nice, glossy photo paper. I had to significantly lighten Topol's face as well as the grey ground behind the NASA title, so that it would print out at the same value as it looks on the screen. The build ProcessMing and Aura I'll have to build. Ming's stand up collar is going to be a little tricky, but it's something I've done before for Queen Anne in Three Musketeers. My version will not have 100 pounds of bugle beads hand-sewn on it however. Stay posted for more photos and updates as I go. AuraThis week I started on my bra. To prep, I had to go buy a new bra from Target, it was beige. That was a chore. I hate bra shopping and I hate wearing them and especially underwire ones, but that's what this character required. ANd to make matters worse, they didn't have the band size I needed, so I had to buy a bigger one and then take it in at the side seams. The bra is getting covered in two different fabrics. First a white/gold paisley print, and then a gold sequined mesh fabric. I hand stitched the gold all the way around the bra. I didn't bother to cover the hooks and eyes tab because the cape will completely cover the back. I still need to finish all the hand stitching and then have a little fitting. So I did that and even though I was very careful to only top stitch and to leave room for stretching, I clearly didn't allow enough stretch room and now it's too tight around the band. I'm going to need a band extender. Now that I'm back from the UK, I've finished all the hand stitching, cut and stitched the skirt, added the elastic, rigged up the necklace as a belt. I still need to stitch the wings to the front and back of the bra, then use snaps to attach the cape to itself around the back of the bra straps and underneath the wings. I'm going to use the rest of this week to finish up Aura and then start on Ming next week. It was rough this week with still being jet-lagged and having so much catching up to do with the kids and the general state of the house and work that I'm only getting two or three days in. We'll see how hot it gets in there on Friday with no A/C. I still need sandals (i.e. shoes that I can actually stand in on a concrete floor all day long) and to rig up the tiara I bought to actually stay on my head. I'm thinking elastic. I have some great earrings, but they're broken so I'd need to get new backs to glue onto them. Thursday I ran those errands. Joanne's had the earring backs and a bra extender that I needed. I also bought some gold glitter corrugated cardboard paper and a cheesy Fourth of July kid's headband to use as a base for the spray of gold that shoots up from the crown. And I went to Payless and bought black wedge sandals that I can hopefully stand up in all day and painted them gold. Two coats of base acrylic yellow and two coats of metallic flake gold acrylic and to finish, two coats of clear coat. As for the earrings, a little E6000 and those posts are back are on for life. Friday it was 78 when I got there at 9 and it just kept getting hotter. I used the rest of the gold lycra to make the cape. I sewed channeling in the top and ran a piece of elastic through, then sewed snaps onto both sides so that It snaps around my bra straps. Then I sewed snaps from my shoulder wings to the top of the cape. So now those three pieces all connect nicely and hold each other up. I still need to hem the cape once I figure out how much of it is going to drag on the floor in my heels. I ended up cutting off the selvage from the cape hem, and then hemming it 3 inches and people still stepped on it at the con. The shoes were fine for the first three hours of standing and then I was done! We sat to have lunch, then we continued to sit at the Flash Gordon panel, then we stood in Doug Jone's line and then we left. I wouldn't say I was in excruciating pain, but it wasn't pleasant, and even the two hours of sitting didn't reset my feet enough to do anything more than meet Doug Jones. With all that being said, I'd still like to add a bunch of crystals to the shoes. MIngSo here's the stand up collar I made for Three Musketeers and here's the necklace that Shanna made for it. I'm using it as a belt for Aura. Rob came in for a fitting today and while he was there I patterned the collar. I still need to true the seams. I have to hem his gown and fix the sleeve hem on one side. I need to make a sleeved cape for him as well as a V-shaped belt. I have a belt that I can use, it just needs to be added to. He's already shaved his head and bought Just for Men gel to dye his facial hair. I started making his cape Tuesday. I found a pattern, Simplicity 9887 which is a group of patterns for tunics and capes that are supposed to look like LOTR. I went with view A cape (no hood). The yoke is supposed to be a seperate piece, but I just pinned the pieces together before I cut them out of my fabric. I folded under the CF edge about 6 inches before I cut those pieces out. The sleeve pattern was missing, so I had to draft that first. I got all the pieces cut and serged and got the two backs and two fronts pinned and stitched together. I left the sleeves out so that I could add the layers of gold fabric to them before I set them into the armholes. And I'm going to have to make shoulder wings too that will either get set in to the armholes before the sleeves or be added on top. Not sure how that's going to work. Anyway you look at it, I've got a long two days of work ahead of me. Tomorrow I promise, there'll be photos. So here's what I got done today. I added the gold trim to the CF opening of the cape (in a previous life it had been a shower curtain) and hemmed that. I added a different gold fabric to the sleeves for trim (cut on the bias just like the sleeve pattern), and then attached the sleeves. I started making the giant shoulder wings out of men's suit shoulder pads, and have them covered in felt, but still need to cover them with the fashion fabric (gold taffeta and gold mesh) and attach them. The cape still needs to be hemmed, have it's gold trim added to the hem, have trim added to the belt, including this awesome tassell I found. Then there's the small matter of the giant V collar and halo assembly, as well as the red star in a gold circle applique that will go on the back. I've decided there's really no room for another one on the front. When I got home I discovered that Rob had shaved his head and dyed his facial hair.
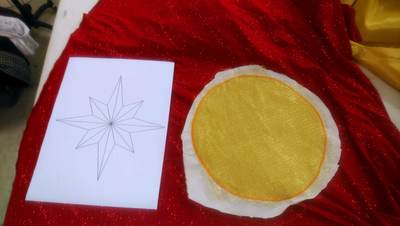
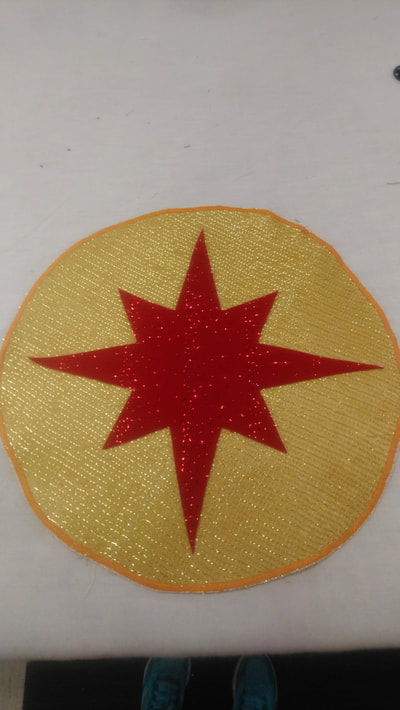
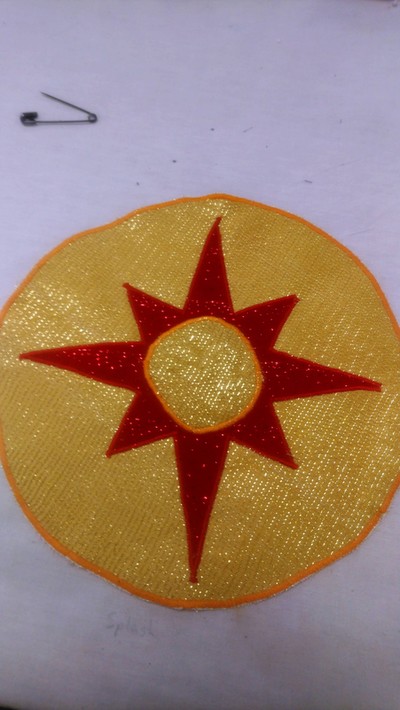
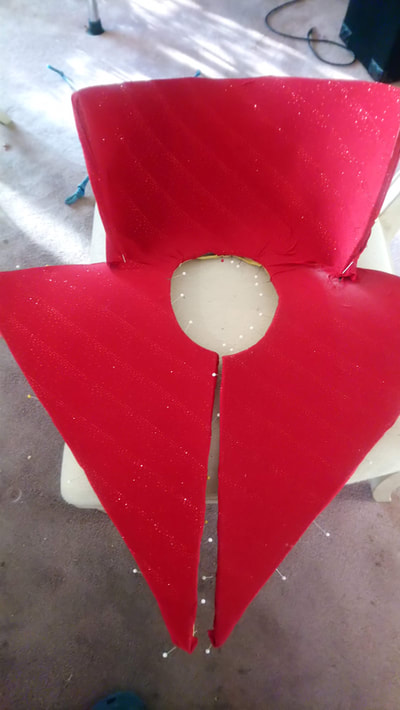
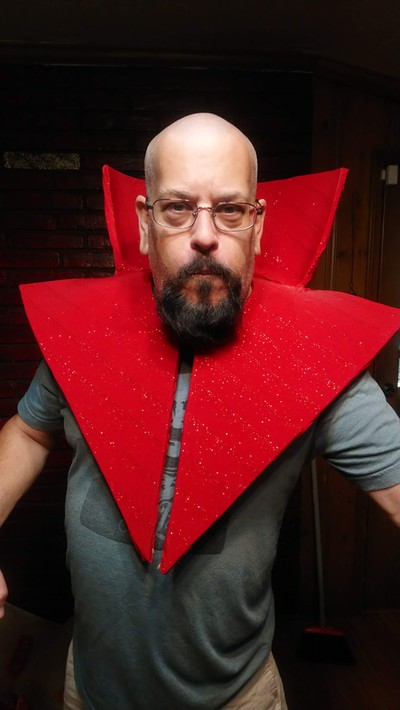
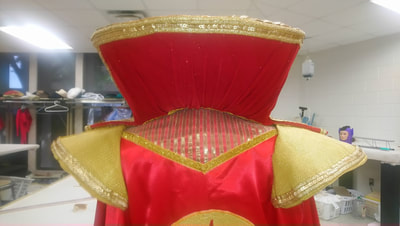
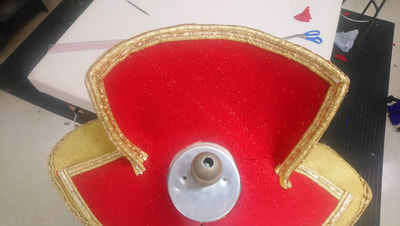
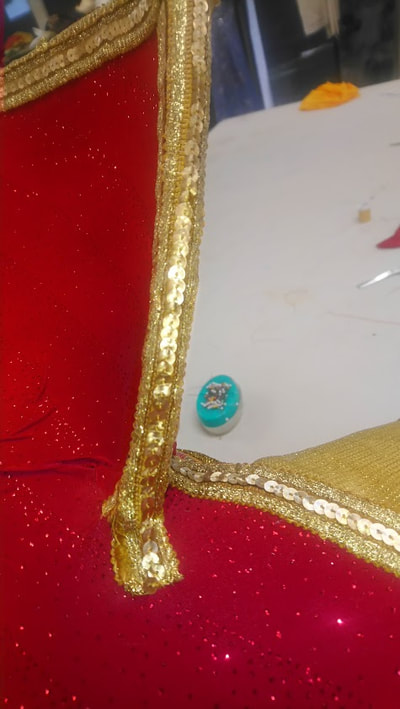
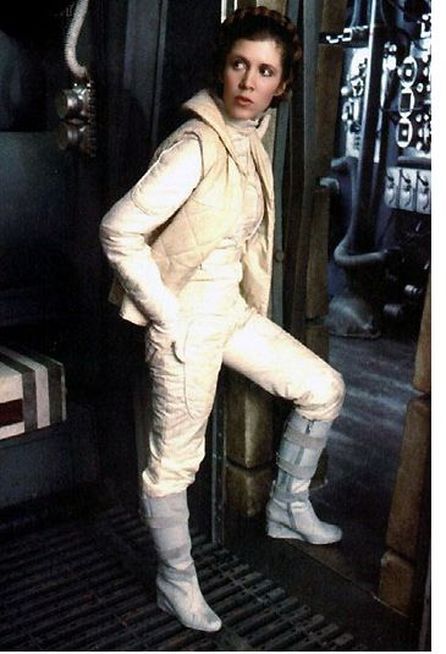
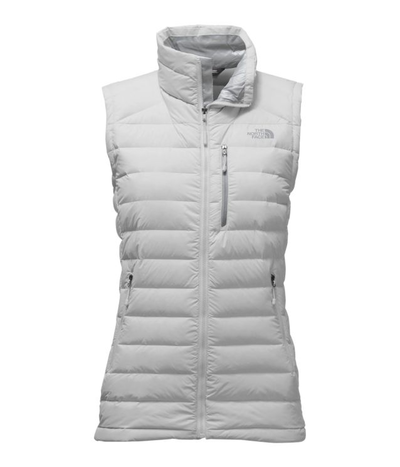
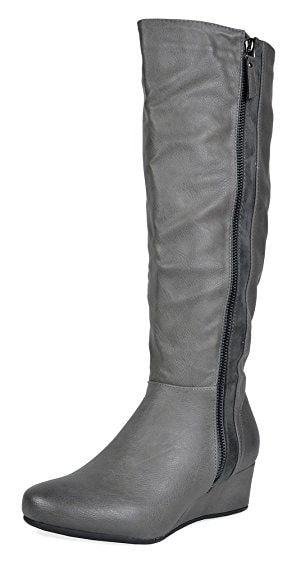
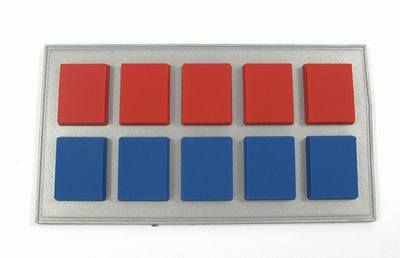
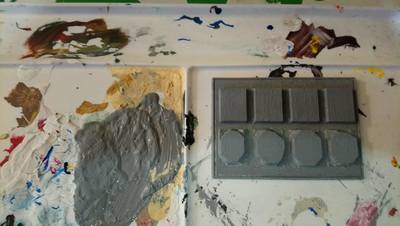
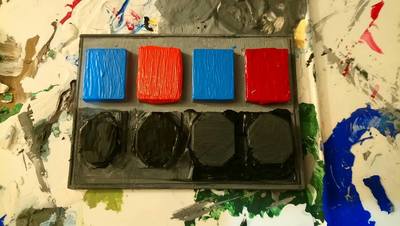
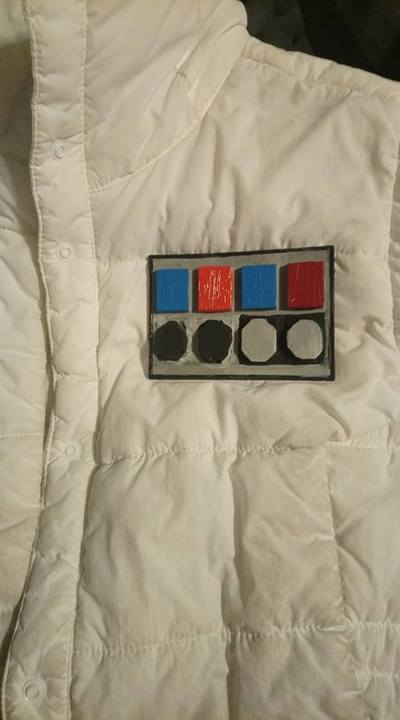
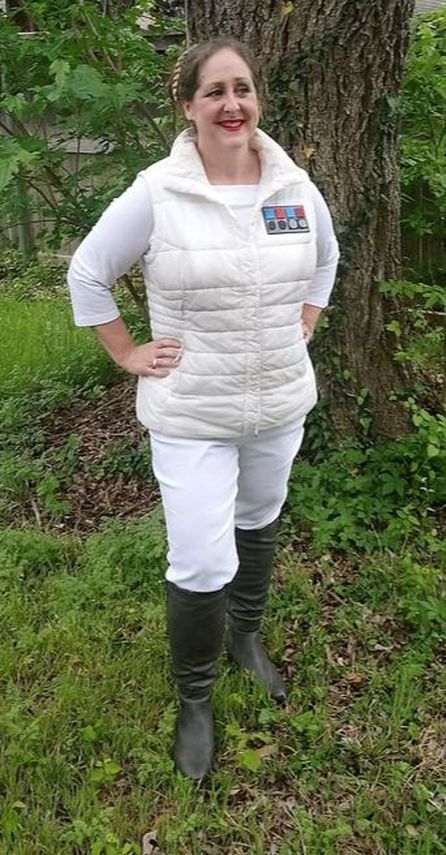
The star applique was a many-staged yet simple process. I found an eight pointed star clip art on google image search and printed it out and the right size. I used geometry to cut a larger than the star circle out of the gold taffeta backing fabric and the gold mesh I used to make the shoulder wings. I backed the whole thing with muslin and zig-zagged on the smallest setting all around the circumference. I cut the star out of the glitter lycra and fusible interfacing and ironed it to the gold circle, then zig-zagged around it on the smallest setting. Lastly I cut another smaller circle for the inside out of the same gold taffeta and mesh and fusible interfacing and ironed it onto the star, then zig-zagged on the smallest setting around that. To attach it to the cape I ironed it on with fusible interfacing and then used a straight stitch to make it permanent. Making the stand up collar was neither simple nor straightforward and the whole process wasn't begun until 9pm the night before we were leaving for the con. It took exactly 3 hours to get it patterned, cut, shaped, and covered in glitter lycra. Here's how I did that: I made a pattern out of muslin with a CF opening and a hole big enough for his neck with no seam allowance. I cut it out of L200 foam and then cut in where the lapel breaks from the collar about 2 inches. I used a heat gun to make it lay on the mannequin in the right way and make the collar stand up. I used hot glue to turn the collar edges that I'd cut in at a 90 degree angle to the lapel and then glue them down onto the lapels. I didn't get any photos of that process because it was already late and I'd lost the precious air-conditioning that I need to function. Then I had Rob help me and I sprayed the front of the foam with adhesive and attached the red lycra. That part was pretty nerve wracking, but the adhesive and lycra were fairly forgiving and let me pull up sections and stretch them out again so there weren't any wrinkles. Once we got the front covered, I cut out a backing piece from the gold taffeta and spray glued that on. then we went home at midnight, considering it a job well done. The worst part was the next morning when I had to then hand-sew the edges of the gold onto the red so that it wouldn't come off when the glue crapped out. Even though I used a curved needle which I highly recommend, it still took another 3 hours because of the adhesive making my needle sticky and also having to go through the foam. My hands were really arthritic feeling by the time I was done. So we got to the con and it was fine, except that the collar didn't have anything to keep it closed or on straight. Also, it clearly needed more trim. So once we got back, I found 12 yards of gold sequin trim that was on sale for 75% off because it was damaged. it had clearly been stored in a hot place for too long and the sequins had melted in a wrapped around the card position so that when you unwrapped it, they ribbon had regular humps all down it. The "damage" was easily fixed with a hot iron running over the back of the fabric while stretching it out flat. What a bargain! I added the sequins around both shoulder wings and all around the stand up collar. All of that trim had to be hand-sewn on which I did at home on July 4th during the day. It took seven hours with a curved needle and sucked worse than sewing the backing fabric on, because I had to sew on both sides of the sequins! After all that the collar still wasn't standing up as much as I wanted, so I added another row of sequins to the top and sides of the collar on the edge. I started sewing in the middle of the top edge and went down the sides to where it met the lapels. Once there, I pulled the sequins very taut and turned the end under like an L bracket and stitched it down to the lapel and that pulled the whole thing further forward. Things that I did that aren't visible to make the whole thing work better: I added hooks and eyes from the cape to the tunic so that it wouldn't slip down off his back, one at the CB and two on each of the side seams. I also added two snaps on either side of the CF opening of the cape to the tunic for the same reason, but lower down on the chest. After the con, I went back and added snaps from the collar to the shoulder wings to keep it from spinning around his neck every time he turned his head. The belt velcroed to itself but because Rob has a tummy it wouldn't stay up in the right place, so i added snaps from the belt to the tunic to keep it around his middle without falling down. I have been wanting to do a Hoth Leia ever since my sister did it for Halloween a few years back. Once Orphan Black aired and Allison was wearing Leia's Hoth vest, I knew that I must have one! Coincidentally, my "seestra" also does Helena from Orphan Black. So, I have been on a quest to find a white ski vest for a few years now. Goodwill never has them in my size, unfortunately. So this year I put it on my Chirstmas list and my wonderful husband hunted one down at the Mall. It was brand new, never been worn before and it was MINE! Naturally I didn't have anything else to go with it, but I wore it all winter, almost every day anyway. Then in February, I was show shopping For South Pacific, and came across white pants and a white long-sleeved shirt that actually fit. Those went into my cart immediately. And so I had the basic outfit but no shoes or greeblies. A few weeks later, still show shopping at Goodwill, I found a pair of grey, wedge heeled suede calf length boots that had a fur cuff. They were beautiful and perfect and a size 10. Waayy to big for my foot. I was super sad about that. So I went home and tried to console myself by making Greeblies out of my kids' legos, but they didn't have any pieces that were the right color or shape. Flash forward to show shopping for the last production this season, Wind in the Willows. I bought probably a hundred things from Amazon Smile with our Prime Membership. I thought to myself, I wonder if I can find Leia boots? And the answer was, Yes, Yes I can! For the low, low price of $29.99. So here they are: grey, wedge-heeled, leather, zip up, but no straps. Then I mused, surely someone makes Greeblies that I can just buy. And I asked Amazon Prime and they answered me with Empire Greeblies, $13.99, which I can totally make work. The boots arrived the same day as my Greeblies, which was last night and I immediately got to work. GreebliesThe Greeblies are molded silicone and are very flexible. Some of the reviewers on Amazon had a huge mad about the Greeblies, "When it arrived I couldn't even wear it, there was no way to attach it to my costume!" they ranted. That's why the Empire lost, you fools! I can either do sticky velcro to the Greeblie and stitch on velcro to my vest or I can glue on a magnet strip to the Greeblie like my work name badge or I can duct tape on a safety pin. There are so many ways you can attach it. But, the first order of business (did you get my pun?) was to reshape the bottom row of squares into circles. I used an Exacto knife and didn't cut myself once. It took about half an hour. Then I repainted the whole thing in primer grey. I used acrylic paints to do a base coat of light blue, orange, red, and black. It was so hard to wait and let it dry overnight, but I did. Then I did a second coat and used a smaller brush to clean up the edges. I still need to do a top coat of clear to protect it and then decide how I'll attach it, but it's ready for me to wear to my first ever Cosplay Presentation for West High School theatre students on Monday. Me!There should be snow. I ordered better hair braids tonight because my hair isn't long enough to make visible braids. Also, I need orange lipstick.
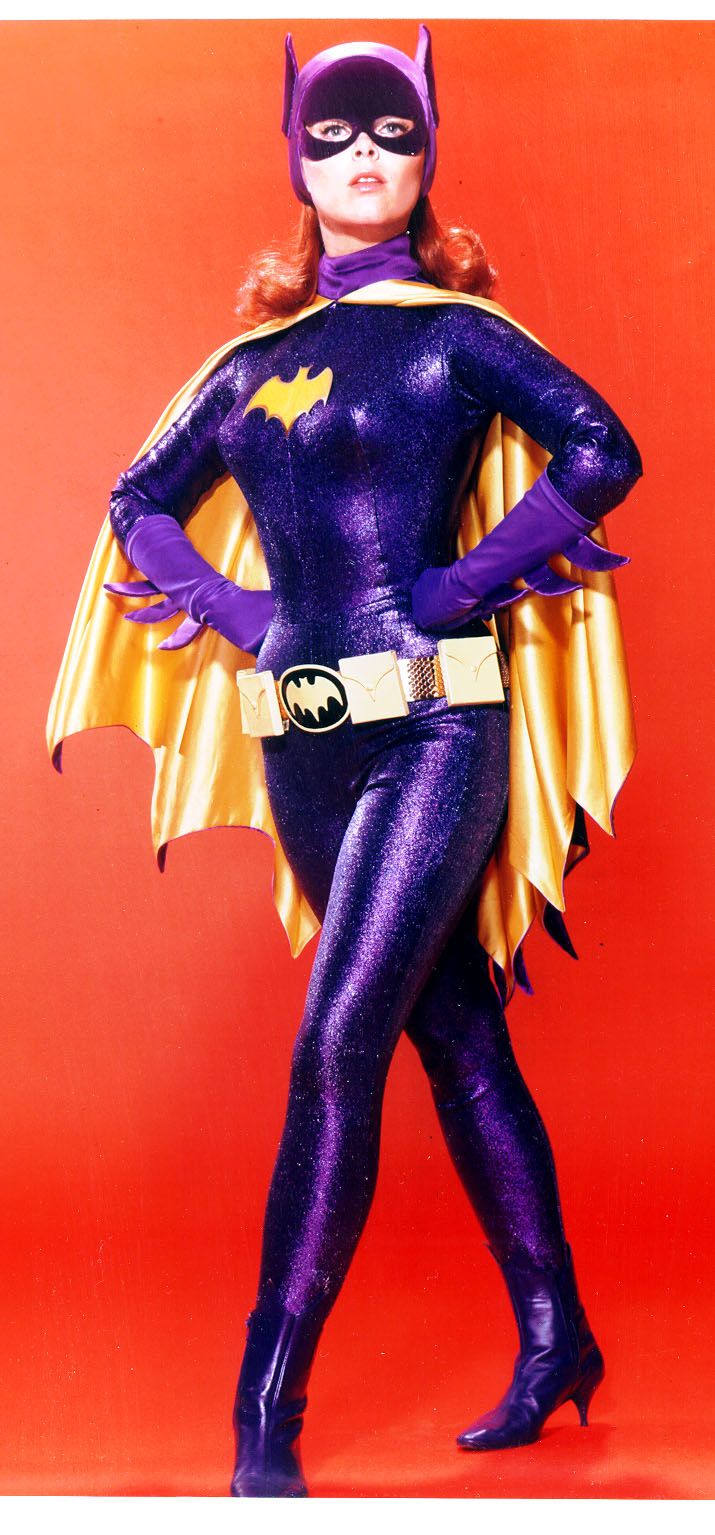
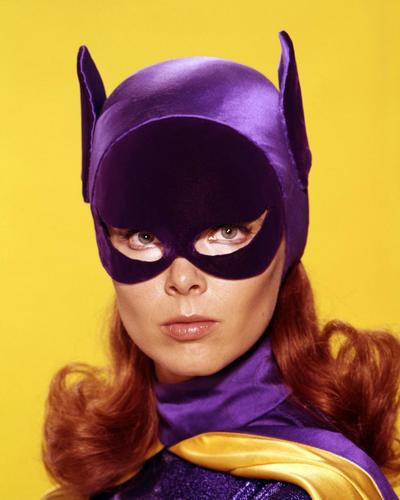
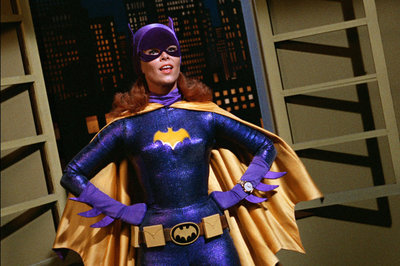
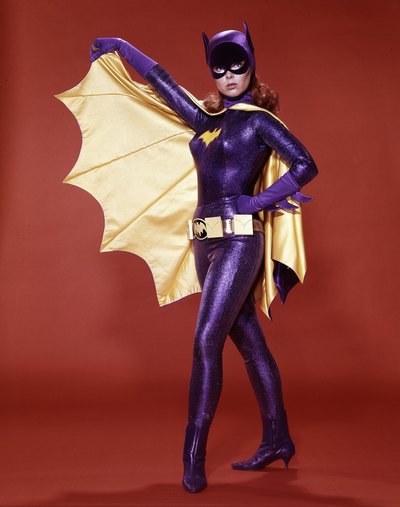
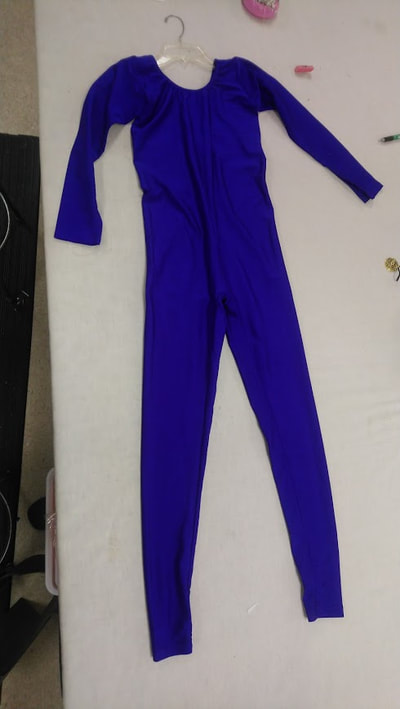
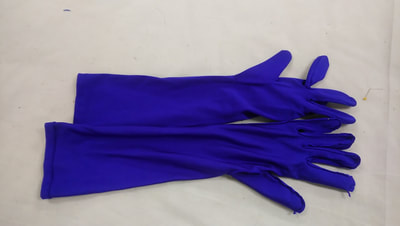
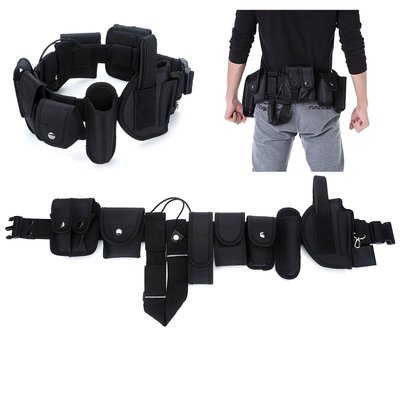
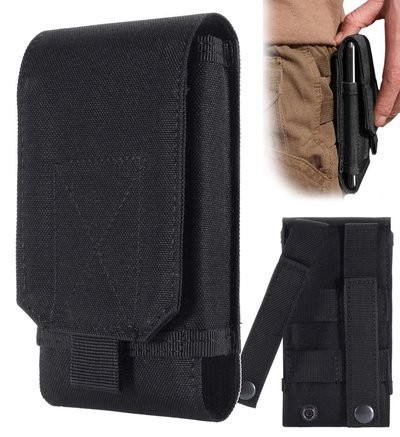
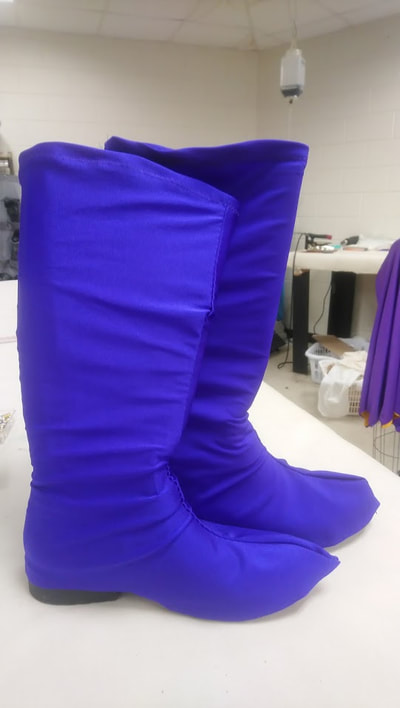
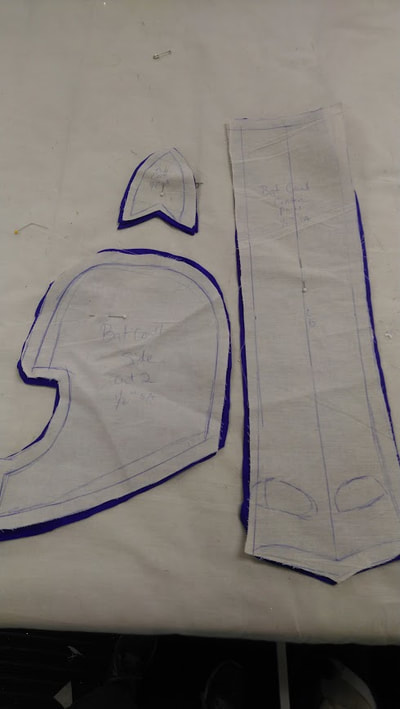
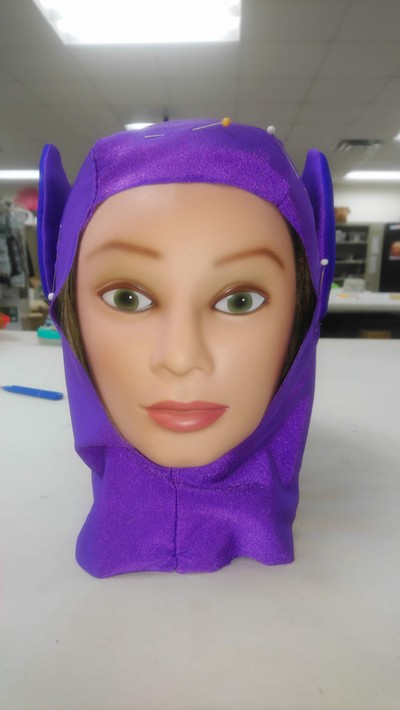
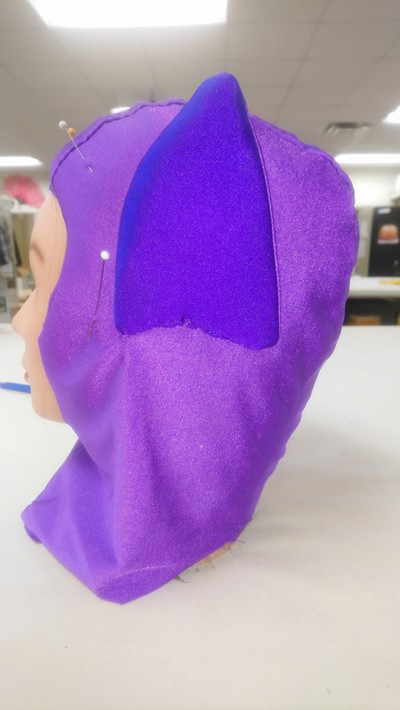
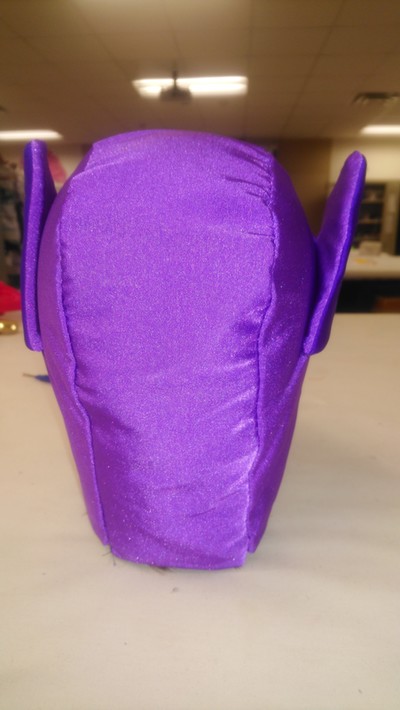
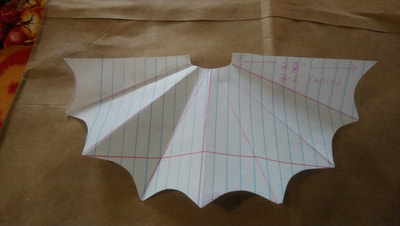
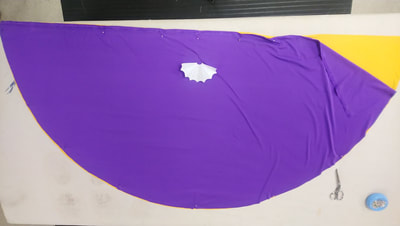
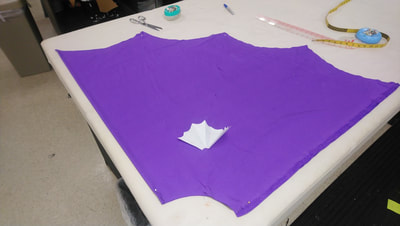
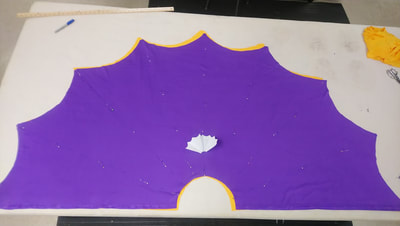
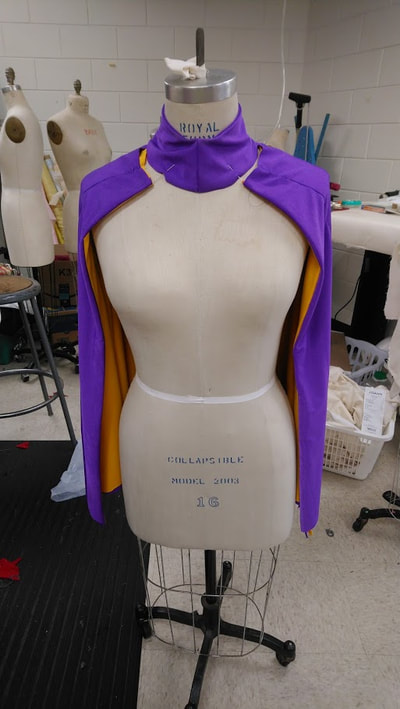
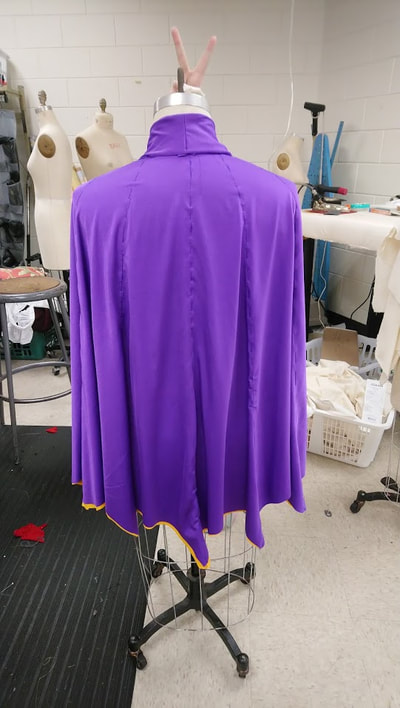
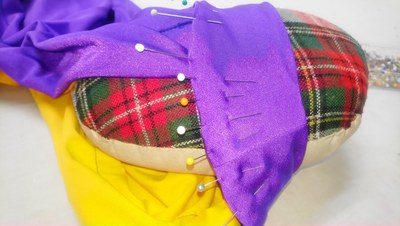
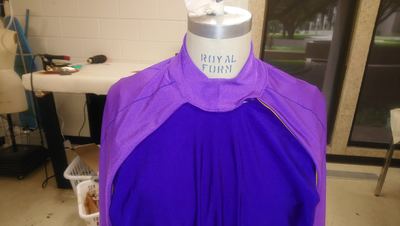
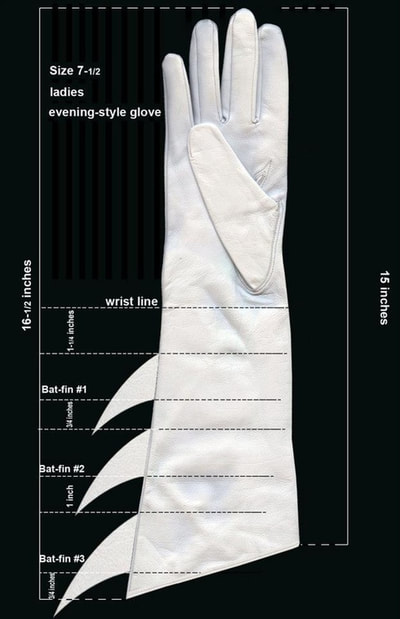
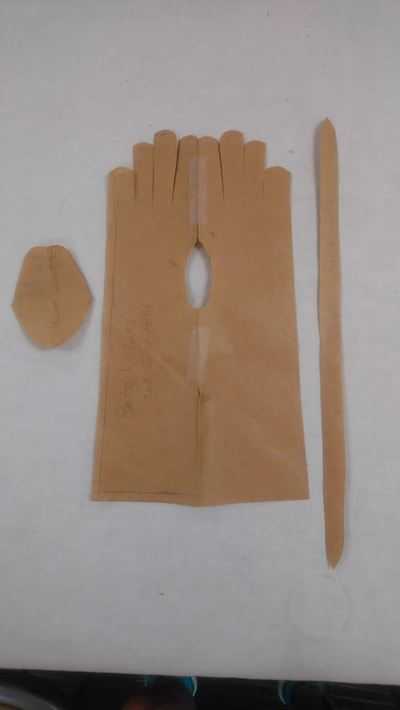
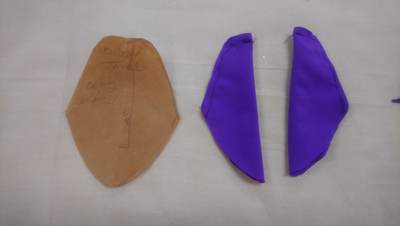
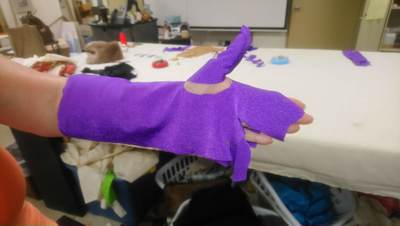
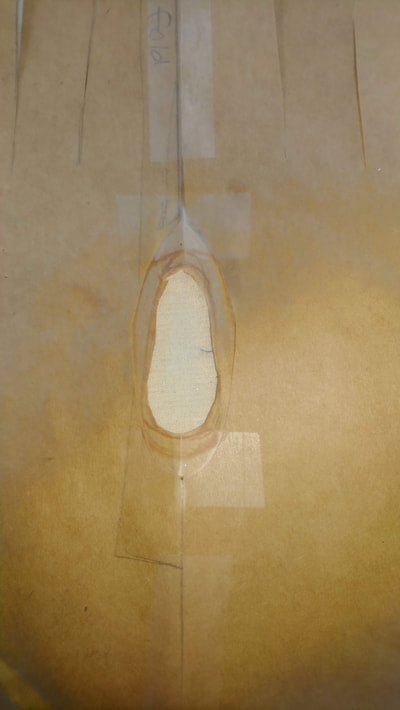
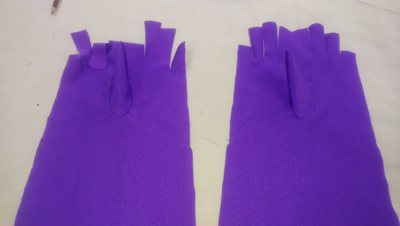
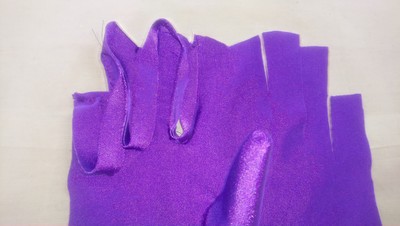
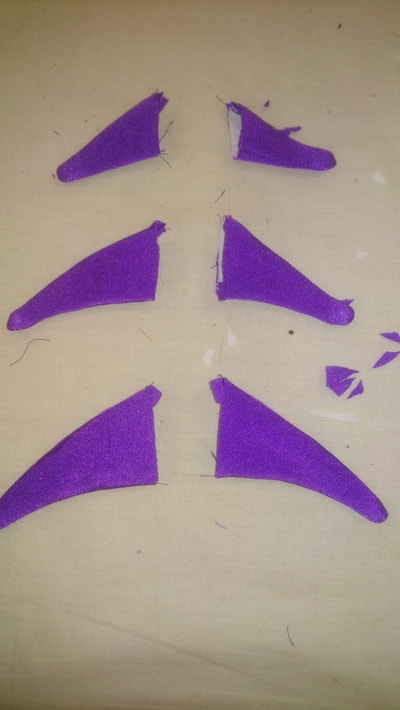
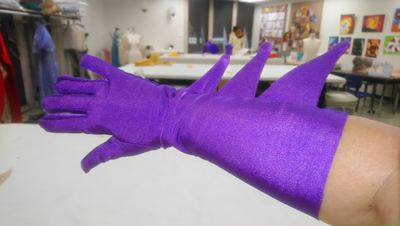
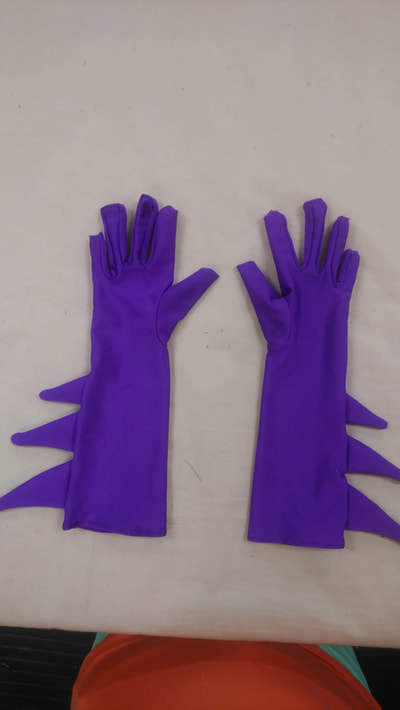
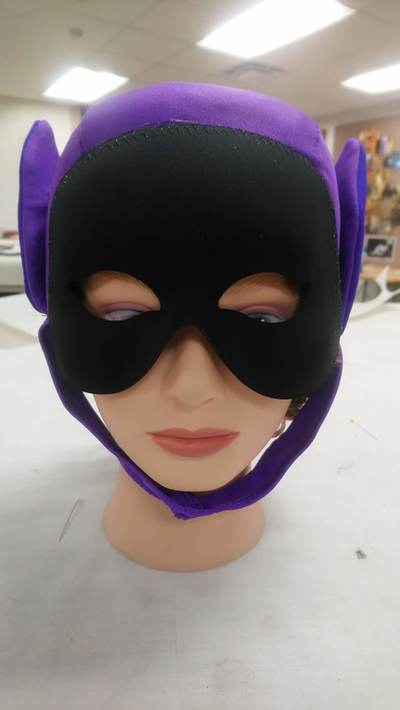
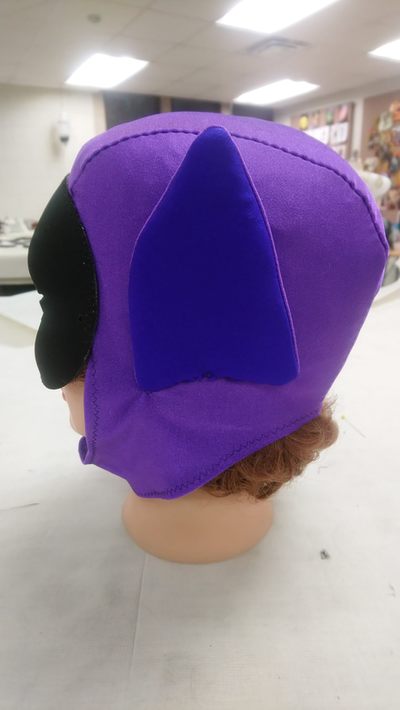
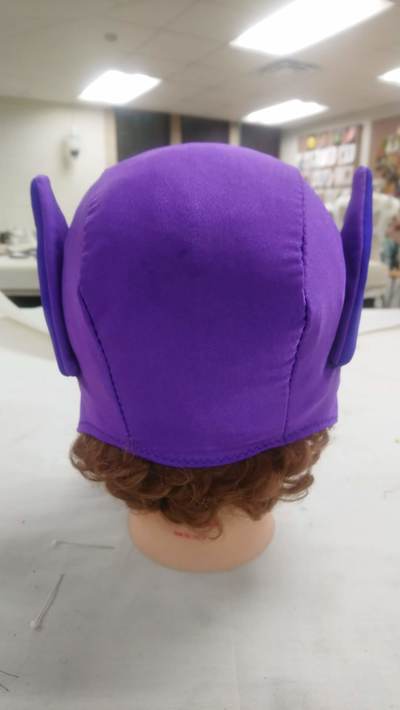
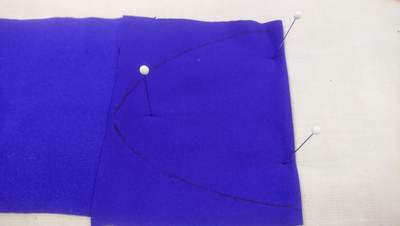
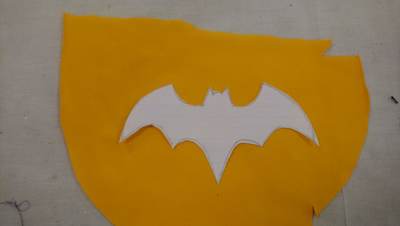
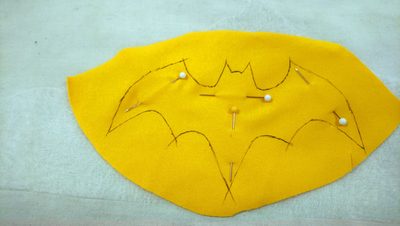
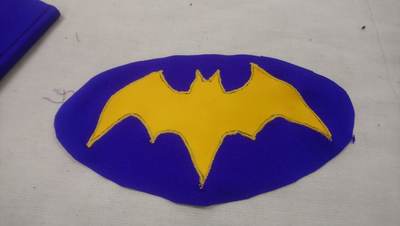
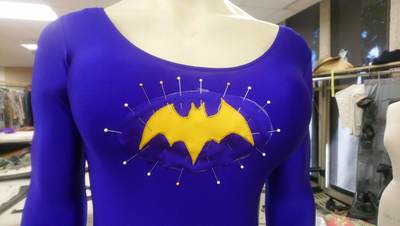
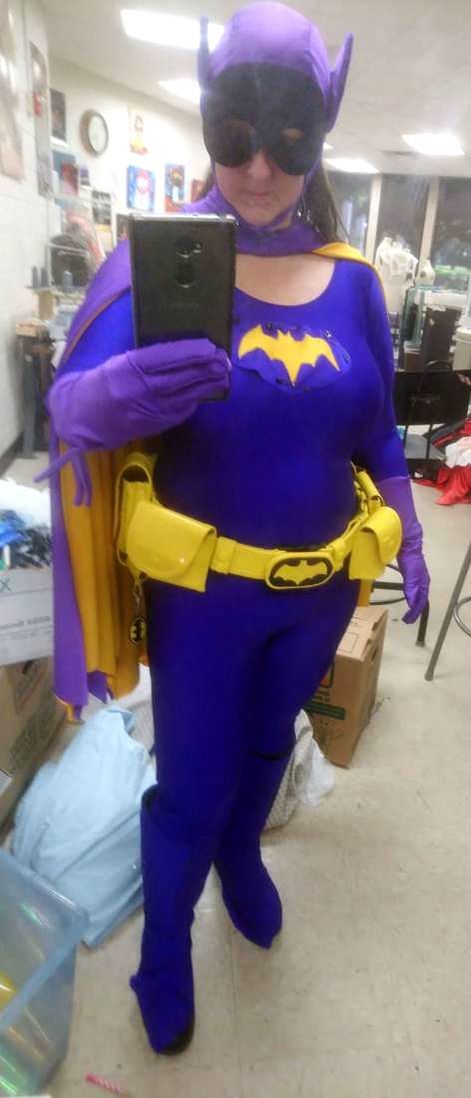
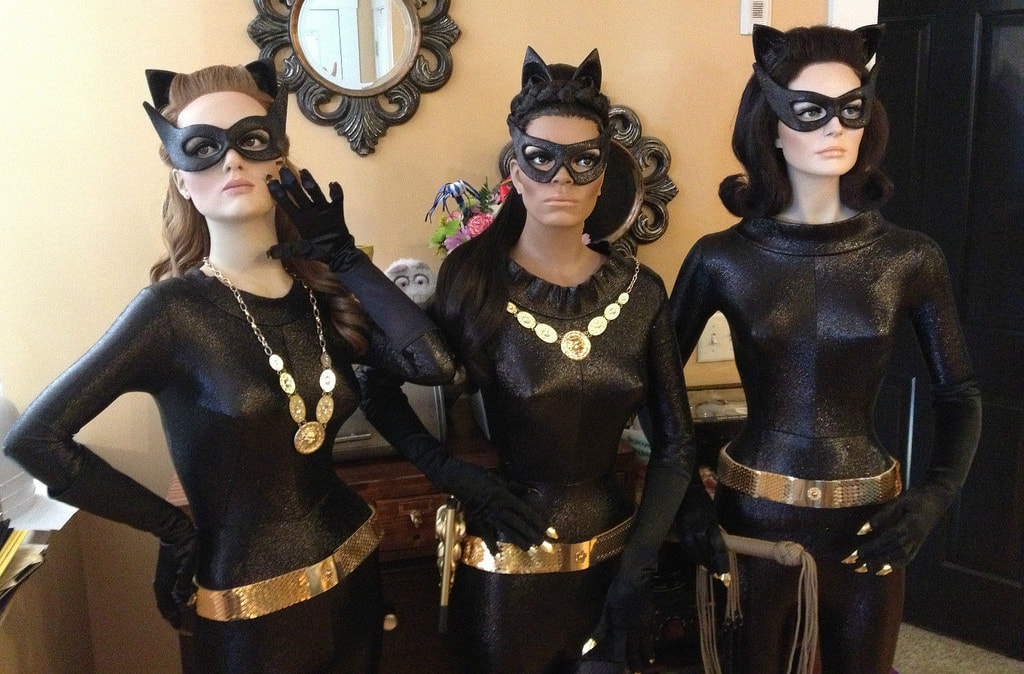
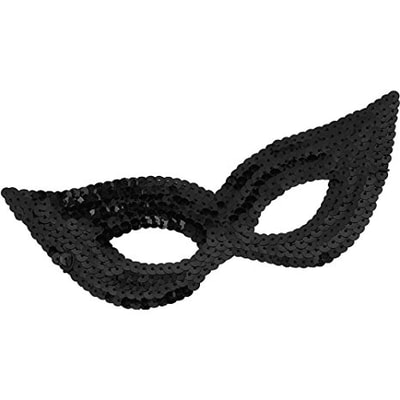
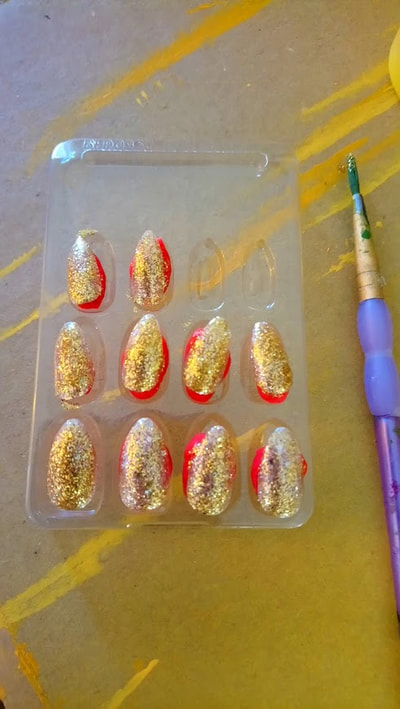
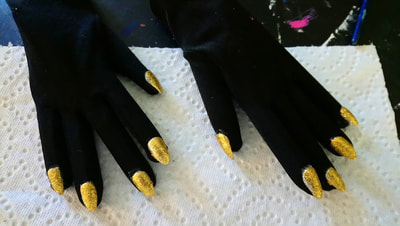
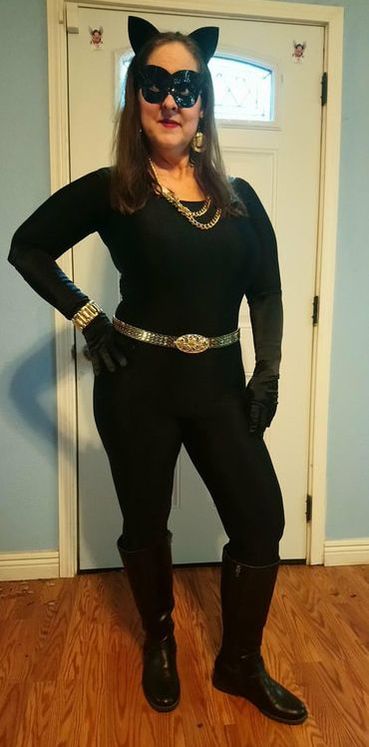
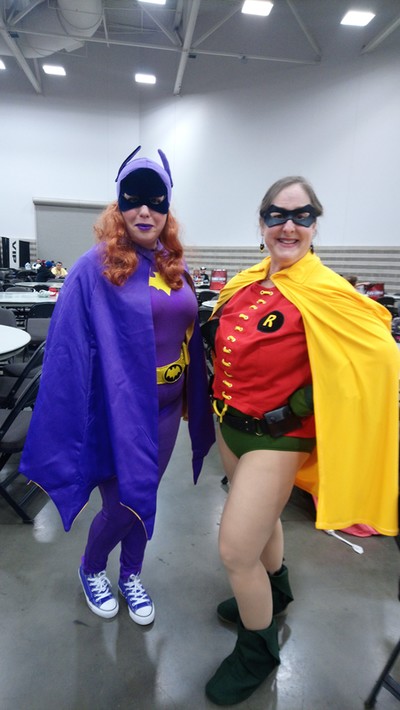
I was so excited by the reception of our Bat Fam 66 cosplay that I decided to add two more characters, but just for me. We don't always have all of the kids and I may be doing Geekfest alone this year, so in addition to my Robin, I will also have Batgirl and Catwoman for the other two days of convention going and costume contest judging. BatgirlThe Unitard and gloves are coming from We Love Colors, the utility belt and phone case are coming from Amazon. I also ordered 3 yds of violet fabric to make the cape, cowl, mask, boot covers, and glove fins out of. The shoes are going to be more of a problem. For Robin I just wore my Docs with bootcovers and they were just fine for the first 8 hours. The last hour was pure misery. Geekfest is a much longer day. I'm going to have to find better shoes and I certainly can't wear kitten heels. This will take some thinking. But whatever I find, I'll get in black and then I can wear them for Catwoman too and just make boot covers for Batgirl. I also bought curly red hair to sew into the back of my cowl. I also bought a black half mask to glue into the cowl The BuildBack in April, I made another utility belt for Batman because we couldn't make his any smaller due to there being too much paint on the belt not allowing it to slide through the buckle any further. But it fit me perfectly. So I took his and then made another one for him. Then I made a new buckle for mine out of L200 foam. I cut out my cowl and boot covers last night June 21, using the patterns I made for Batman in December. The boot covers are from the matching dark purple fabric but the cowl is from the lighter lavender fabric. Tuesday I worked another 3 hours and got the cowl sewn together and the ears,I stayed home and did a lot of hand-sewing on the 4th (of July) which got the ears sewn to the cowl as well as the correct mask placement marked on the cowl. I still have to attach the mask and hair and hem it. I patterned the cape, using geometry also on June 21. It's going to have a 5 inch radius for the neck hole and each side of the CF will be 34". I went in tonight while there was still air conditioning and cut both cape fabrics out: lavender for the outside and yellow for the lining. Next week, I'll cut the collar stand out of the lavender. June 27: This week I cut the collar for the cape and sewed it together. I also sewed the CF edges of the cape together, then flipped it right side out. Then I marked the "spines" of the batwings aspect of the cape, pinned both sides together, hand basted them together for good measure, then sewed down each spine with the machine. I then used my blue Sharpie marker to make the Batcape seams more prominent. Now all I have to do is attach the cape to the collar and it will be done! July 11: This Wednesday I finally got the collar sewn to the cape. I used my tailor's hem to hold it out in a stretched position while I pinned it and that was super helpful. I decided that I'm unhappy with the gloves matching the unitard and wanted them to be out of the lavender fabric instead, so I found this instructable: http://www.instructables.com/id/How-to-Make-Gloves/ I always tell people not to make their own gloves, they will just get amazingly frustrated, yet here I am doing it. If I used the purple ready made gloves, I would still have to seam rip them open down one side and cut out the fins, sew them together, then sew them into the seam, then sew the gloves back up and that's pretty tedious as well. so we'll see how much more tedious it is to make them with fins from scratch. Today (Wed. July 11th) I started patterning the gloves with the help of the instructables page I mentioned earlier. On the first attempt, I discovered that the hole in the trank was too large for the thumb as you can see in the photo below, so I had to go back and fill in the hole in my paper pattern quite a bit and recut the tranks (the hand part of the glove). I had to hand baste the thumbs in to the trank first, and then go back and machine zig-zag around the seam from the inside. It was really tedious and I ran out of bobbin thread half way through the first one without realizing it. That's when I knew I'd been at it too long and it was time to quit, after 3 1/2 hours. I'm going back in tomorrow, so hopefully I'll have finished gloves by the end of the day. Thur July 12: Seven hours later, I came home with a finished pair of gloves. I spent the first three hours today hand basting the fourchette into the left glove and then machine zig-zagging it on one side. Then I had to lay in the fingers of the other side into the pocket created by the fourchette and the front side of the fingers. That was even more irritating. I had to do the pinning hand basting one finger at a time because the pins on the one side would get in the way of being able to pin the other side of the finger. So it went, put in three pins, baste, take out those pins and put in three more pins down the other side, baste. Wash, rinse, repeat. Super tedious and boring. But I finally got all the basting done and was able to machine stitch the other side. Then I had to stop and make the fins patterns, cut them out, cut out the interfacing, sew all six of them together and then put half of them into the first glove. Then I tried it on, took a photo, then did the hem. Then I took a real long lunch break and came back at 2. It only took 2 hours to complete the second glove. So that's a total of 8.5 hours to pattern and make one pair of gloves. It's way more cost and time efficient to just pay the $18.00 and order them from We Love Colors. I can now say that with the authority of experience behind me. Finished up today, took four hours. I hemmed the boot covers and added elastic under the heels. I trimmed the hood down in the back (for my hair to be exposed more) and around the ears. I spray glued the mask onto the hood and then zig-zagged around the top edge. I made the chest applique and added it to the unitard. Then I took a photo! CatwomanThe Unitard and gloves are coming from We Love Colors, the ears and mask are coming from Amazon. I already have the gold belt and necklace. The only difficult part of this is going to be adding the gold nails to the gloves, but I've already done that once, so not a problem. I just need more E-6000 and fake nails. It's a bit fiddly, but nothing I can't handle. I've already ordered everything and it should arrive by next week. Stay tuned for my progress. Here's what it looks like with belt, jewelry and the proper foundation garments. I still have to attach the nails to the gloves tomorrow.
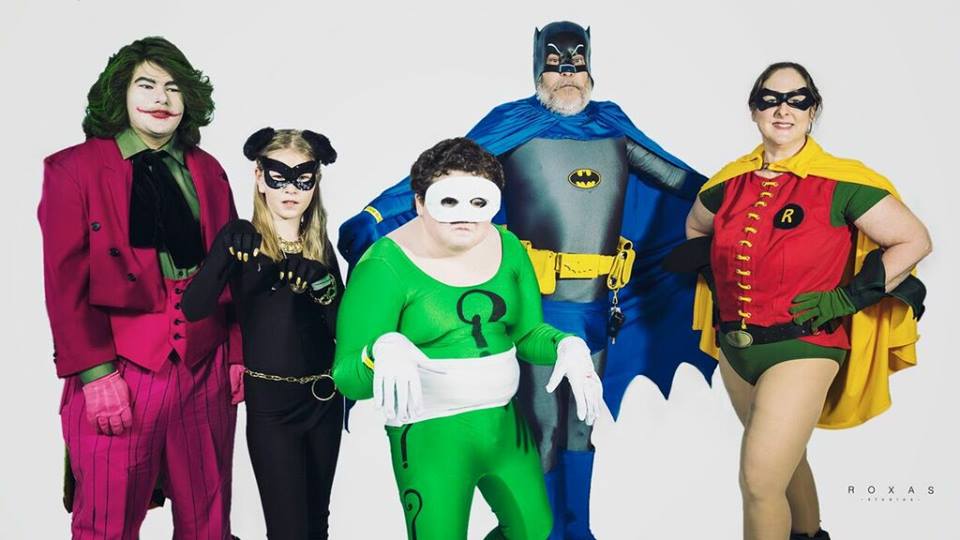
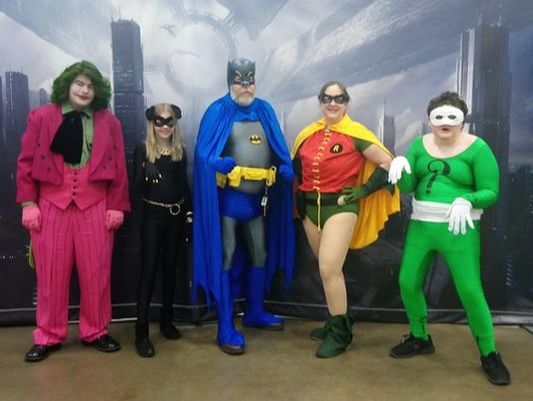
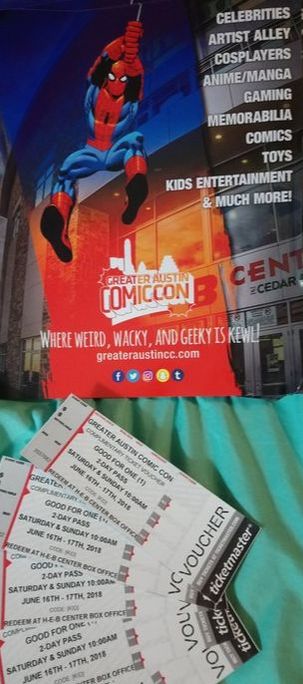
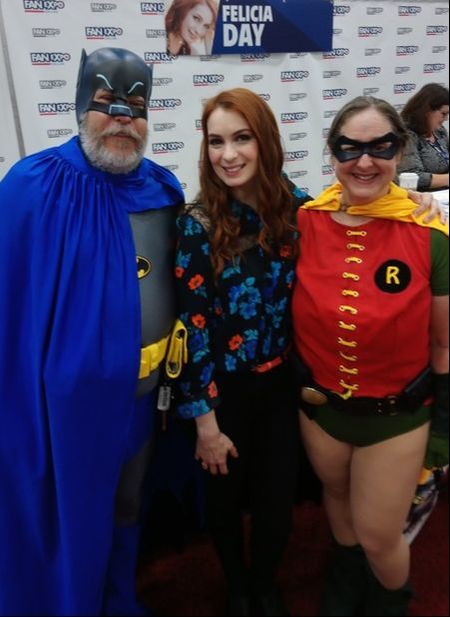
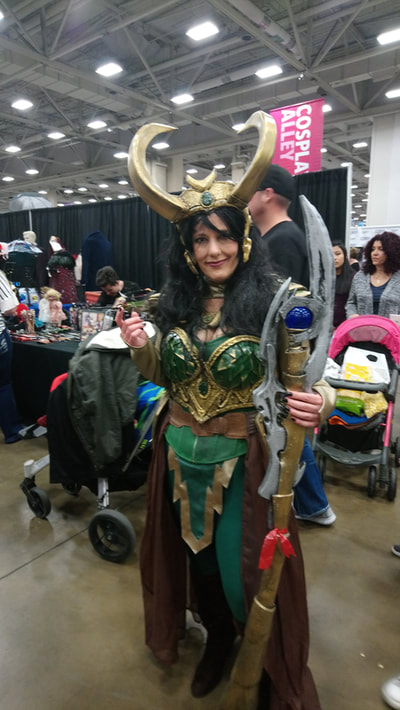
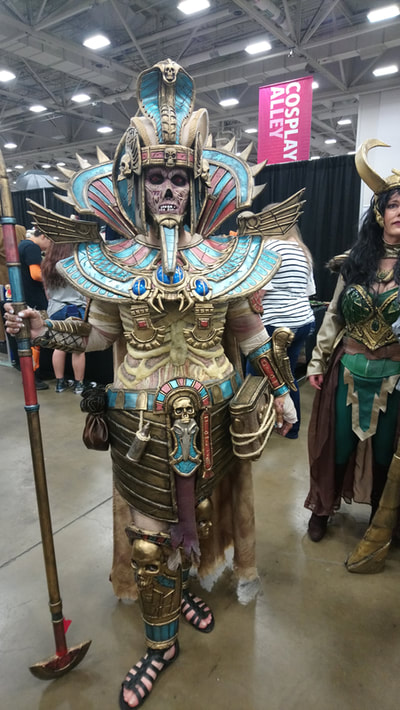
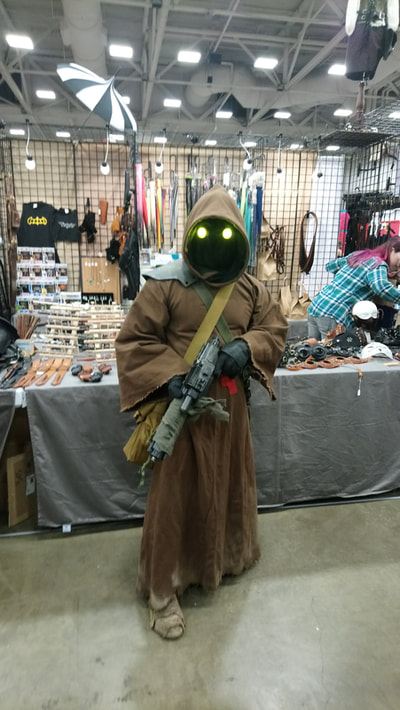
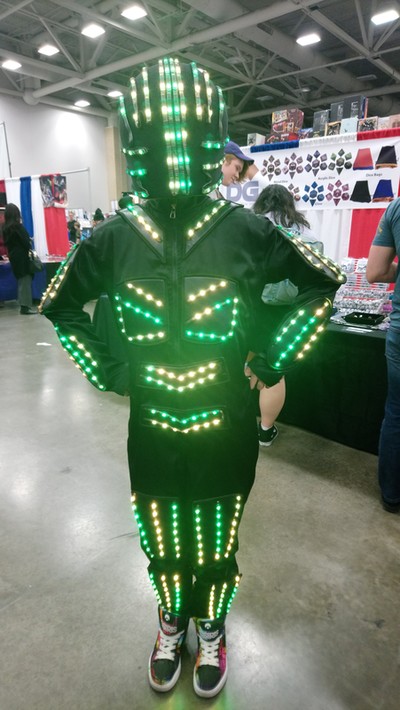
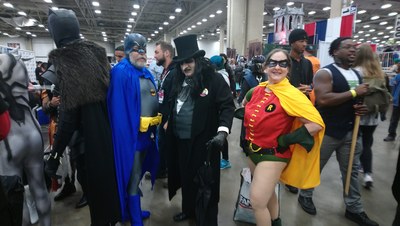
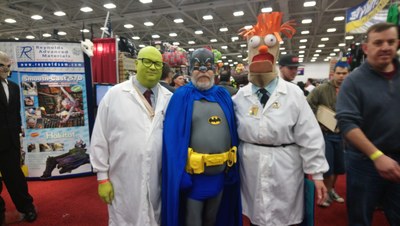
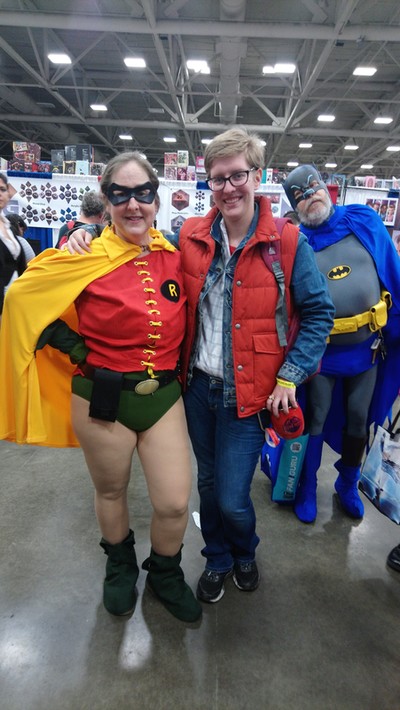
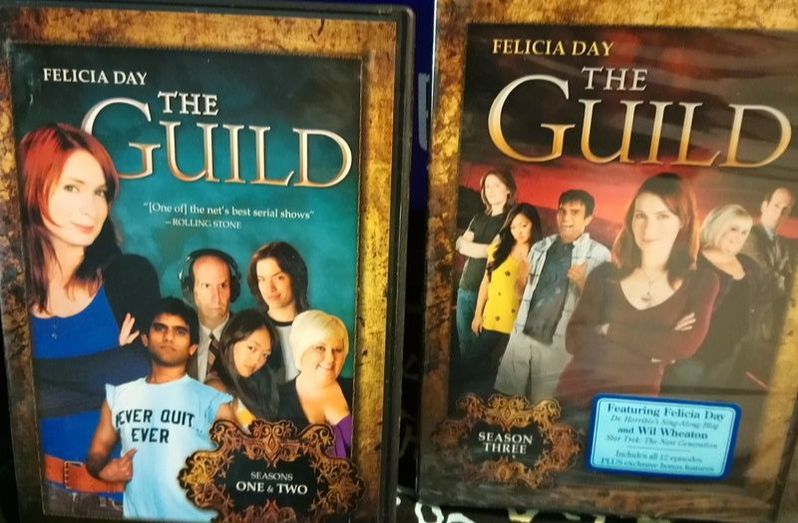
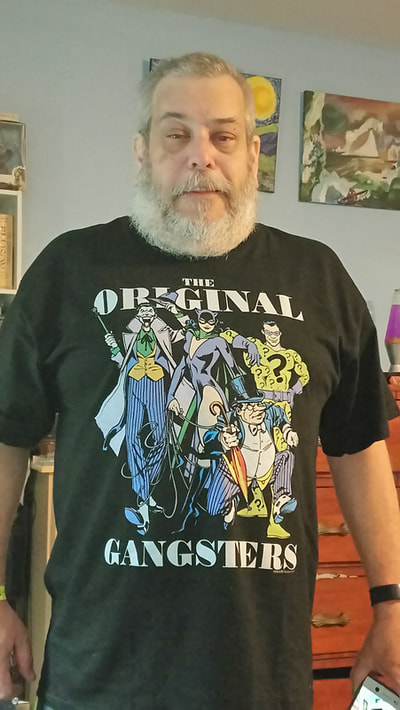
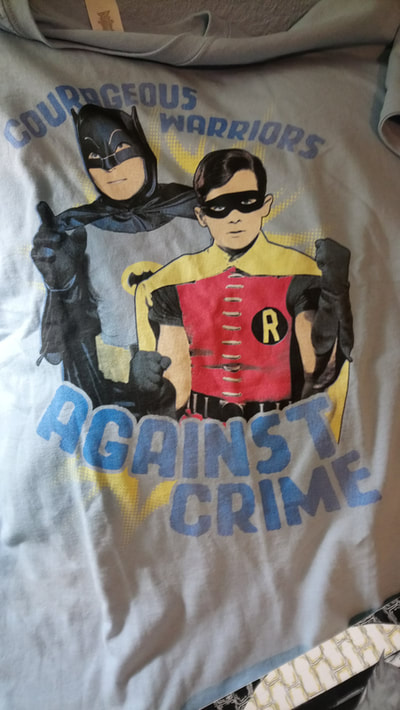
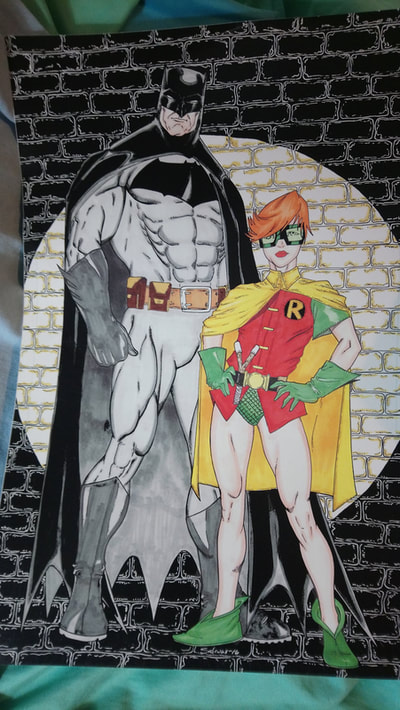
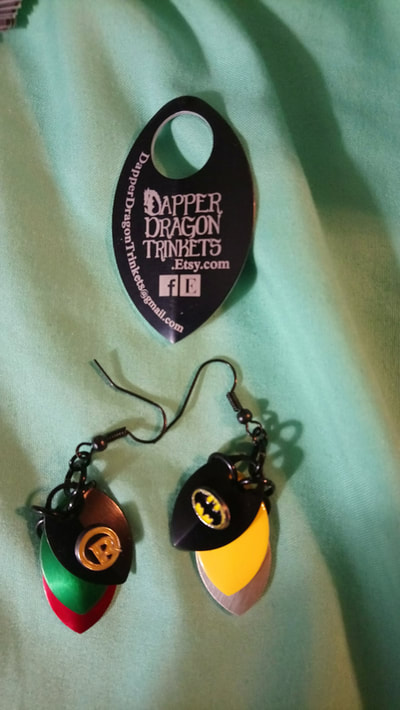
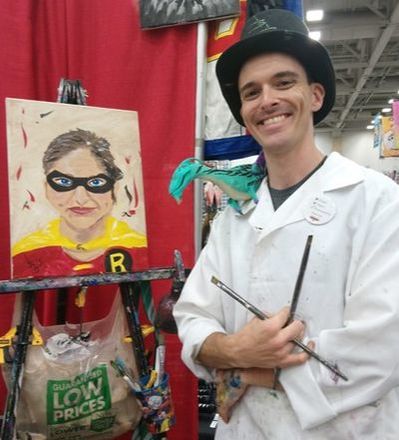
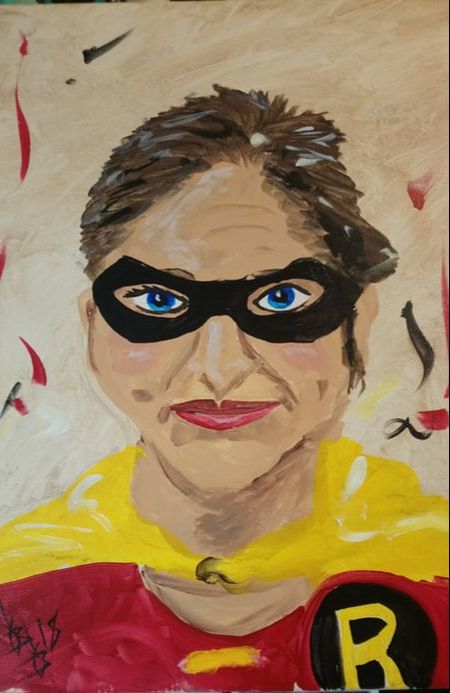
BAt Fam 66Our cosplay was a big hit at the con! We got stopped numerous times for photos. the best part was when Monique with Greater Austin comic Con stopped us to ask if we'd be cosplay guests in June and then gave us free two day passes! Felicia DayFelicia Day was awesome! It only cost $30 for a photo with her and then she gave us for free DVDs of The Guild! She is so sweet and she's from Texas and her dad was a doctor at Ft. Hood. Cosplay photosThere were a lot of other great cosplays at the Con. Here are just a few of them. SwagRob and I got T-shirts. Seth won a poster that he donated to me to hang up in the costume shop, er...Batcave, where all the magic happens. The artists at Dapper Dragon Trinkets make scale mail earrings. I met them at Geekfest and bought aweome Wonder Woman earring from them, They were there so I had to buy Robin and Batman earrings too. Their business card is on scale mail, so how awesome is that. They are on FB and Etsy so look them up and get your own superhero pair! Portrait by Beetle BomberBeetle Bomber was having a contest to win a free cosplay portrait and I won! His work is awesome. Find him on FB Beetle Bomber or Twitter @BeetleBomber52 and get a commission.
|
CategoriesArchives
July 2024
|











 RSS Feed