|
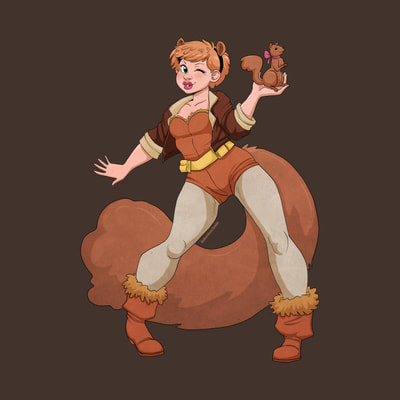
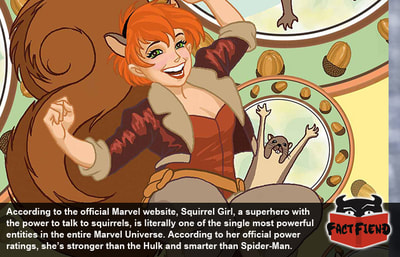
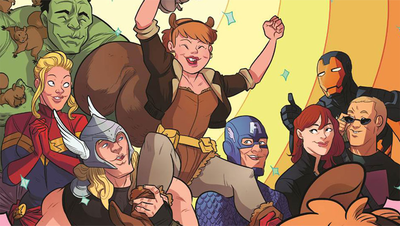
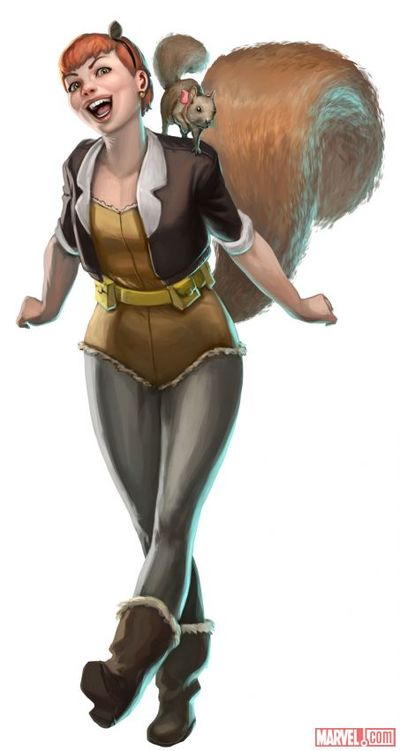
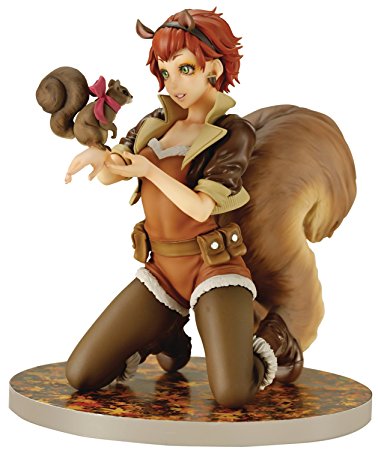
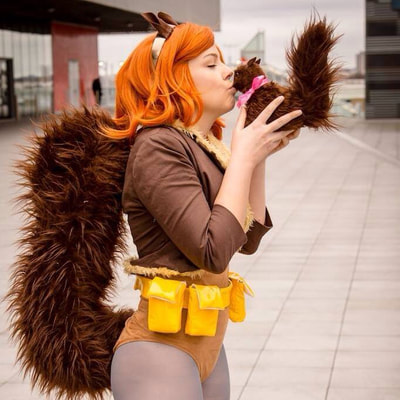
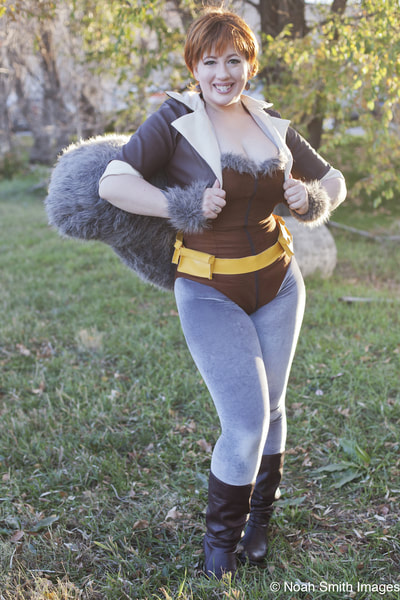
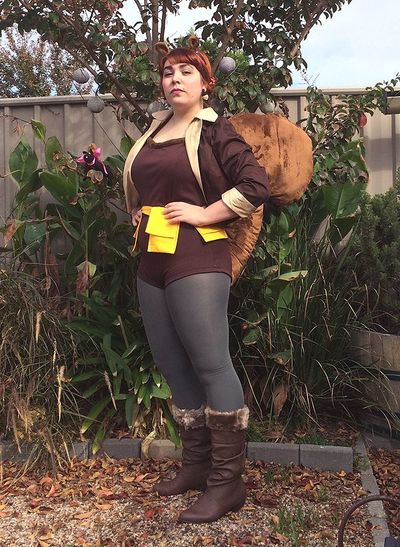
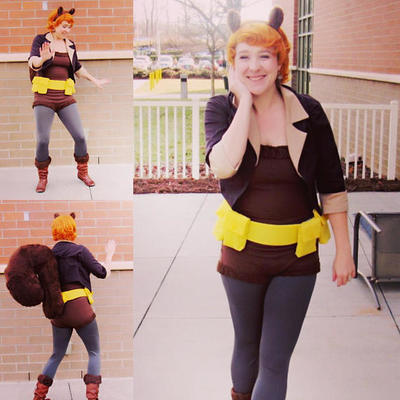
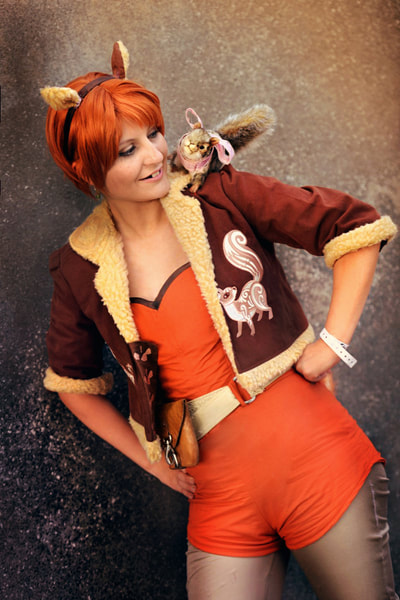
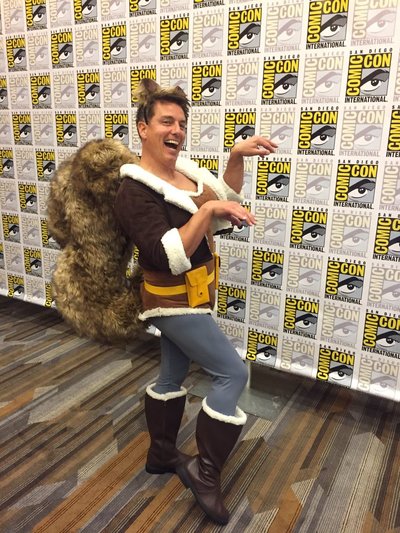
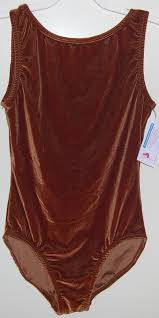
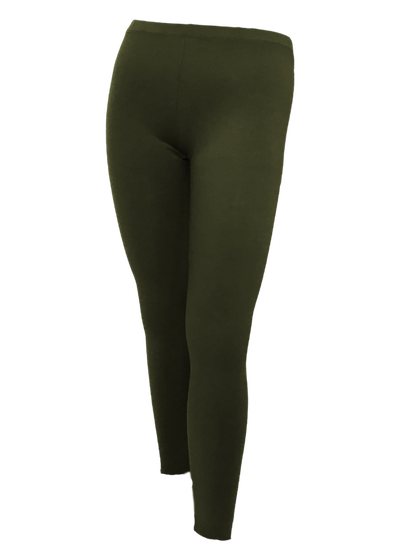
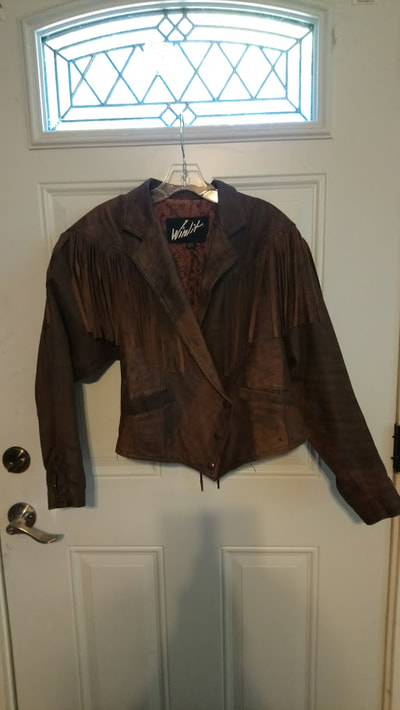
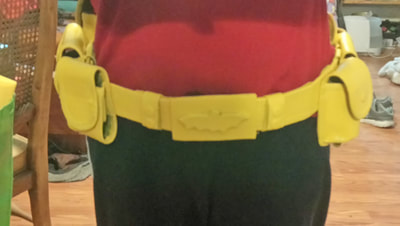
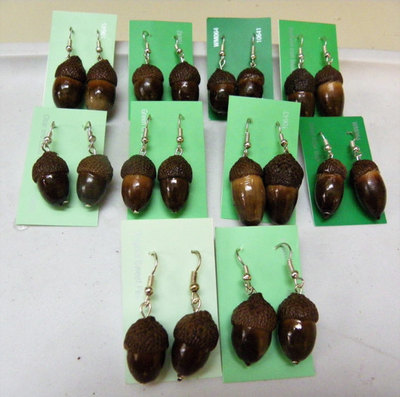
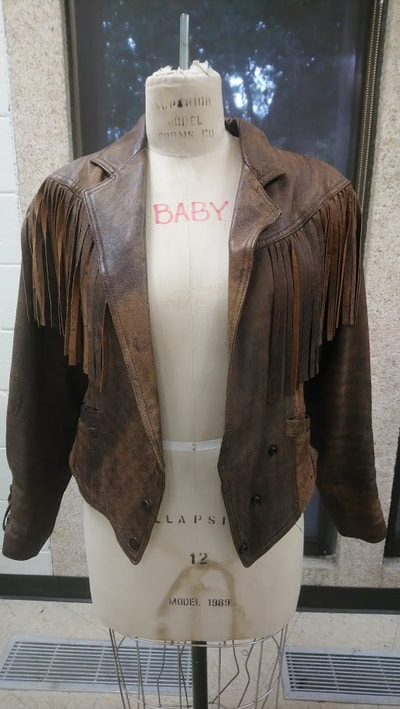
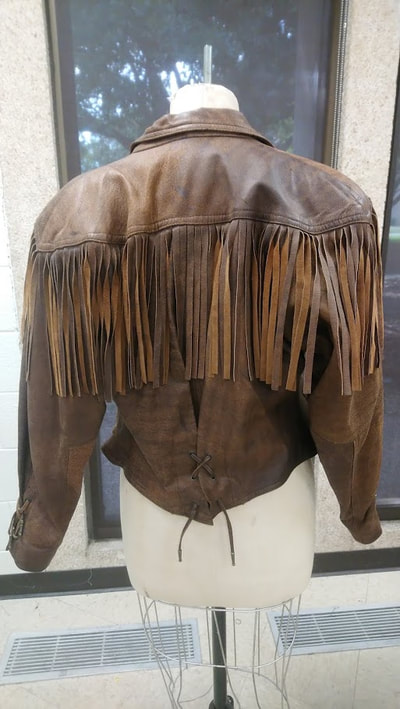
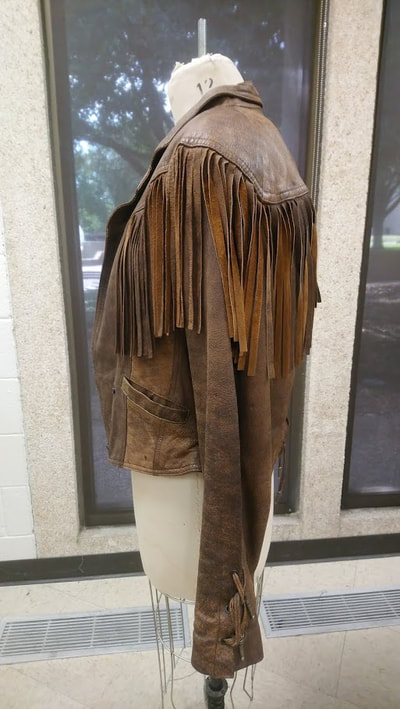
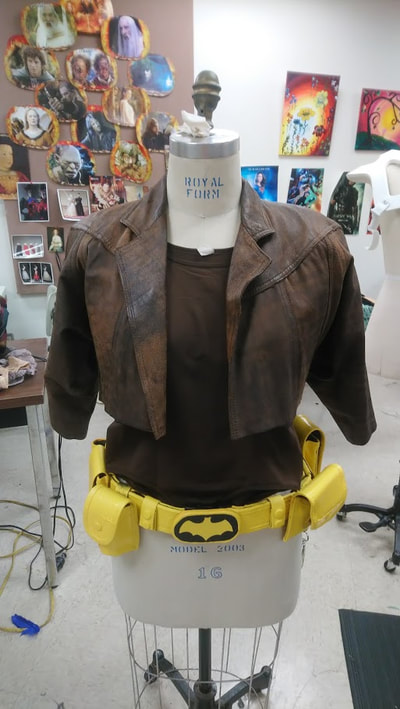
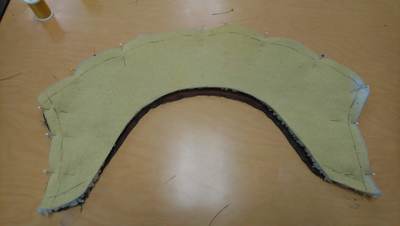
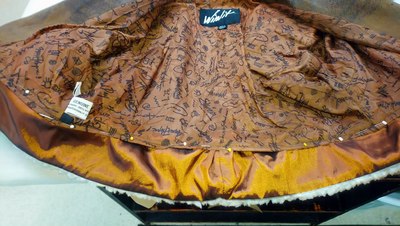
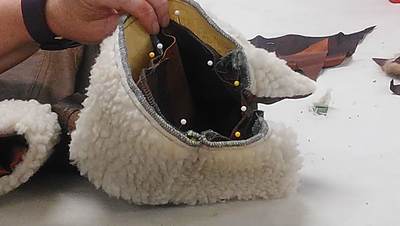
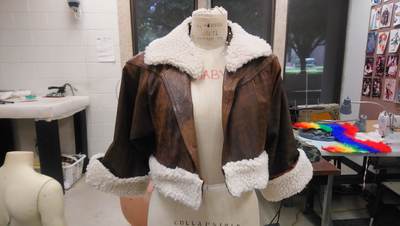
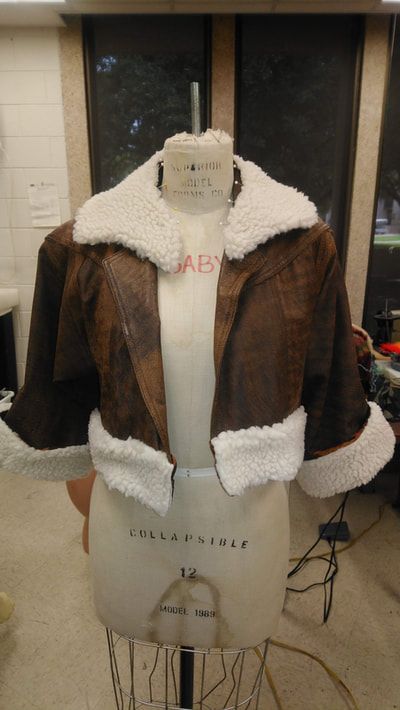
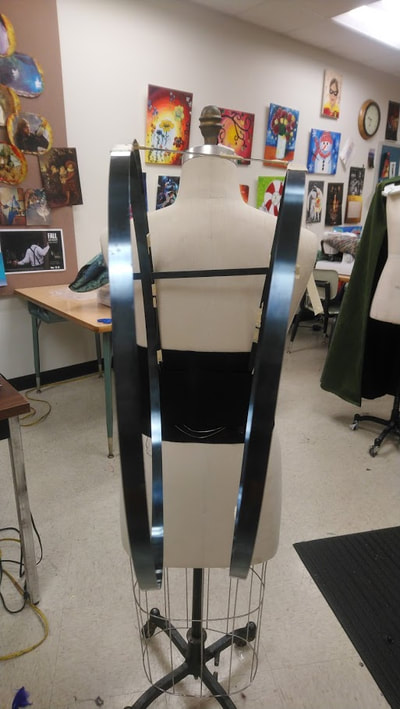
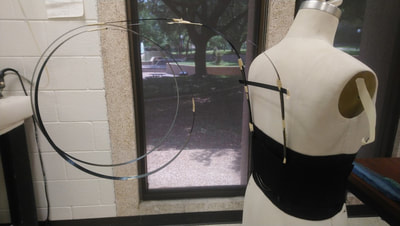
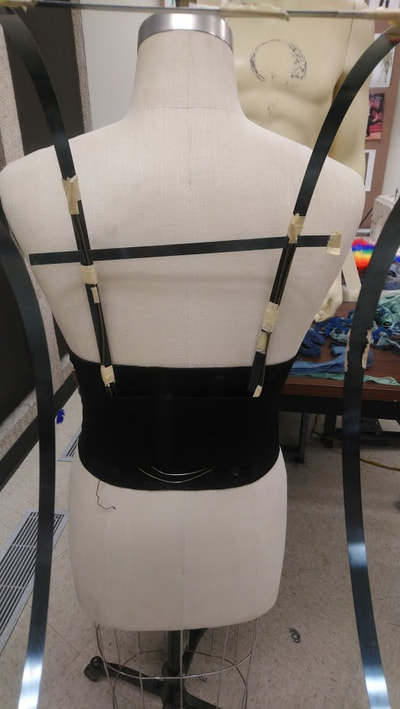
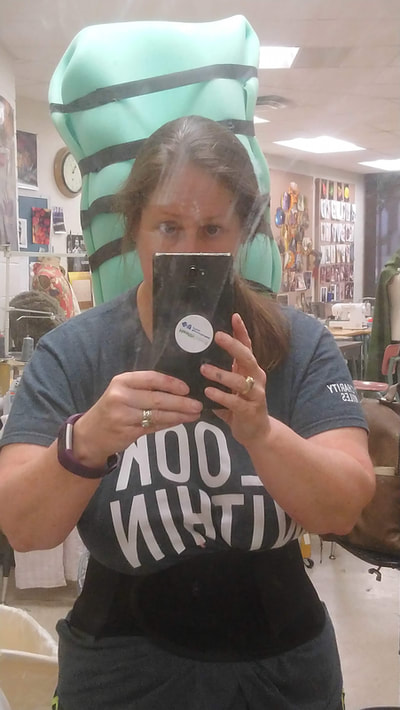
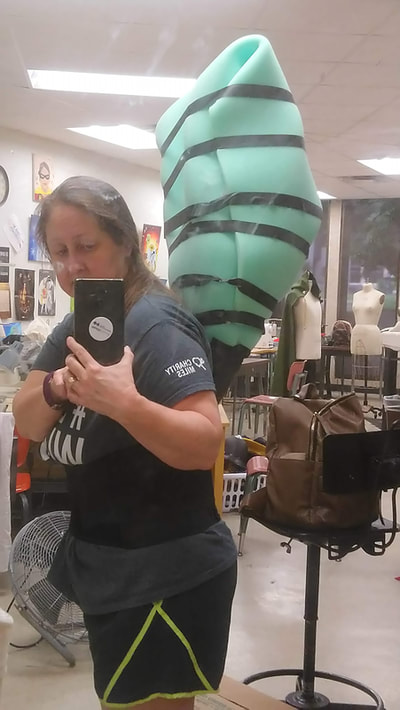
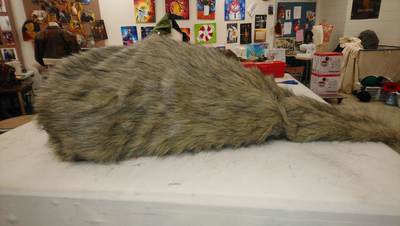
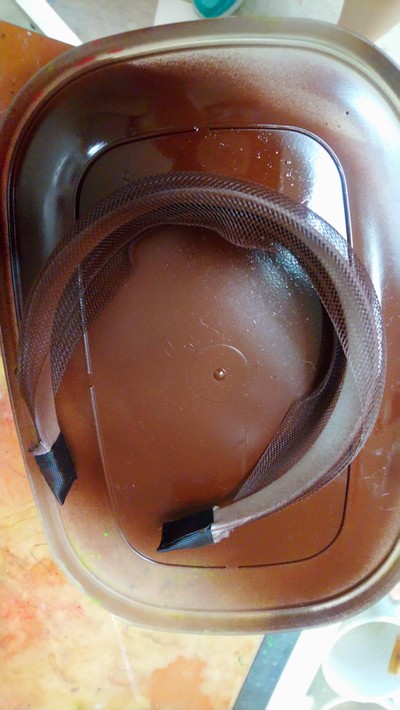
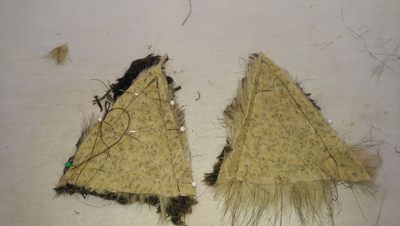
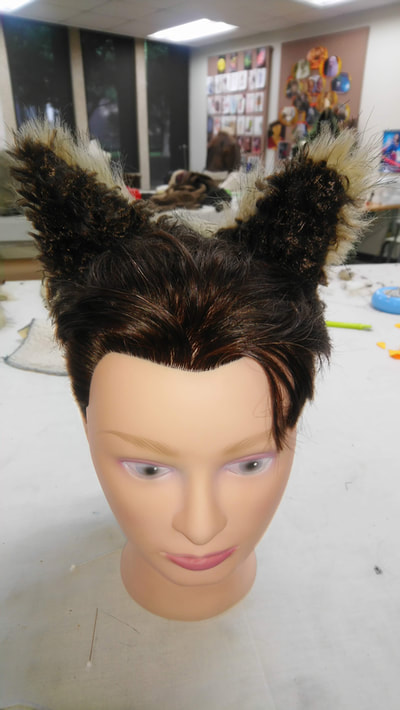
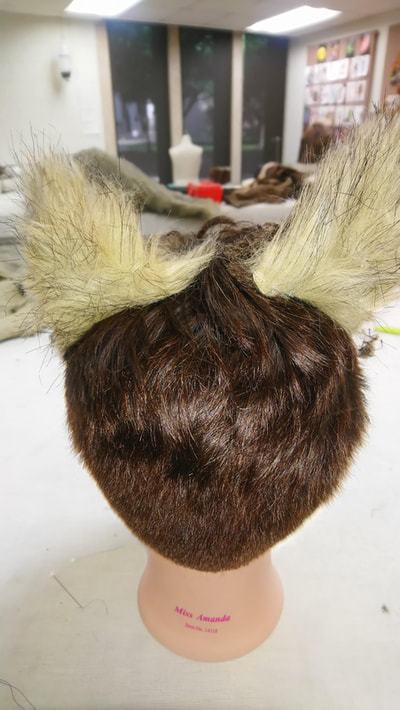
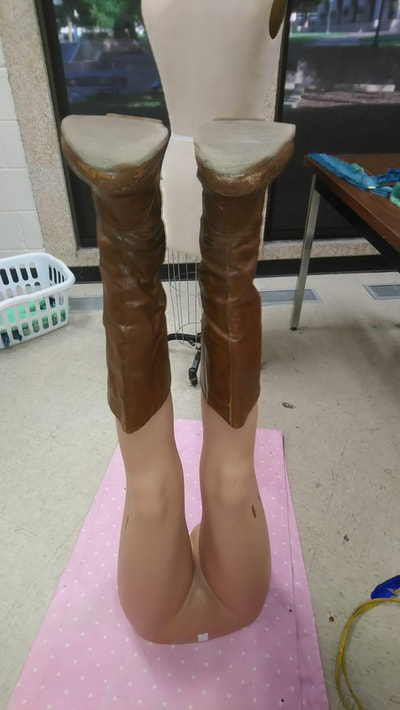
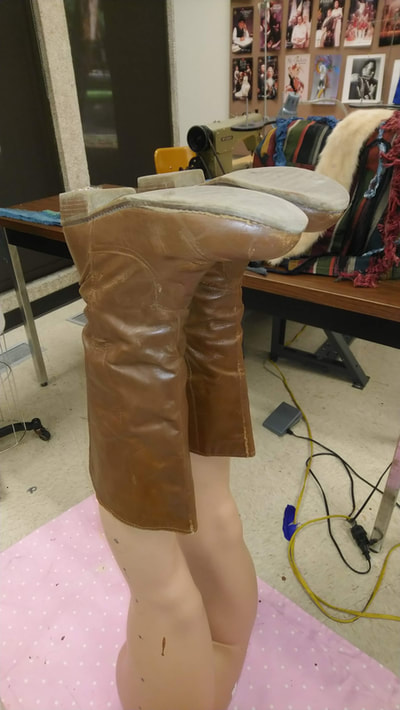
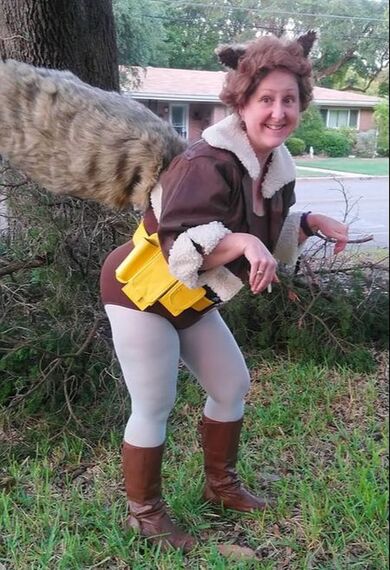
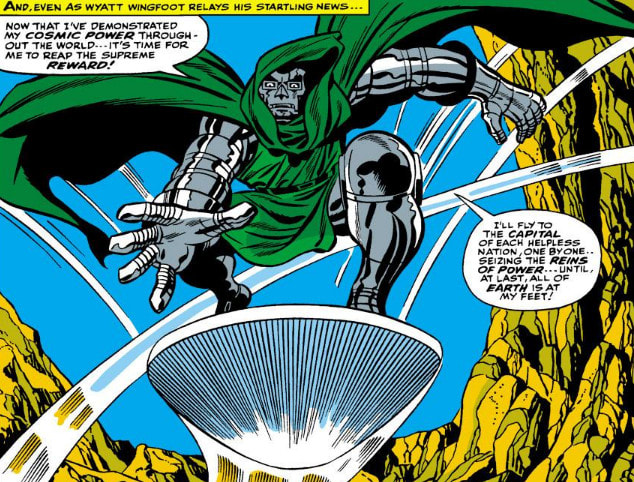
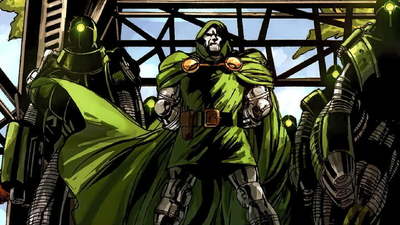
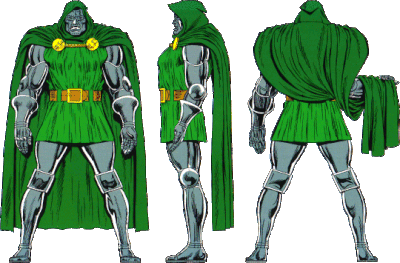
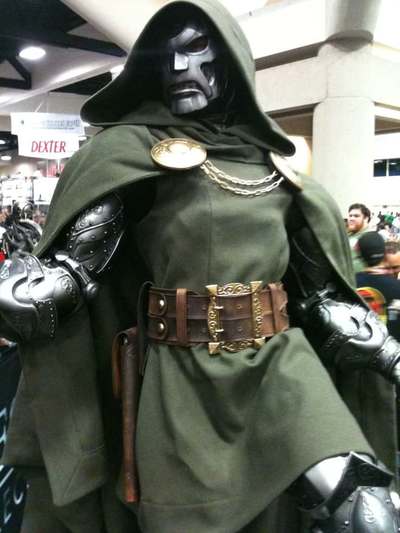
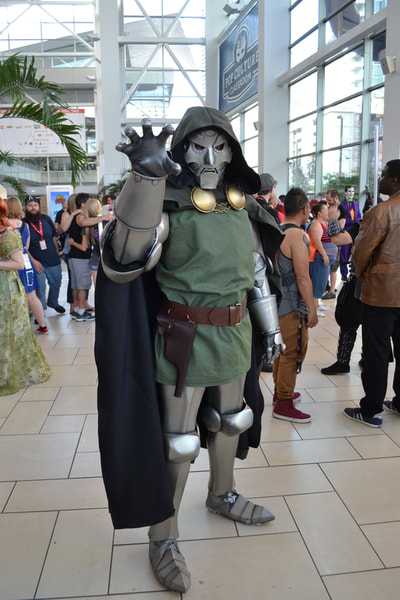
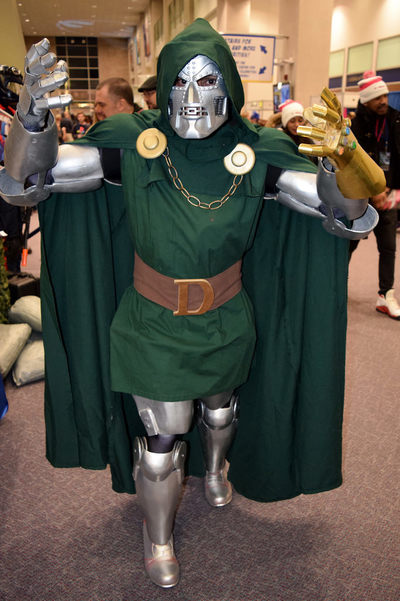
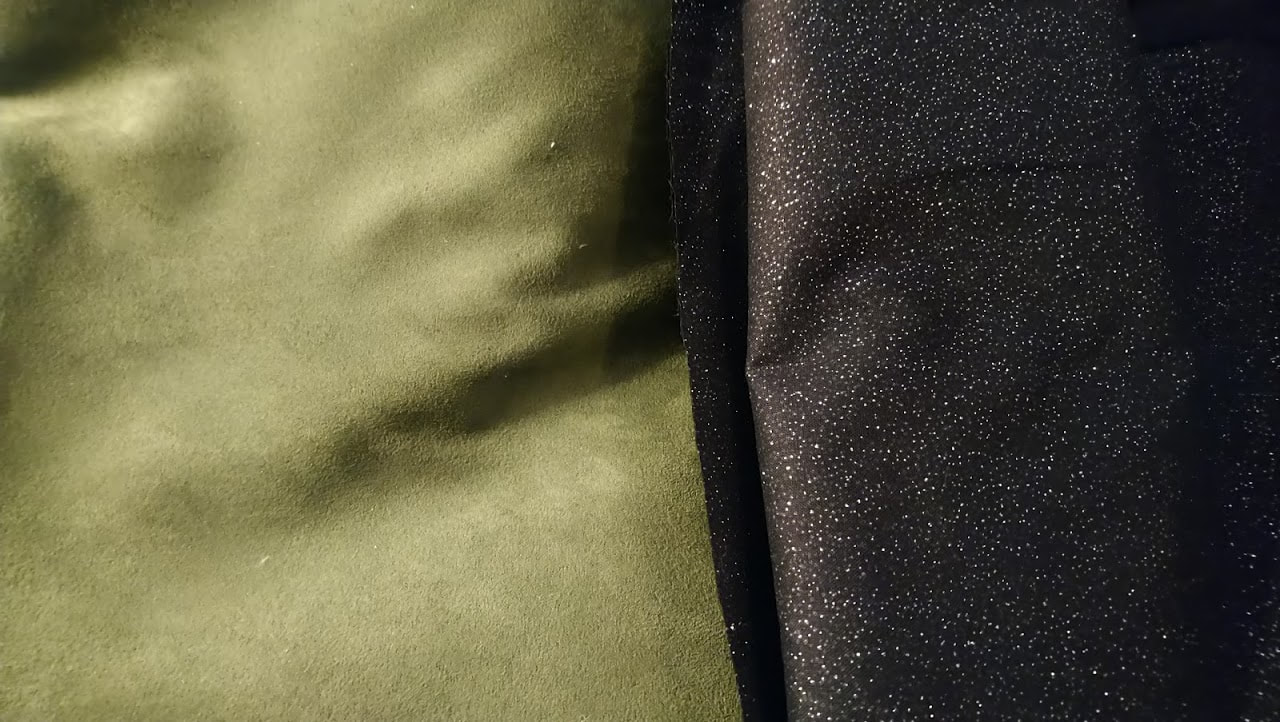
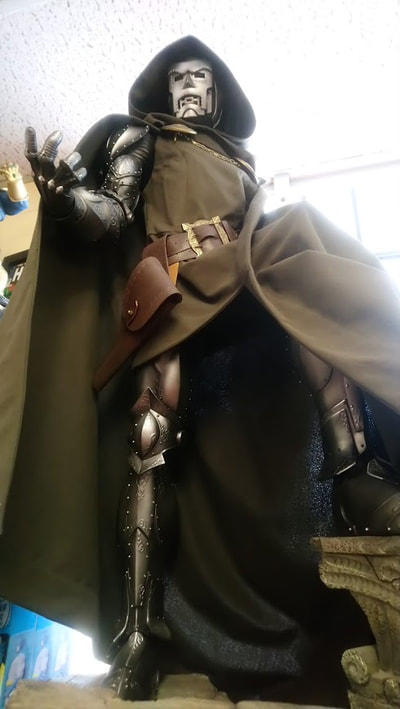
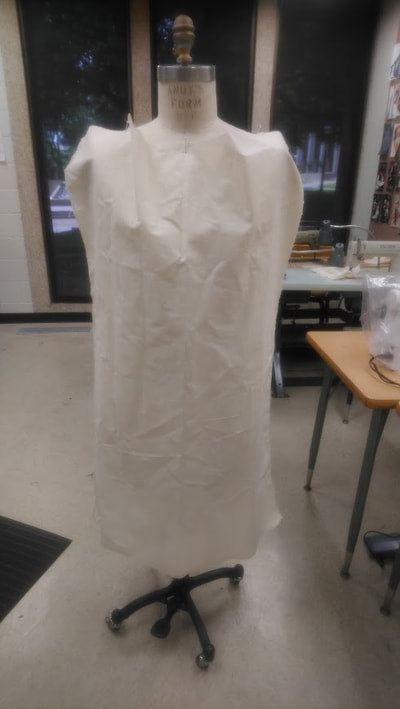
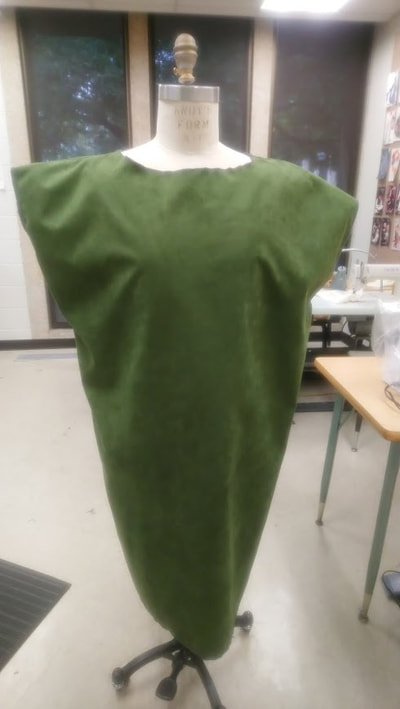
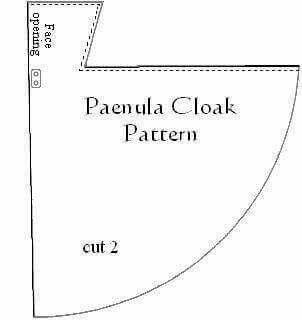
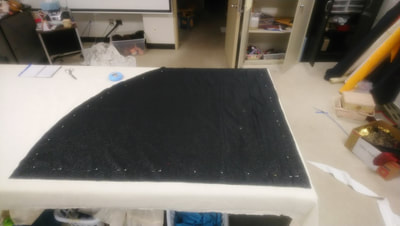
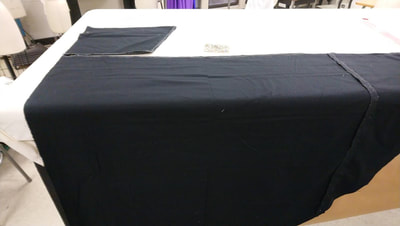
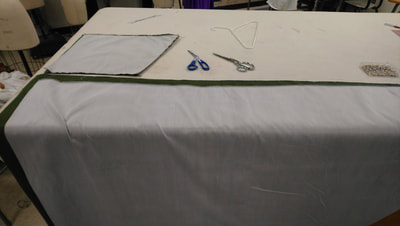
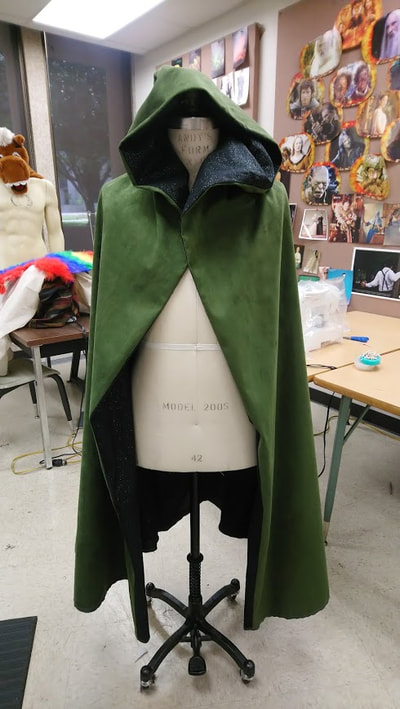
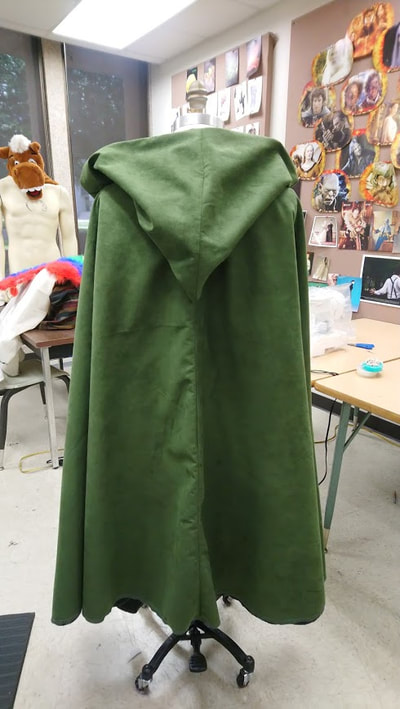
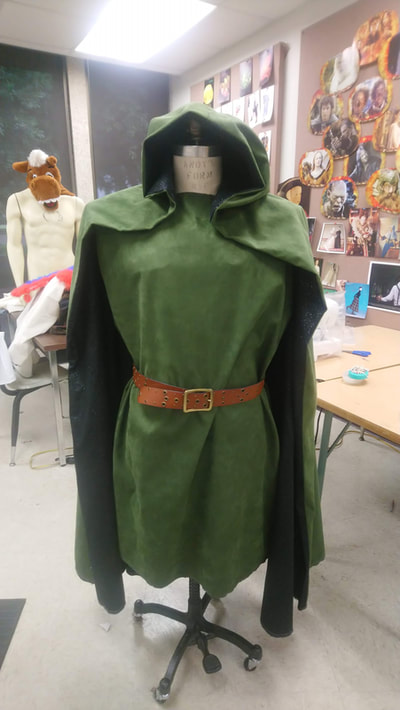
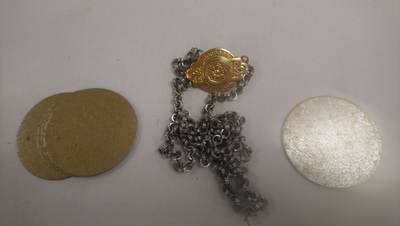
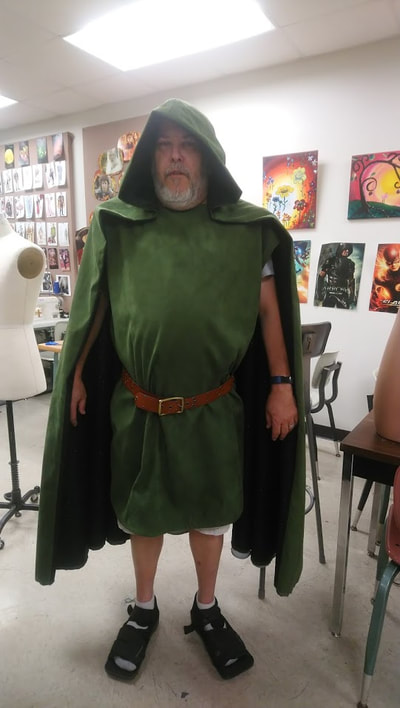
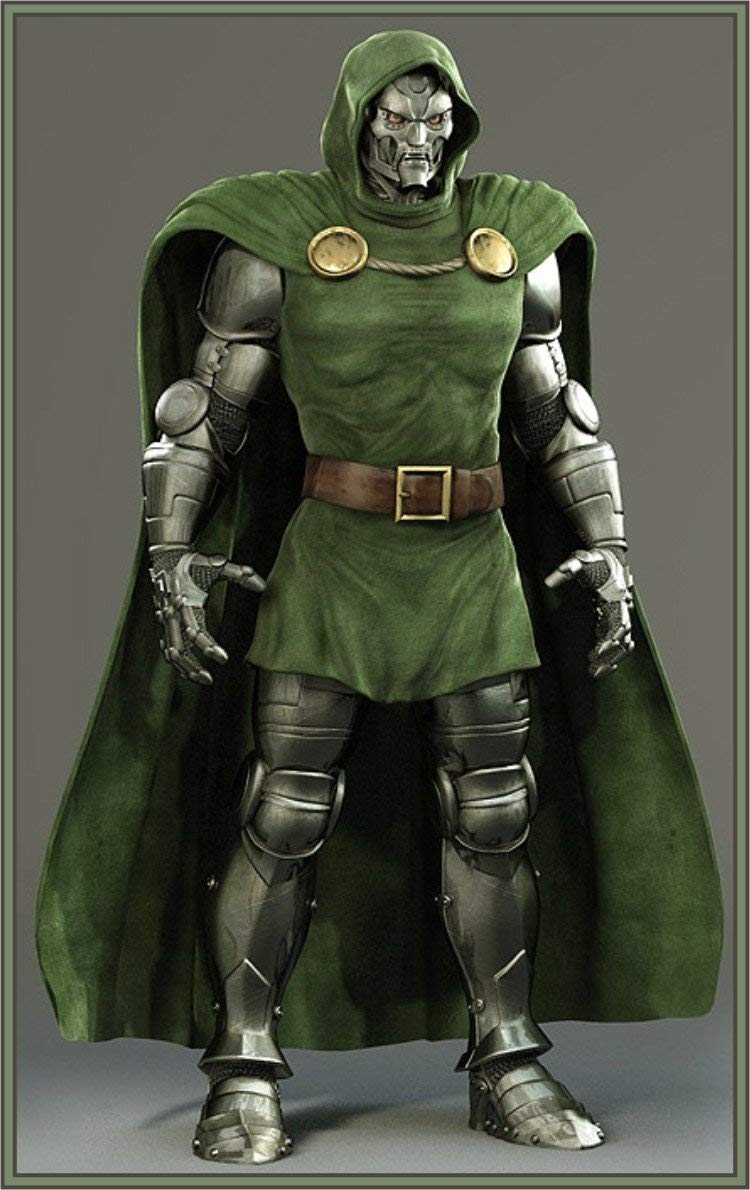
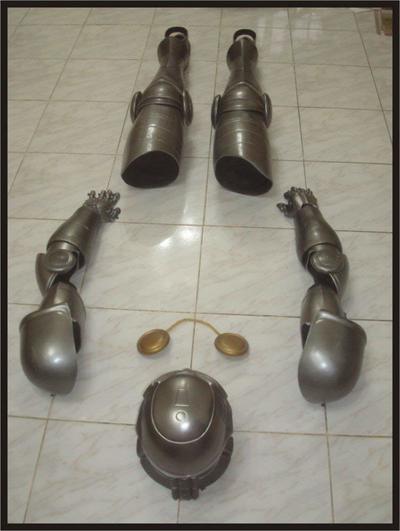
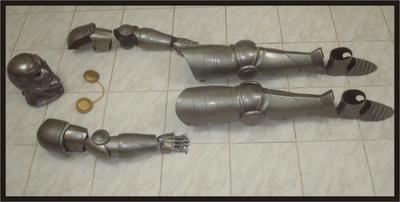
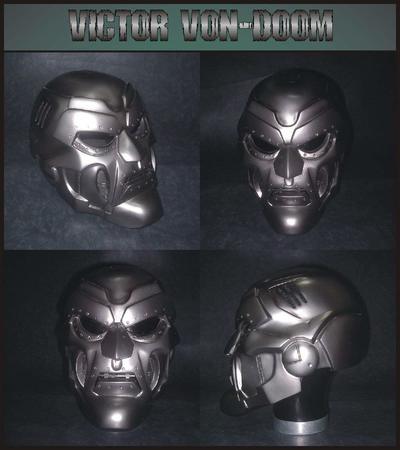
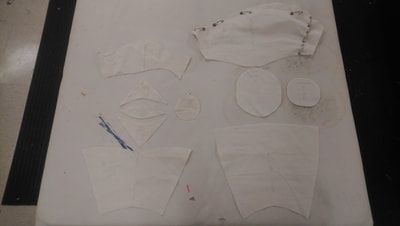
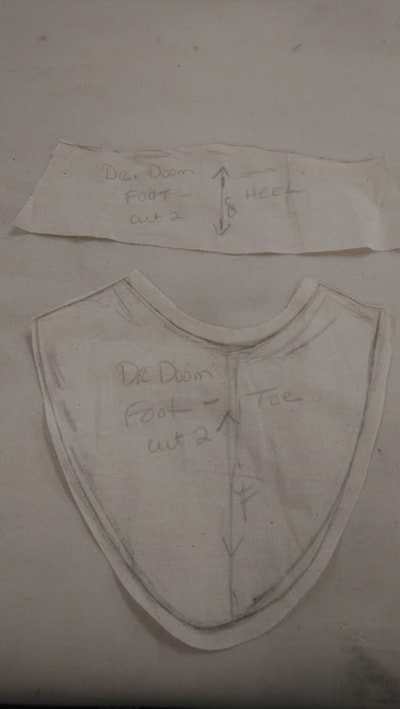
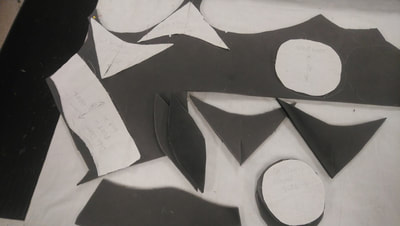
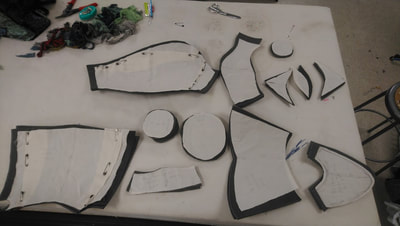
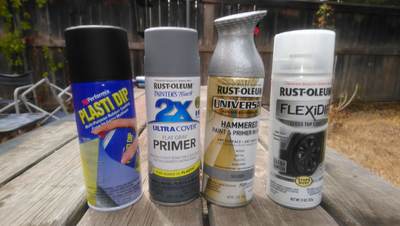
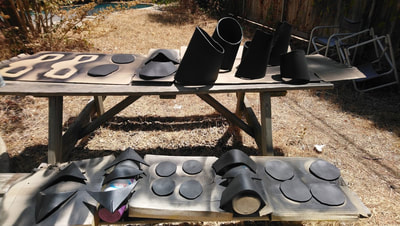
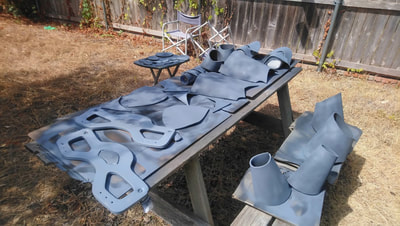
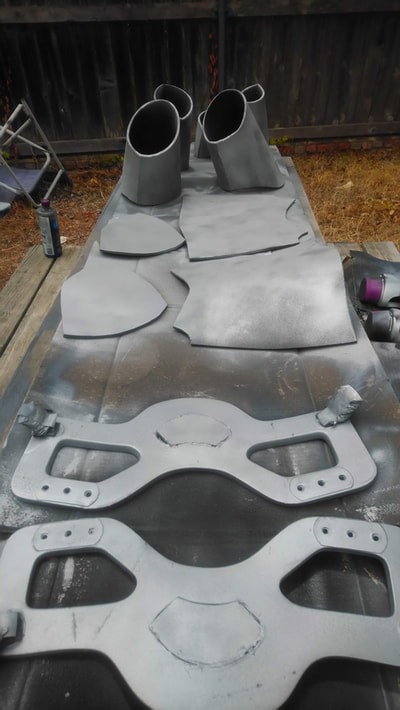
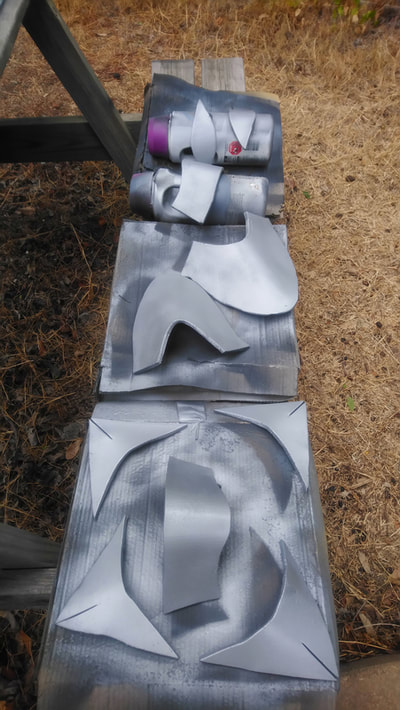
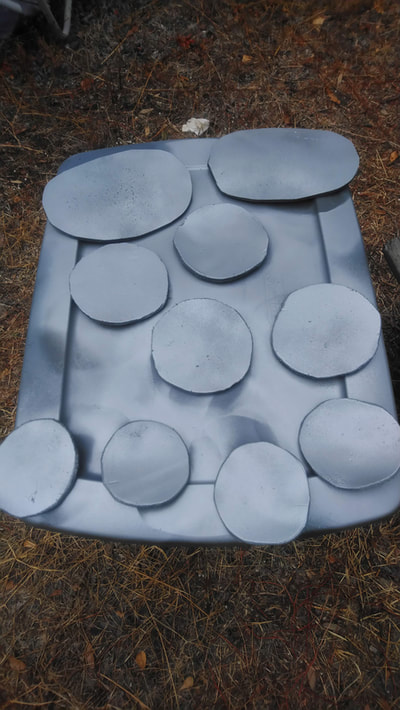
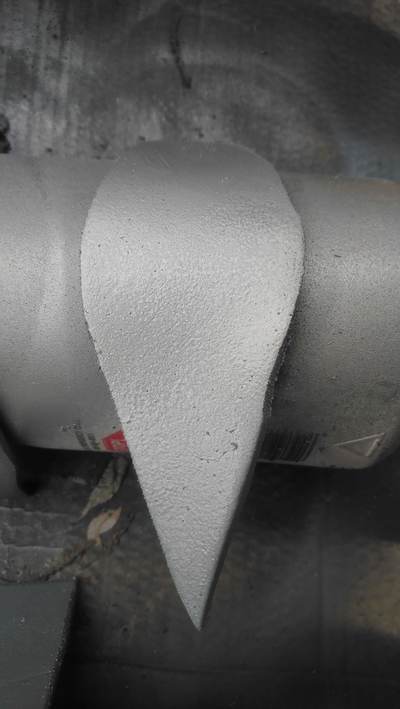
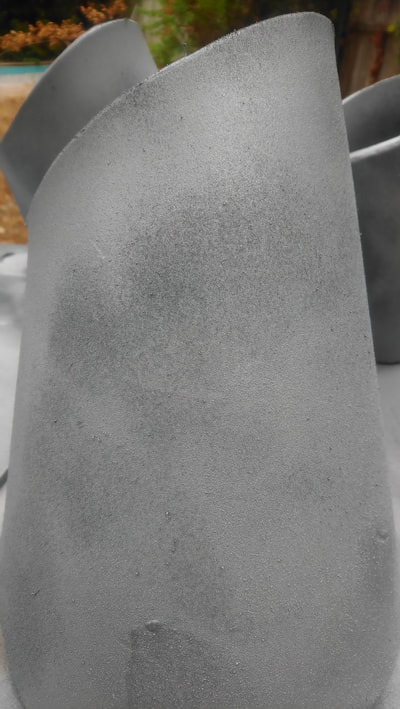
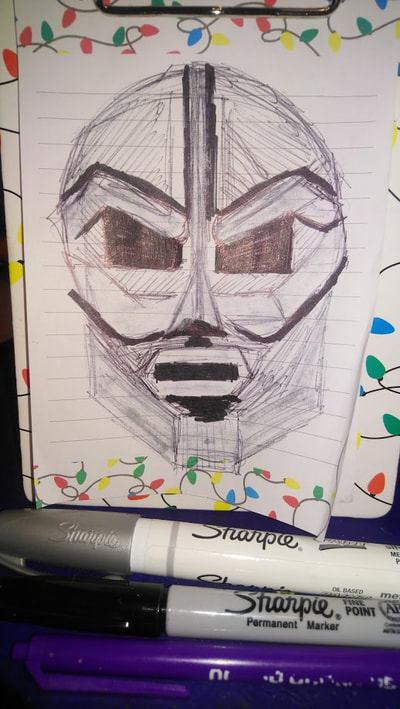
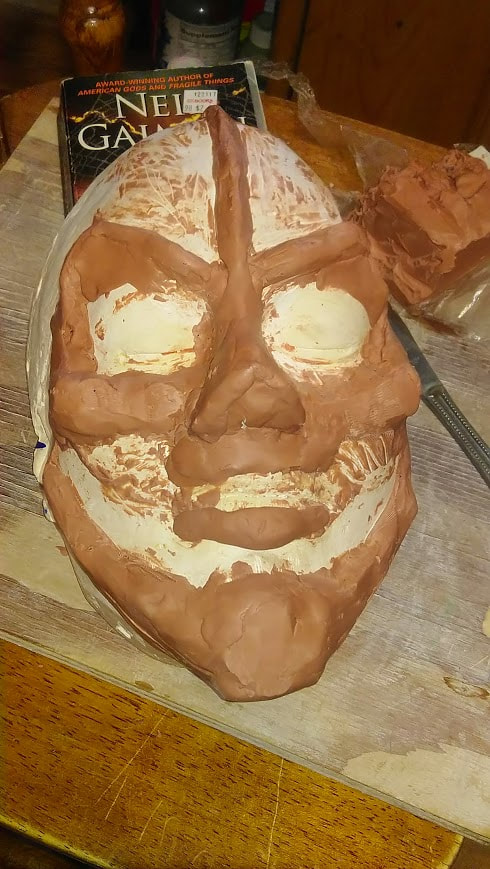
I just had to make squirrel tails for Wind in the Willows and it put me in mind of Squirrel Girl, who happens to be one of my husband's favorite Marvel Women. He'd just finished reading the Deadpool graphic novel that starred SG in which they went through a transporter and ended up with recombinant DNA daughter, Squirrelpool. It was hilarious! I love it that she defeats all her enemies with a chipper, can-do attitude and that there's nothing at all grey in her moral code. She's perky and positive and so happy to help, just like me! ResearchOther CosplaysBuildAll I need is OD tights, brown leo, brown bomber jacket which I already have thanks to the 80's, my Batgirl utility belt, brown Uggs, and to make yet another squirrel tail. There's an Etsy shop that sells real acorn earrings that I have already found. And then a brown headband with squirrel ears. And a ginger, short-haired wig. Easy peasy lemon squeezy! I just have to finish our Batman alterations first, then do Flash, then finish out Catwoman and Batgirl, then I can get started on this. Oops! When I was making my Batgirl belt buckle, I went ahead and made my SG belt buckle too. Update June 21: I ordered the brown leo from We Love Colors. My Robin tights accidentally got washed with the Batman stuff, so now they're grey, I ordered a new pair and will use the old pair for SG. Now I just need boots. Aug 2: I started on my costume by altering my 1980's leather jacket. I cut off all the fringe, then cut it much shorter at the hem, and cut 6 inches off the sleeves. I'm going to add fur to the collar and cuffs and around the hem. Then I used two coathangers and some crinoline hooping to make the armature for the tail. I need a good set a plier to bend the support ends over and a roll of gaff tape to wrap the whole thing up in. It took 3 hours today. I spent another three hours last night cutting and lining all the fur trim for the collar, cuffs, and hem of the jacket. Tues Aug. 14: I spent two hours that morning finishing the collar and cuffs fur trim on the jacket. I went back in the afternoon and spent another three hours on the tail. I also had to give my boots a quick acrylic paint touch up because they were falling apart. I used brown enamel spray paint to paint the white headband I found at Joanne's. It had some stiff net glued to it underneath a layer of stretch lace, which I ripped off. That dried really quickly. Then I cut ears out of the tail fur leftovers and stitched them together and handsewed them onto the headband. I was really happy with the tail until I got home and put it on and it ended up being so top-heavy that it fell over. I'm considering taking the whole thing apart and completely redoing it to be smaller and less top heavy. But today (Wed) I've pulled something in my back and can't really move anymore. This may be a doomed effort for Geekfest this weekend. Dr. DoomBecause Squirrel Girl needs someone to fight (and defeat) Rob said that he would condescend to be a Marvel villian and I let him pick his favorite among all of SG's vanquished. The costume is really simple: green tunic and hooded cape with a brown belt. The armour bits are more complicated, which is why Rob chose this one. He's still upset that I haven't built him a full suit of Dracula armour yet. Other CosplaysThe BuildJust bought these fabrics from Joanne's. The green poly was on the clearance table for $7 a yard. It's a bit like ultra suede but thinner. There were only 5 yards left so I took them all. It's going to be the tunic and the cloak. The black cotton with silver sparkle was on sale for $6 a yard so I got almost 6 yards which was what they had left. It's going to line the cloak. I also got two spools of green thread which was also on sale. Plus with my 15% teacher discount I only spent $66.15. I wish there had been more of the green, but it's very wide so I'll just have to make do. My plan is to pattern the tunic and cloak first and get all the sewing out of the way. Then I'll need to pattern the armour. I plan on making that out of L200 foam and paint it silver. It will be worn over his grey Batman unitard and brown Capt. Mal boots. I've already acquired a brown leather belt that's fairly wide. All I need to find is the gold broaches and chain to keep the cloak on him. To complete the costume, he will need a mask that resembles his armour and covers his entire face. I will not make that out of L200 foam, but instead use thermoplastic and paint it to match. Stay tuned for my progress this week. July 23: I patterned the tunic as well as the greaves (calf), poleyn (knee), and cuisse (thigh) portions of the armour. July 24: I patterned the vambrace (forearm), couter (elbow) and bicep (rerebrace) portions of the armour. Then I ordered the foam padding that is supposed to go under the actual football shoulder pads. I was trying to buy the whole thing but the adult sized ones were way too expensive so I just bought the padding for $25. I'm going to use it to attach the rest of the upper body armour to. I will need to pattern the pauldrons after the padding arrives on Thursday. I also still need to pattern the sabaton (foot). July 25: I patterned the sabaton as two pieces, a front that covers the toes and a back that goes around the heel. My plan is to attach them at the ankle with velcro. I also cut out the tunic and cloak pieces. I worked for 3 hours. I did a fitting on the tunic so it's ready to hem. July 26: I serged the cloak pieces and sewed them together individually. I bag-lined the cloak as one big piece so that there's no seam up the CB. I will still have to hem the circular edge, but the CF and hood are done. July 30: for the broach, I found metal disks and a piece of chain that I'm going to use to create the cloak closure. All I need is two dog clips and backings for the disks. I can probably get them at Joanne's. The ArmourThis is the e-book I downloaded for the low, low price of $10. The author is Bill Doran. He is with Punished Props. It's a great manual. I found this for sale. It's a life size Dr. Doom armour set, for larger cosplayers only (6ft and taller). It's made from fiberglass and the helmet alone is $400. If you want the whole suit it's going to set you back $2000, but since it was custom-made they only did the one and it was sold, so there aren't any more of them. But I can totally use the photos for reference. Aug. 2: I cut out all the armour pieces. It took an hour. There are 32 individual pieces. Aug 6: I went to Home Depot and bought $100 worth of paint: 4 cans of black plastidip, 4 cans of grey primer, 3 cans of silver, 2 cans of Plastidip clear gloss, plus gaff tape, glue sticks, and a mask. I also began sculpting the face for his mask. I'm going to make it out of thermoplastic, but use all the same paint as the armour. Aug. 7. I got out my dremel and heat gun and went to town shaping and smoothing all the pieces. Then I realized that I didn't have the right attachment, I'd been using one for sanding wood, and had to order the right grinder one from Amazon and it will be here sometime today. I got 9 different grinder tips for $6. plus free shipping. I decided that if the edges really bothered me I could go back and re-smooth them after I did the painting, because I couldn't lose two whole days of not working. My grinder bits didn't show up. Aug. 8: I did three coats of the black Plastidip after I watched this video. It was in the evening and shady when I did this. The plastidip dried really quickly, Aug. 9: My grinder bits finally showed up. I smoothed some edges and then quit. I did three coats of grey primer. Unfortunately, it was over 100 degrees outside and I was doing it in direct sunlight, like an idiot. The foam melted back into it's pre-heat shaped flatness on several pieces, because it was just too hot. The pre-made and sealed shoulder pads never dried/hardened and remained sticky. The humidity was really high and it started raining later that night. I noticed that the grey primer made the plastidip grow fur and now all my pieces look like they're supposed to be made of granite, not metal.
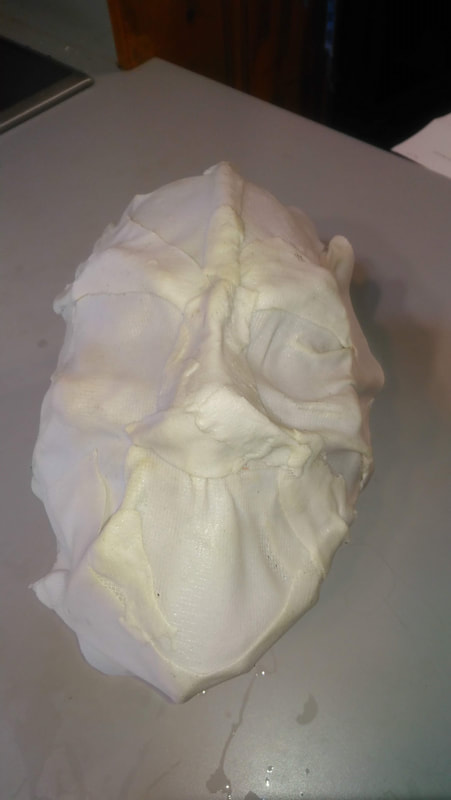
Aug. 10: It started raining and then rained on and off the whole weekend. I was able to get two coats of the galvanized silver color on so far. At this point the silver is not doing the galvanized thing it's supposed to be doing on any of the pieces. It may be the humidity or the fact that they grey primer made it furry. I don't know. It's not working. I'm forging ahead and damn the consequences. Aug. 11: I got two coats of clear coat on before the rain started. The consequences of this weather are that when I bend the pieces now, the paint immediately cracks. This sucks. All the paint cans say to only use it when the temps are between 50 and 90 degrees and it was over 100 every day this week. Also, the humidity is supposed to be below 65% and it was way above that starting on Thursday. Also, the wind was not cooperating either. It kept blowing all my pieces off the table. I feel like my Dr. Doom armor is just doomed. Aug. 13: I got out my thermoplastic and started forming it over the sculpt. Normally I am very good at this, but I think that the stress of the paint cracking and wanting to get this all finished by Friday was too much for me and the thermoplastic ended up folding over on itself in the hot water and getting pretty much ruined. I persevered and tried to fix it as best as I could, but the mask looks like Clay Face instead of like metal armor. I will use the same paint techniques on the mask and see if the cooler temps this week (because of the rain) will help. Thermoplastic literally melts in the heat. I don't know how the absurd humidity will affect it. At this point, I don't even care, I'm so done with this project.
0 Comments
Leave a Reply. |
CategoriesArchives
July 2024
|


 RSS Feed