|
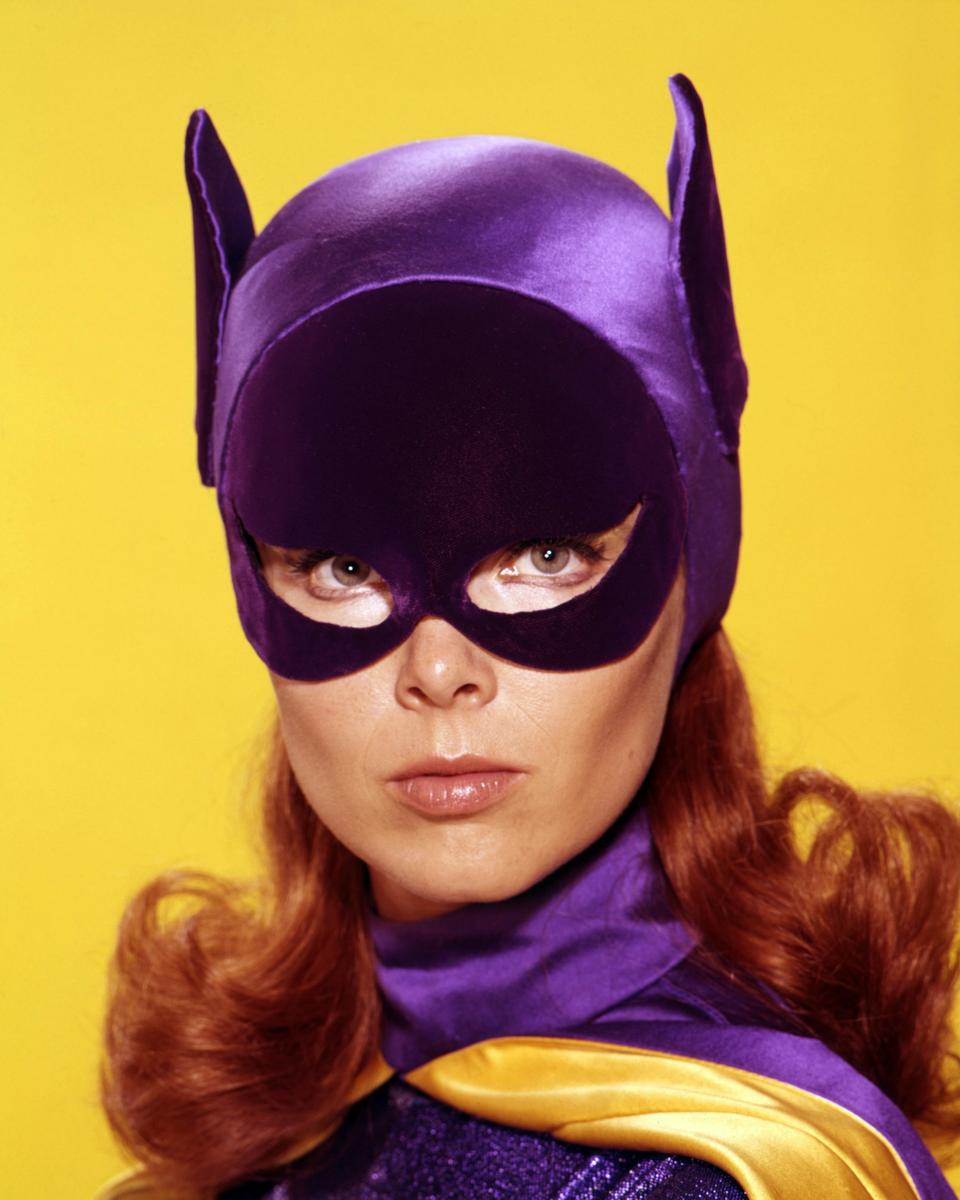
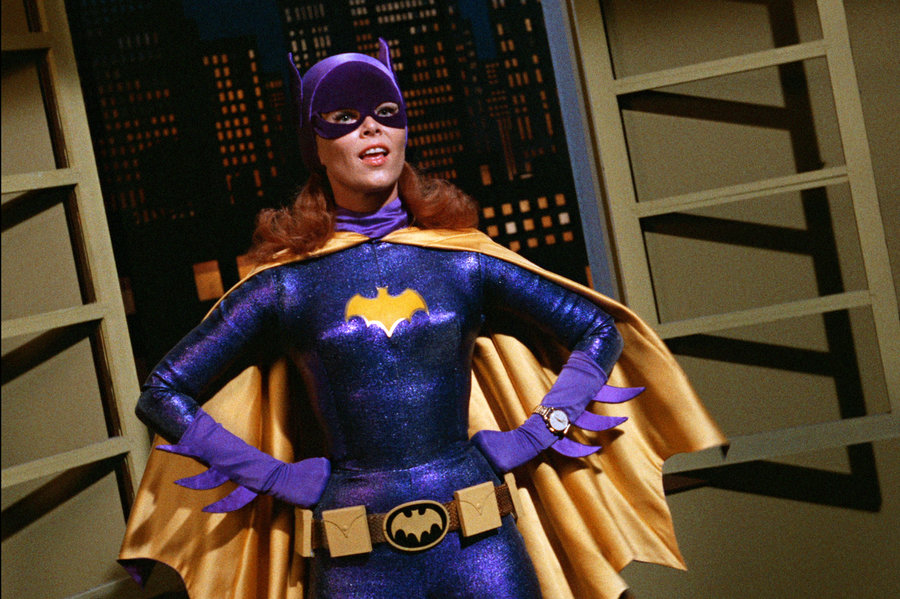
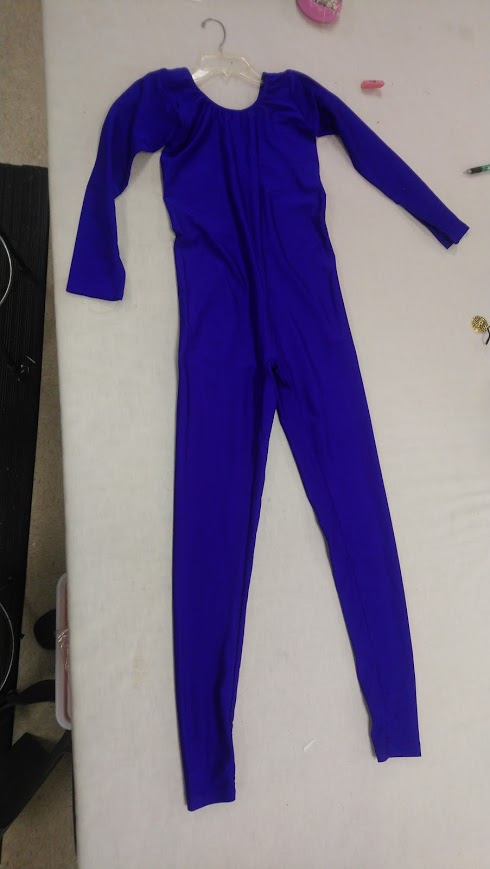
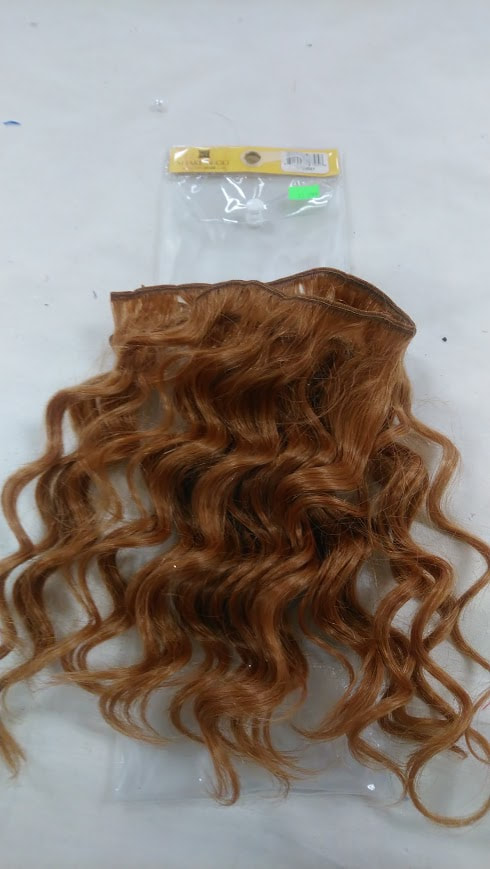
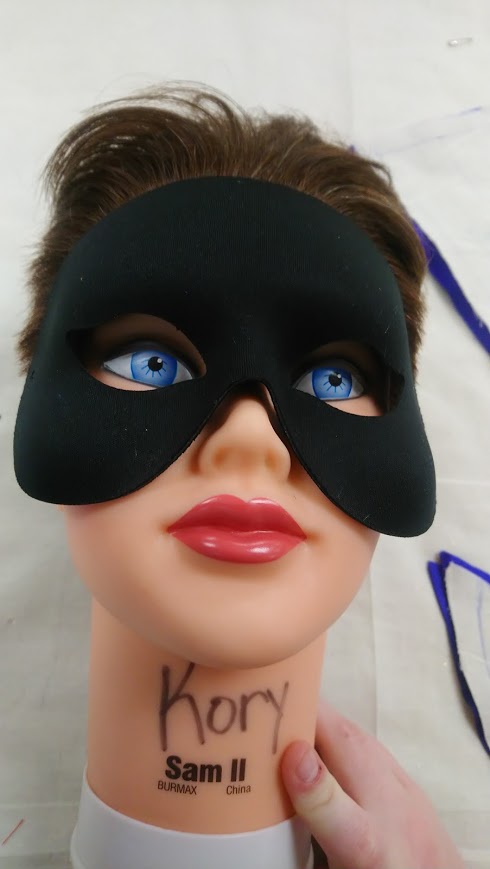
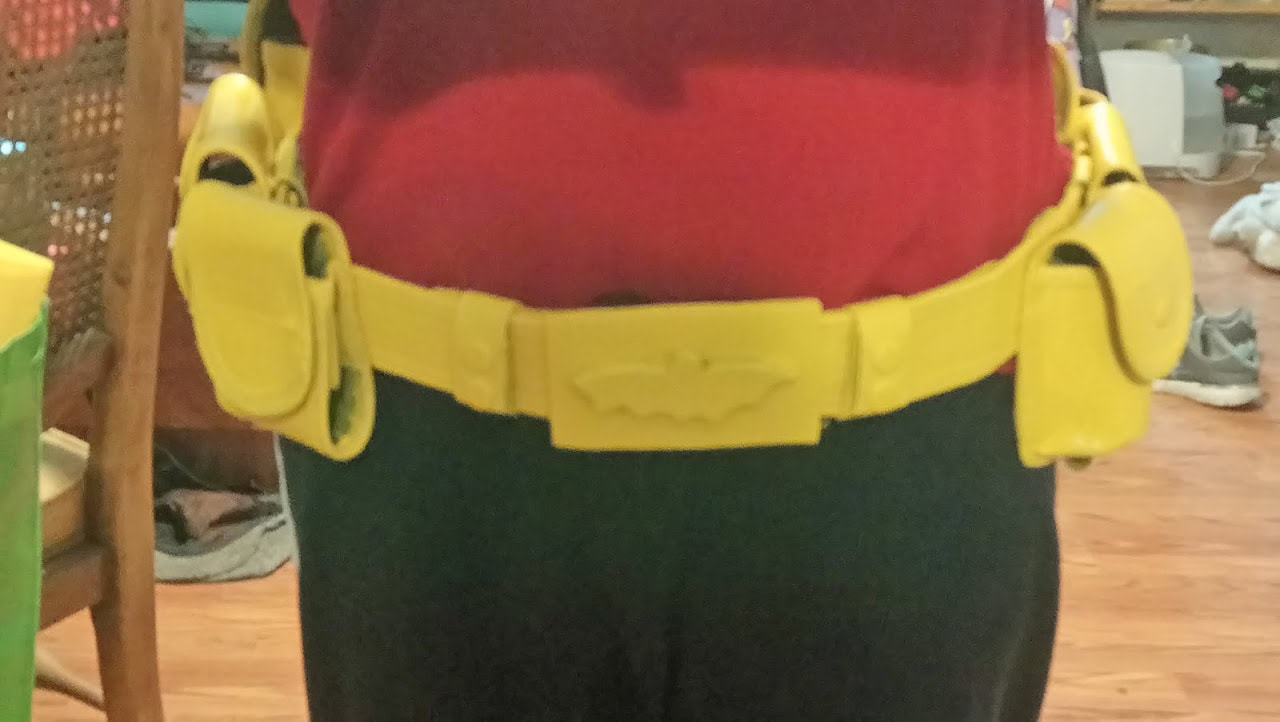
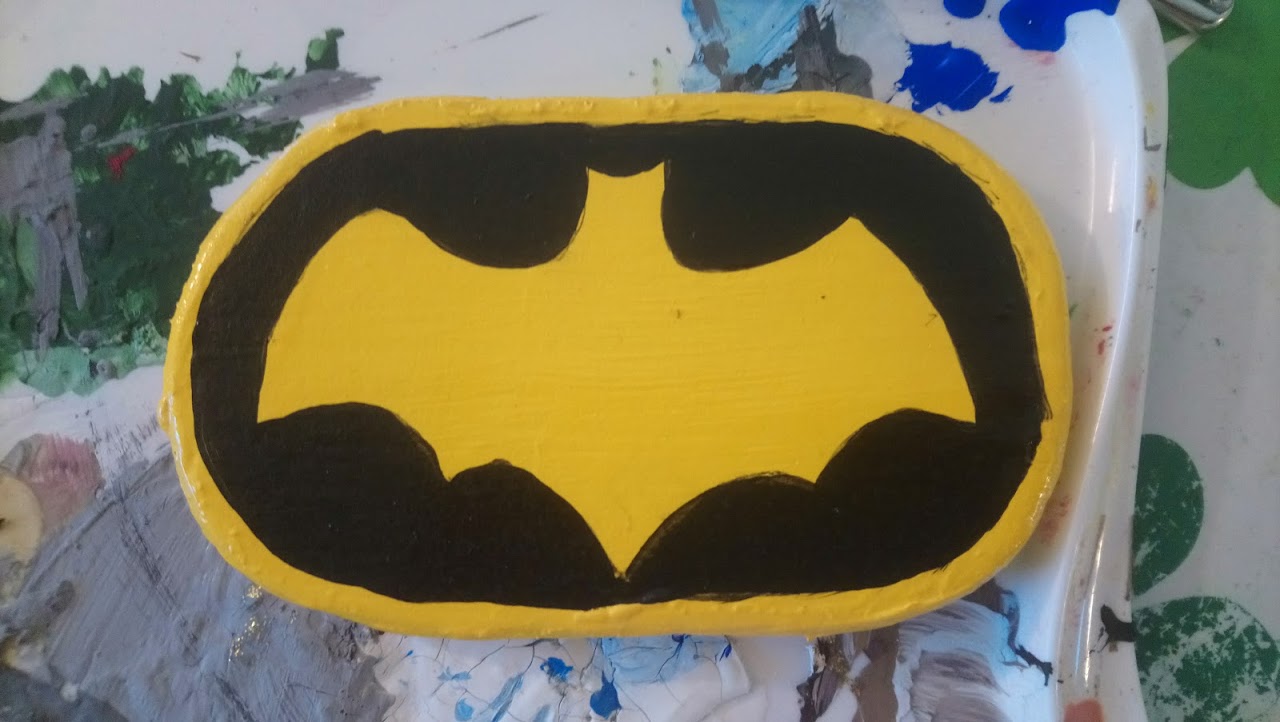
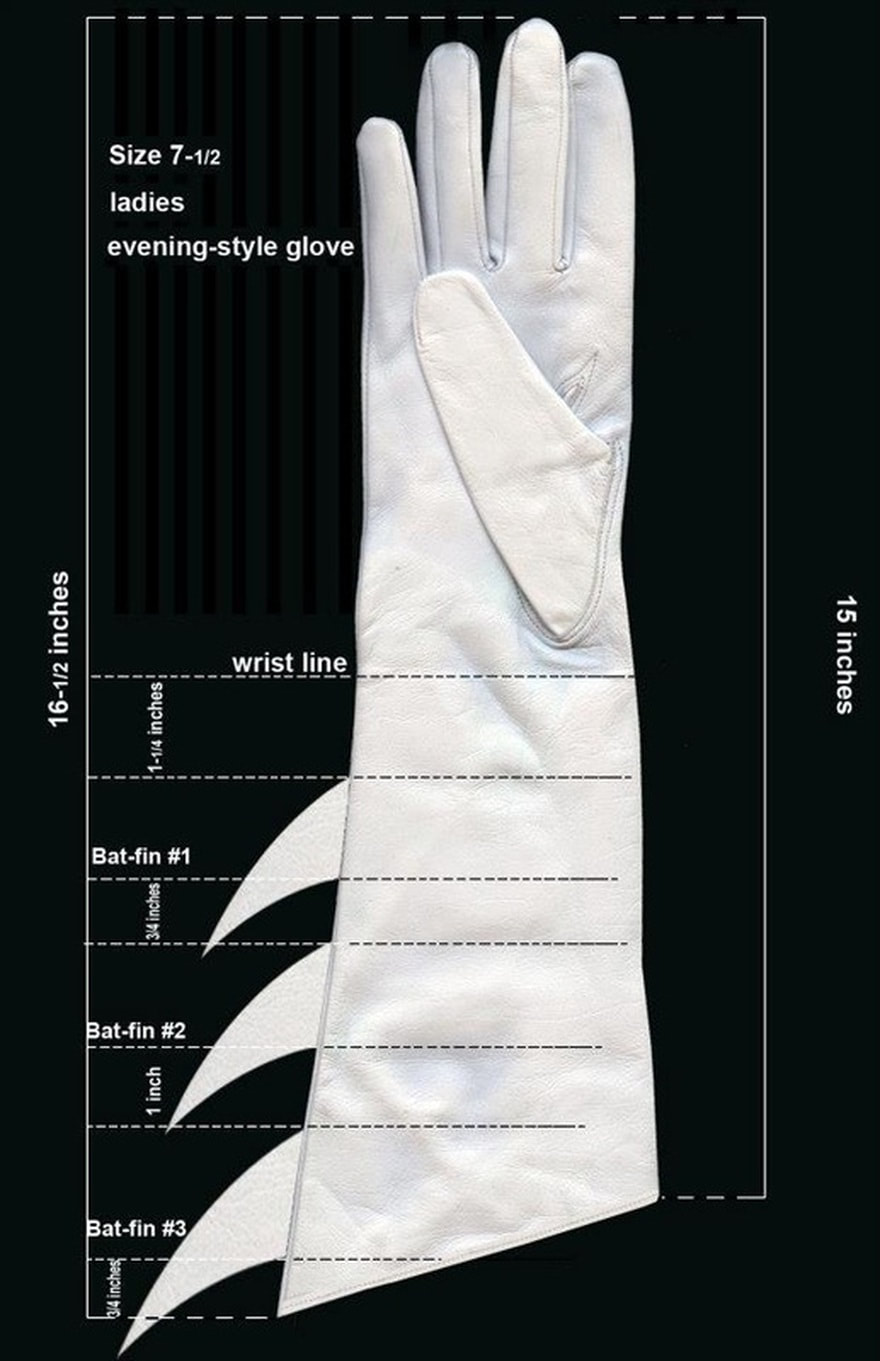
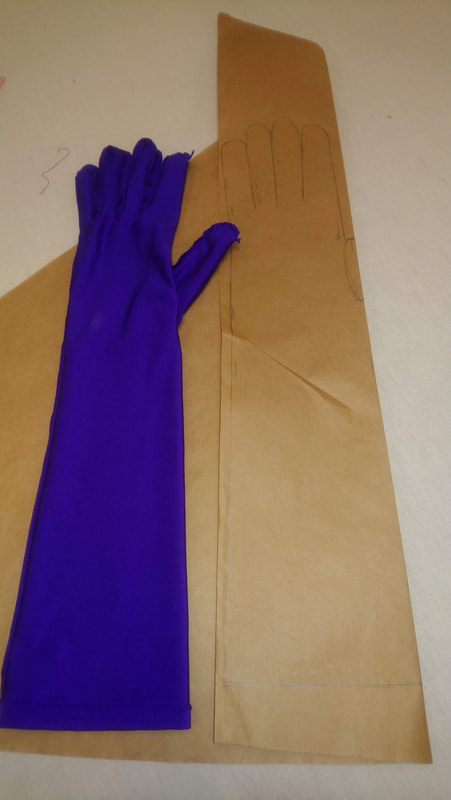
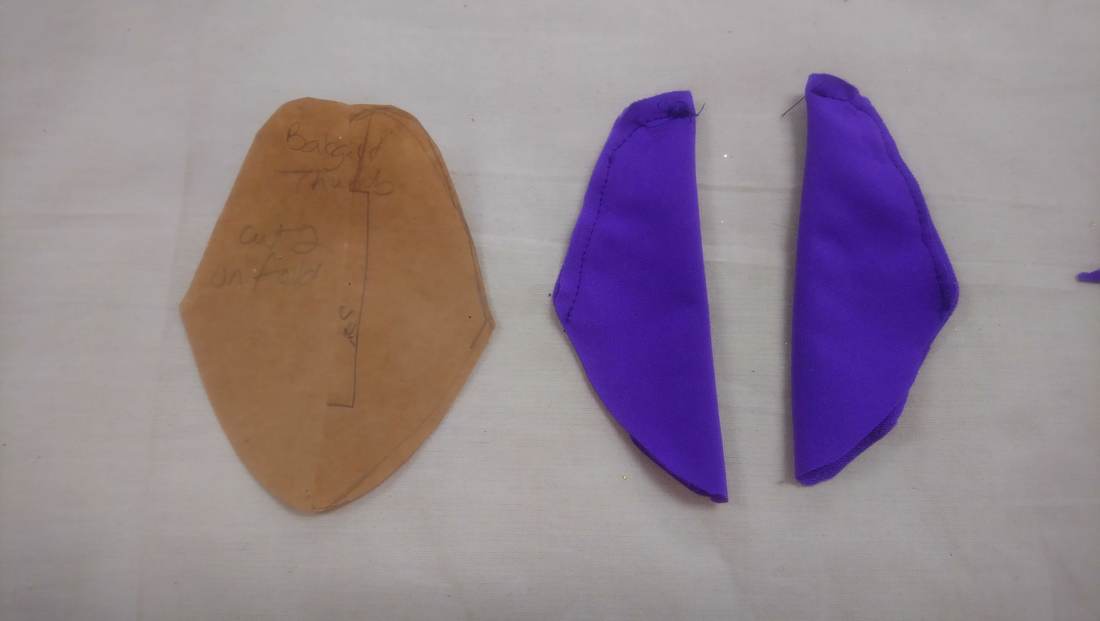
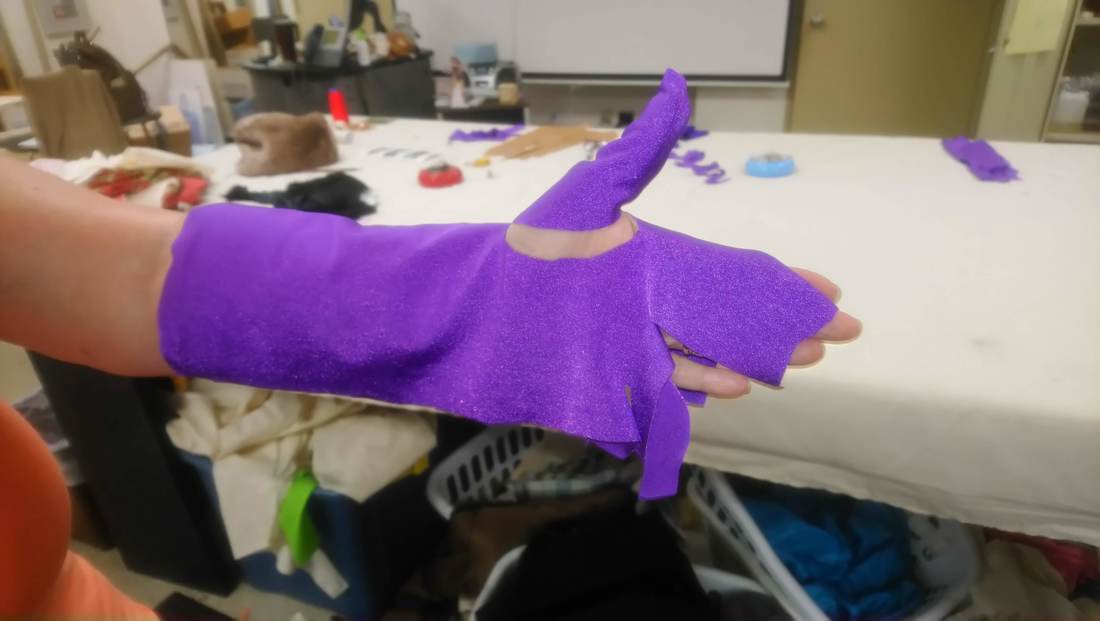
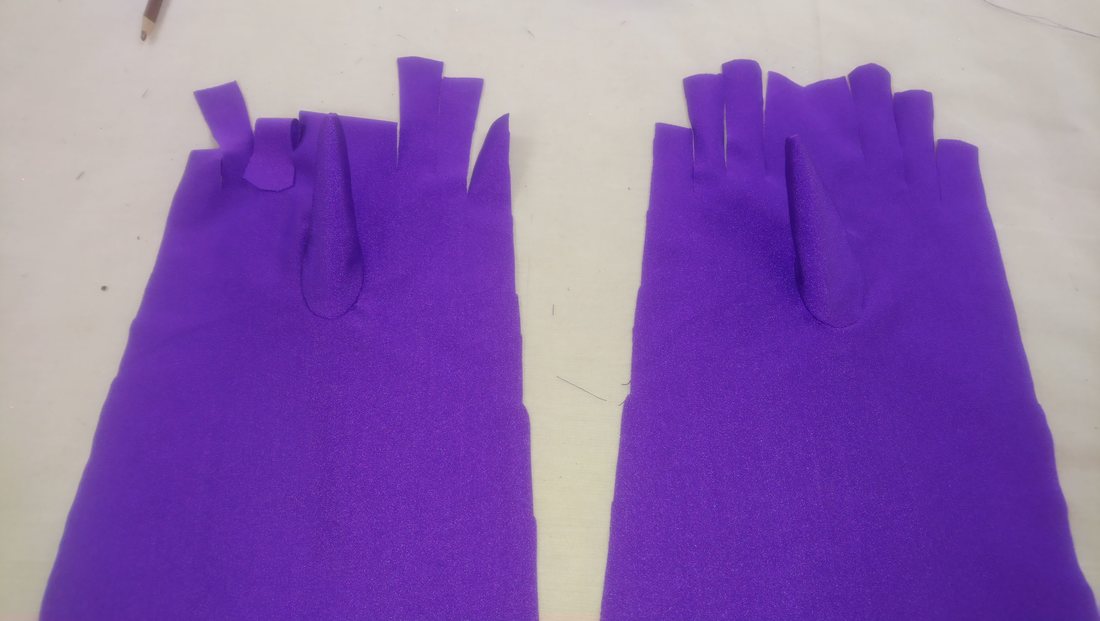
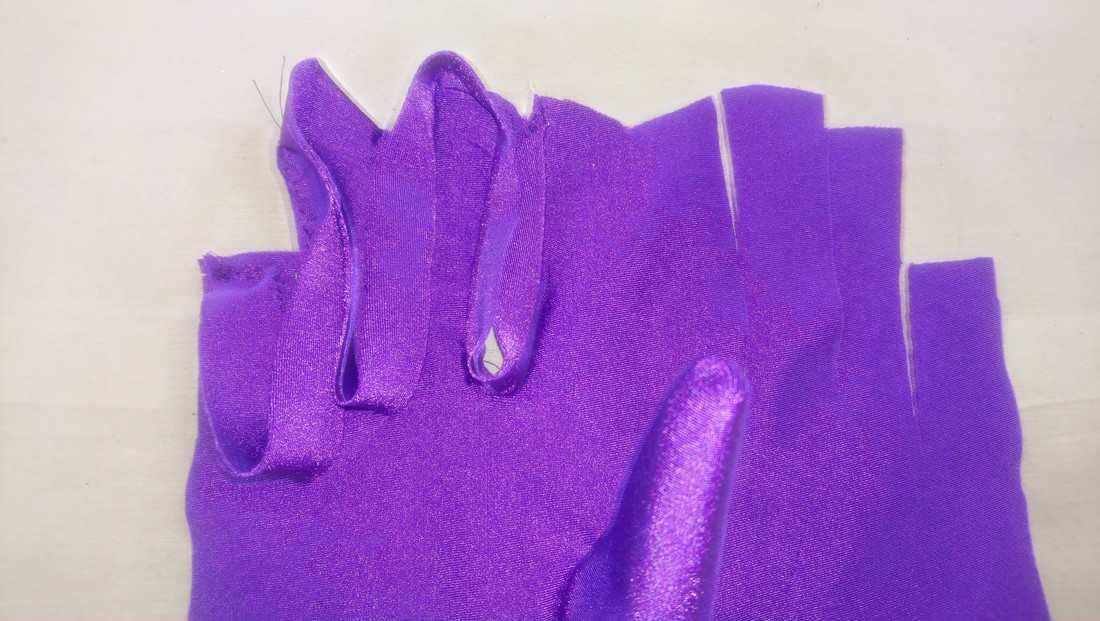
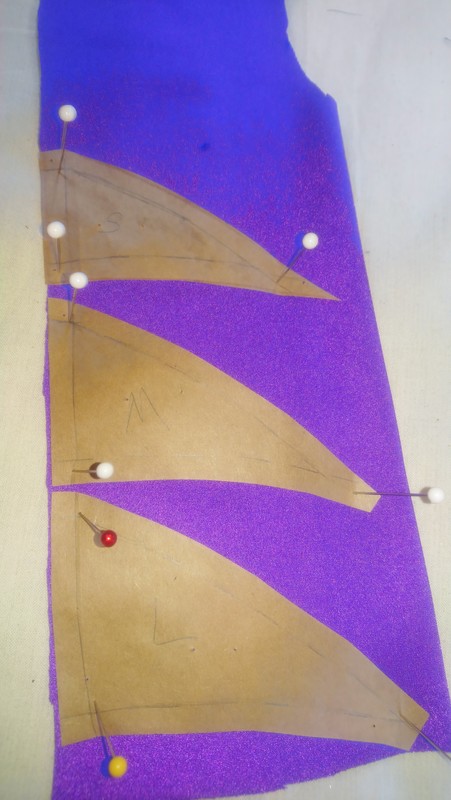
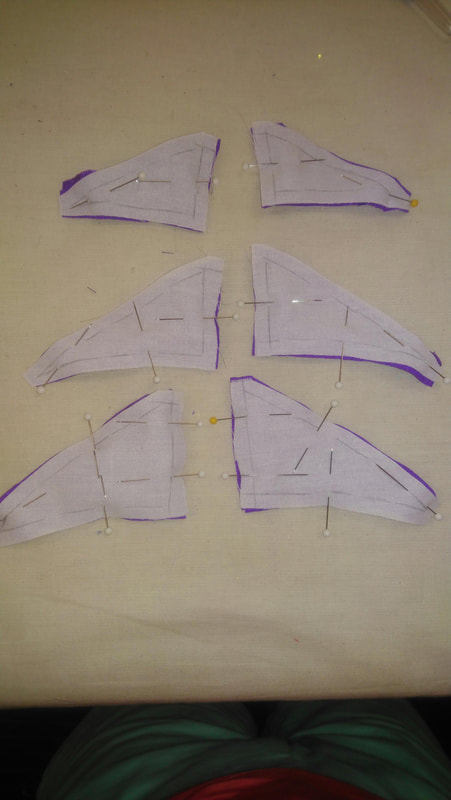
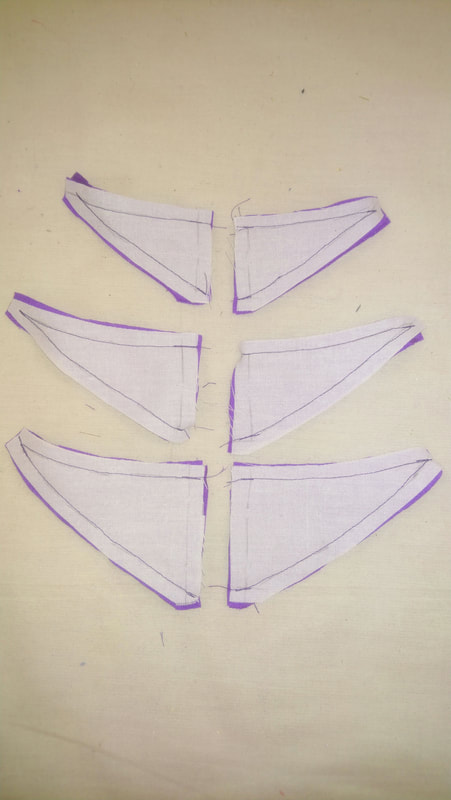
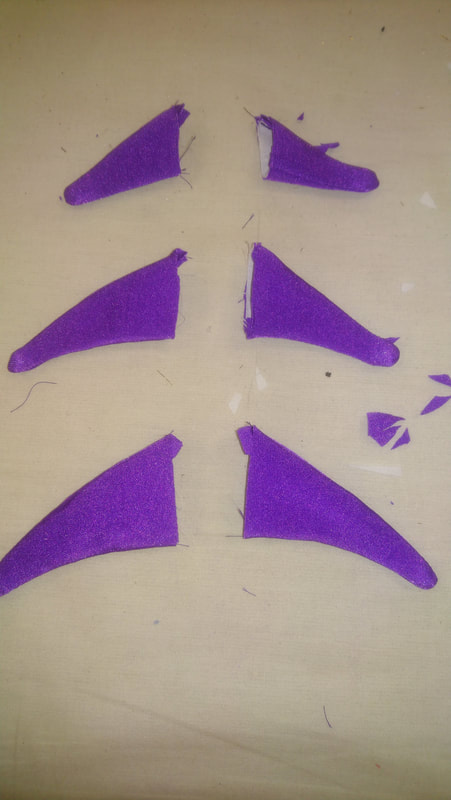
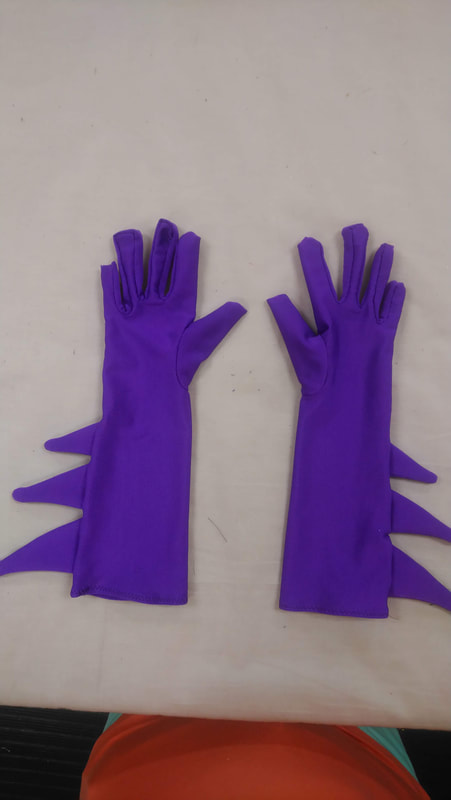
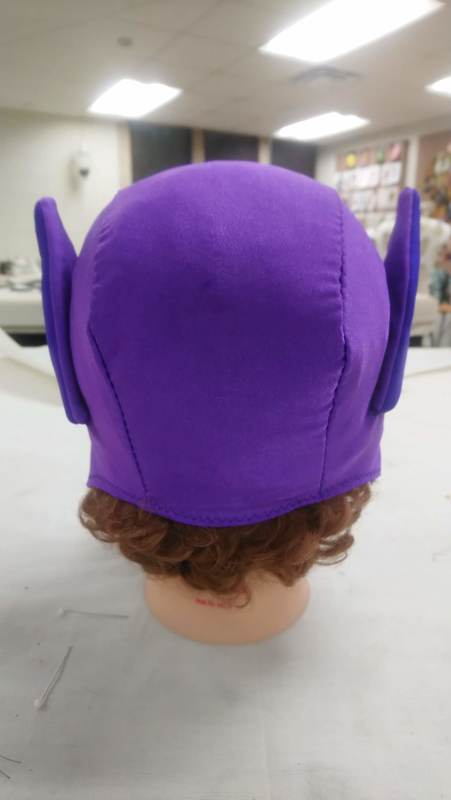
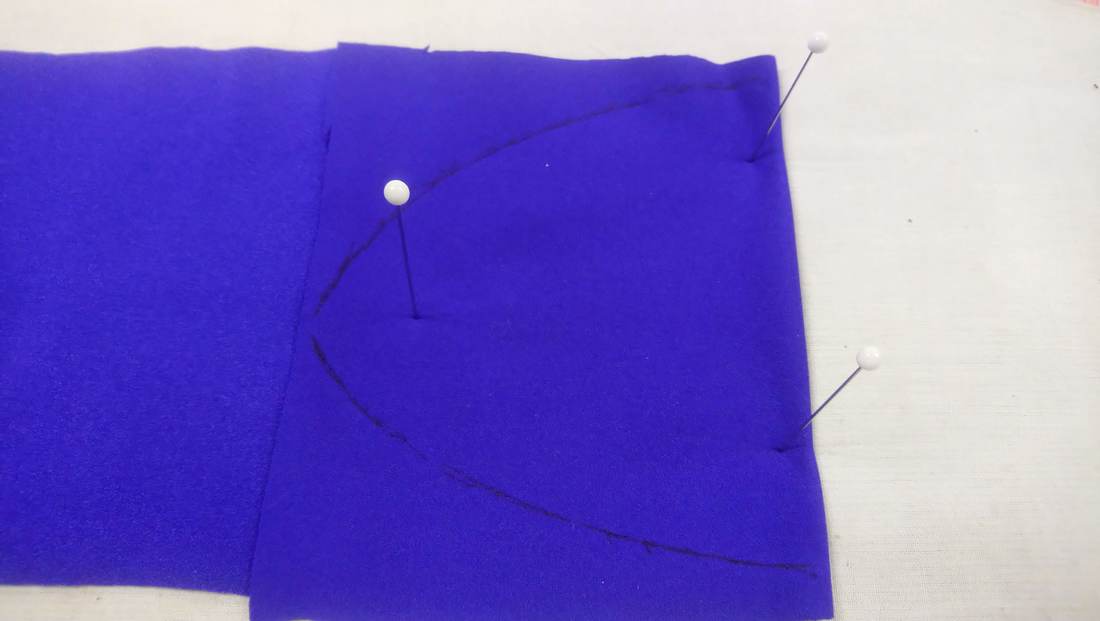
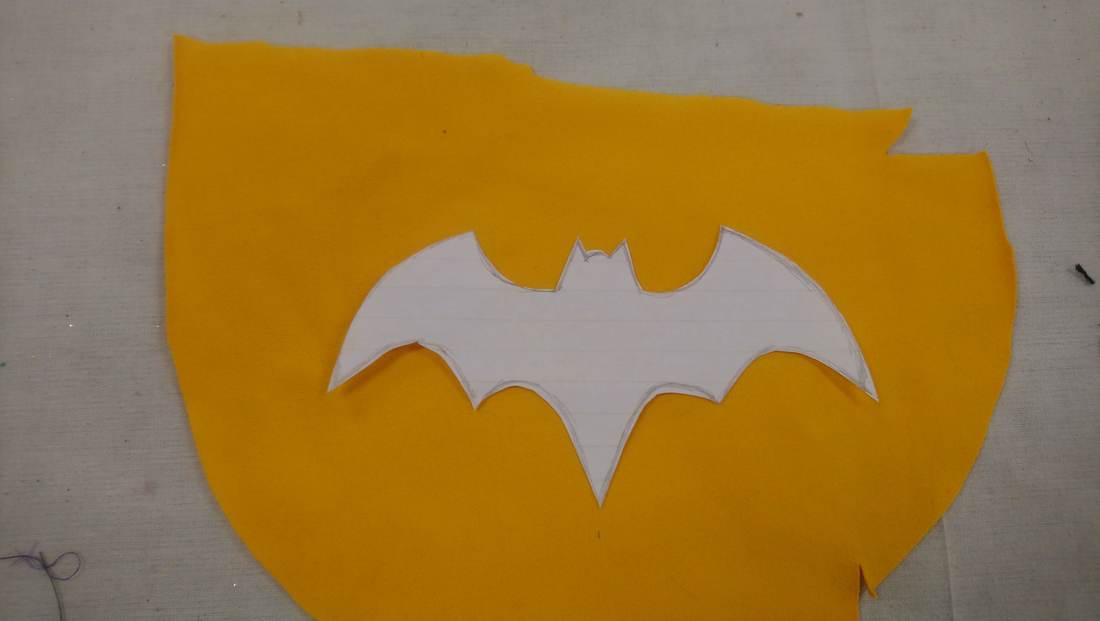
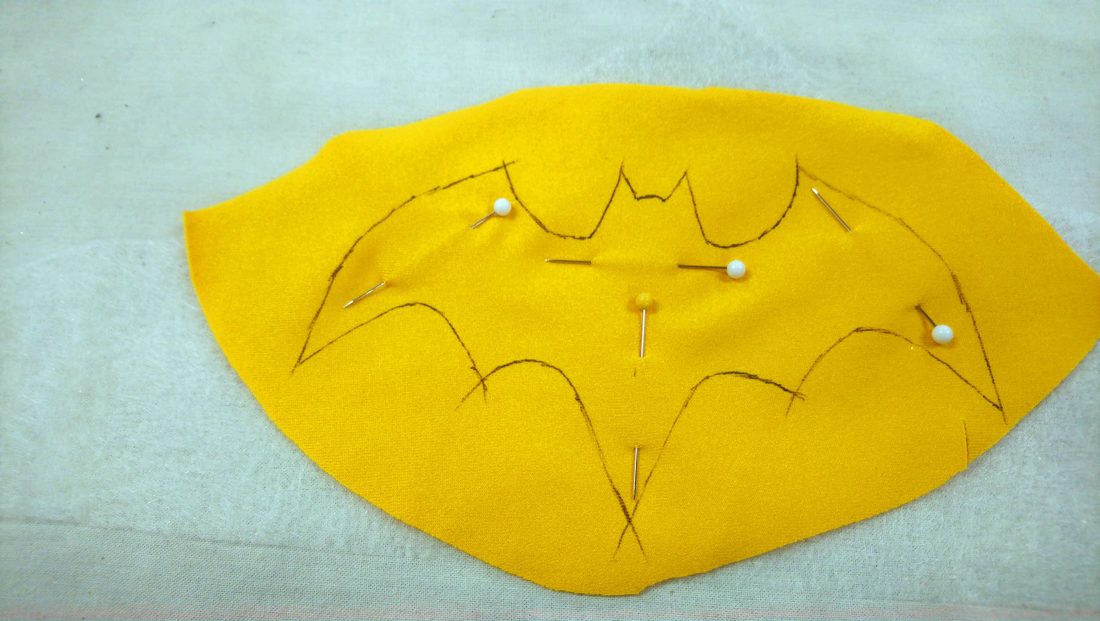
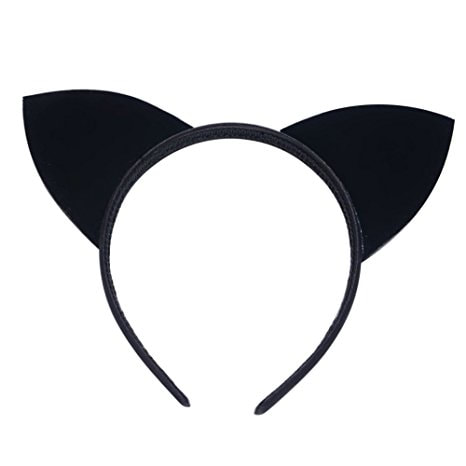
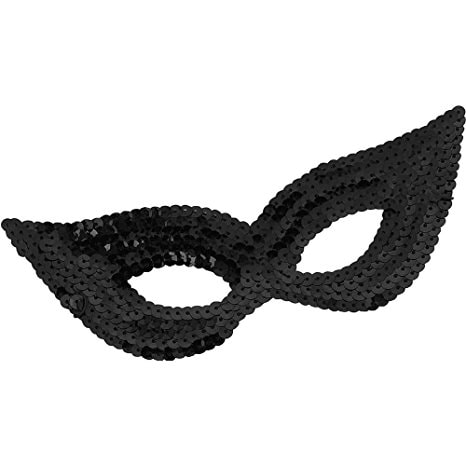
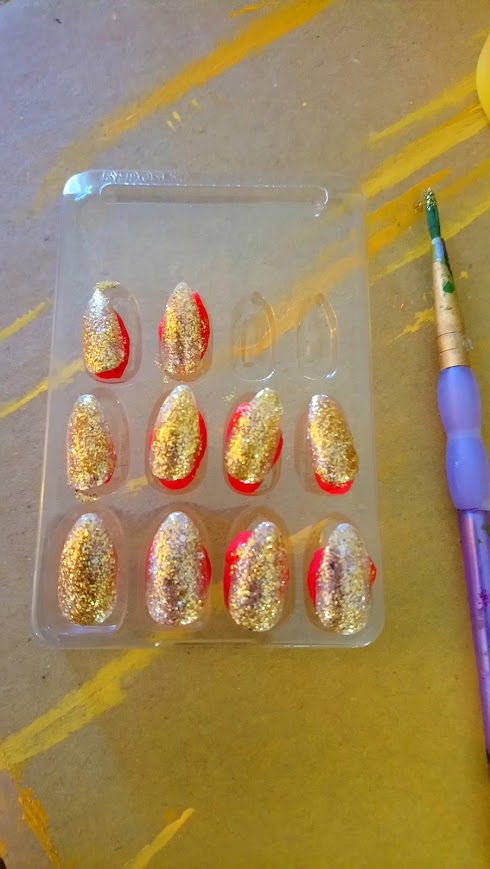
I was so excited by the reception of our Bat Fam 66 cosplay that I decided to add two more characters, but just for me. We don't always have all of the kids and I may be doing Geekfest alone this year, so in addition to my Robin, I will also have Batgirl and Catwoman for the other two days of convention going and costume contest judging. Batgirl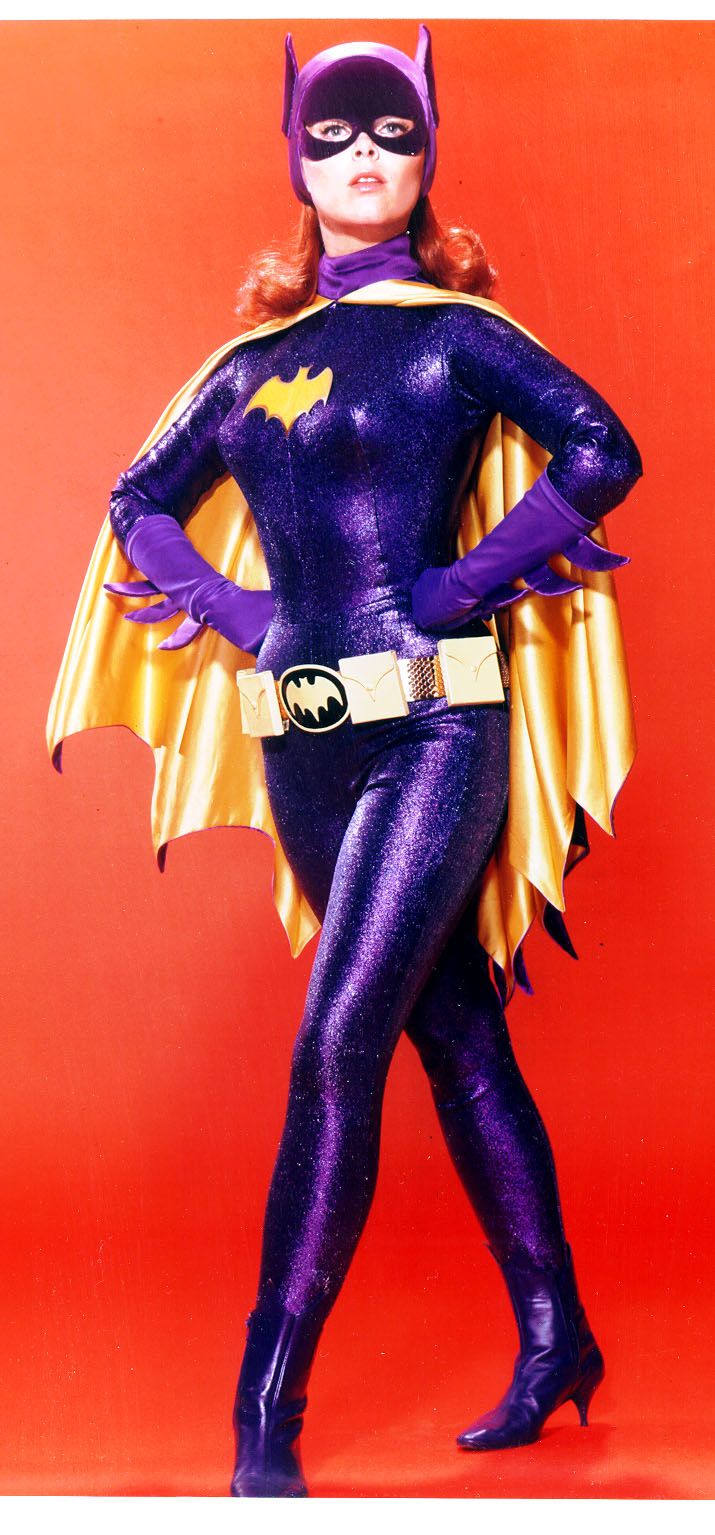 The Unitard and gloves are coming from We Love Colors, the utility belt and phone case are coming from Amazon. I also ordered 3 yds of violet fabric to make the cape, cowl, mask, boot covers, and glove fins out of. The shoes are going to be more of a problem. For Robin I just wore my Docs with bootcovers and they were just fine for the first 8 hours. The last hour was pure misery. Geekfest is a much longer day. I'm going to have to find better shoes and I certainly can't wear kitten heels. This will take some thinking. But whatever I find, I'll get in black and then I can wear them for Catwoman too and just make boot covers for Batgirl. I also bought curly red hair to sew into the back of my cowl. I also bought a black half mask to glue into the cowl The BuildBack in April, I made another utility belt for Batman because we couldn't make his any smaller due to there being too much paint on the belt not allowing it to slide through the buckle any further. But it fit me perfectly. So I took his and then made another one for him. Then I made a new buckle for mine out of L200 foam. I cut out my cowl and boot covers last night June 21, using the patterns I made for Batman in December. The boot covers are from the matching dark purple fabric but the cowl is from the lighter lavender fabric. Tuesday I worked another 3 hours and got the cowl sewn together and the ears,I stayed home and did a lot of hand-sewing on the 4th (of July) which got the ears sewn to the cowl as well as the correct mask placement marked on the cowl. I still have to attach the mask and hair and hem it.  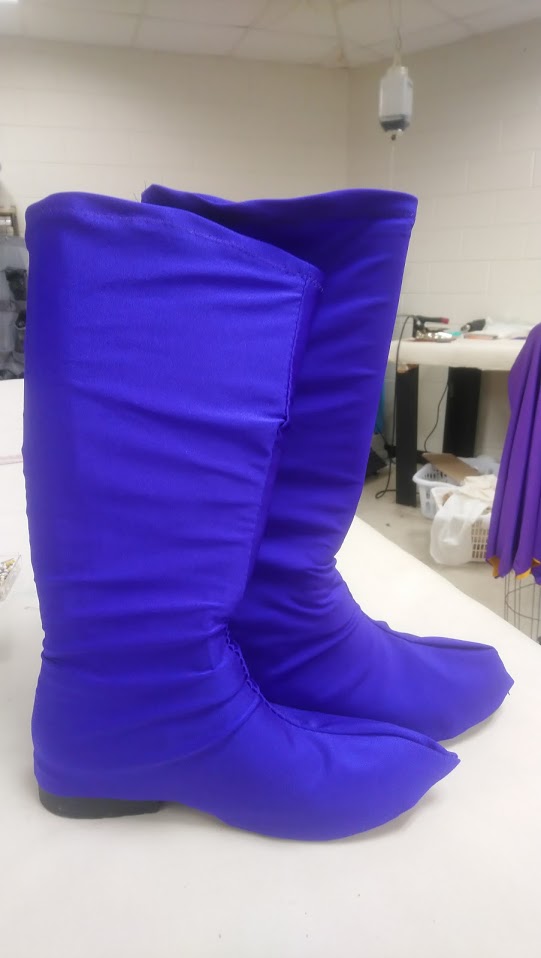 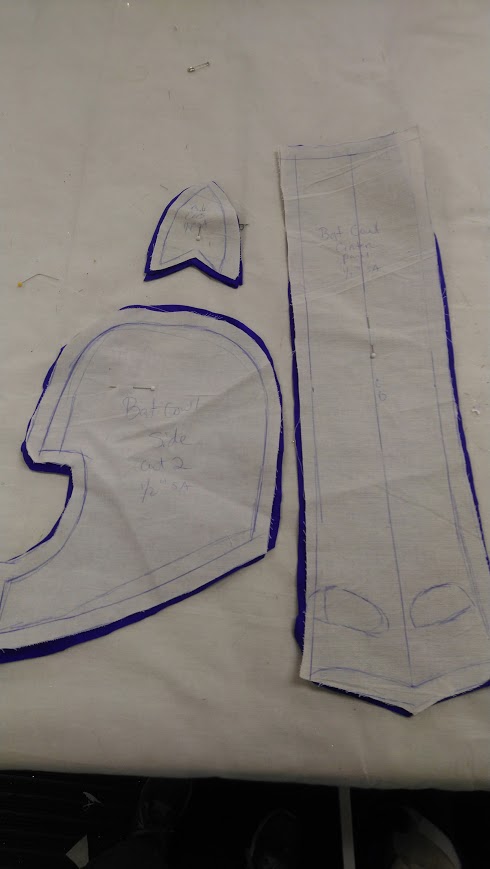 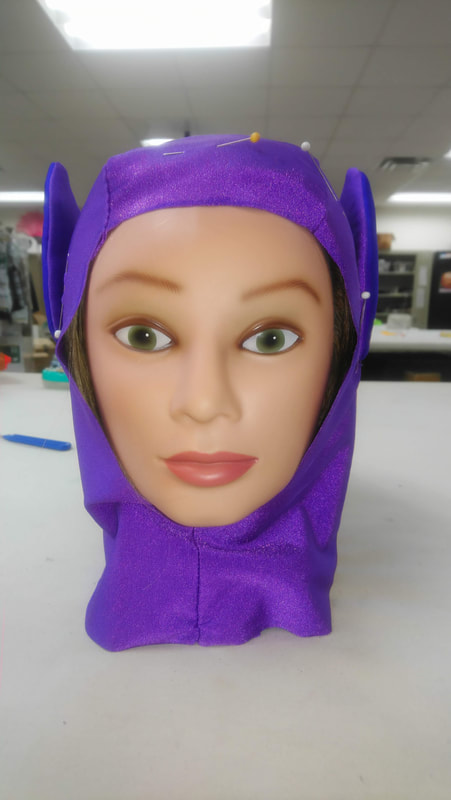   I patterned the cape, using geometry also on June 21. It's going to have a 5 inch radius for the neck hole and each side of the CF will be 34". I went in tonight while there was still air conditioning and cut both cape fabrics out: lavender for the outside and yellow for the lining. Next week, I'll cut the collar stand out of the lavender. June 27: This week I cut the collar for the cape and sewed it together. I also sewed the CF edges of the cape together, then flipped it right side out. Then I marked the "spines" of the batwings aspect of the cape, pinned both sides together, hand basted them together for good measure, then sewed down each spine with the machine. I then used my blue Sharpie marker to make the Batcape seams more prominent. Now all I have to do is attach the cape to the collar and it will be done! July 11: This Wednesday I finally got the collar sewn to the cape. I used my tailor's hem to hold it out in a stretched position while I pinned it and that was super helpful. 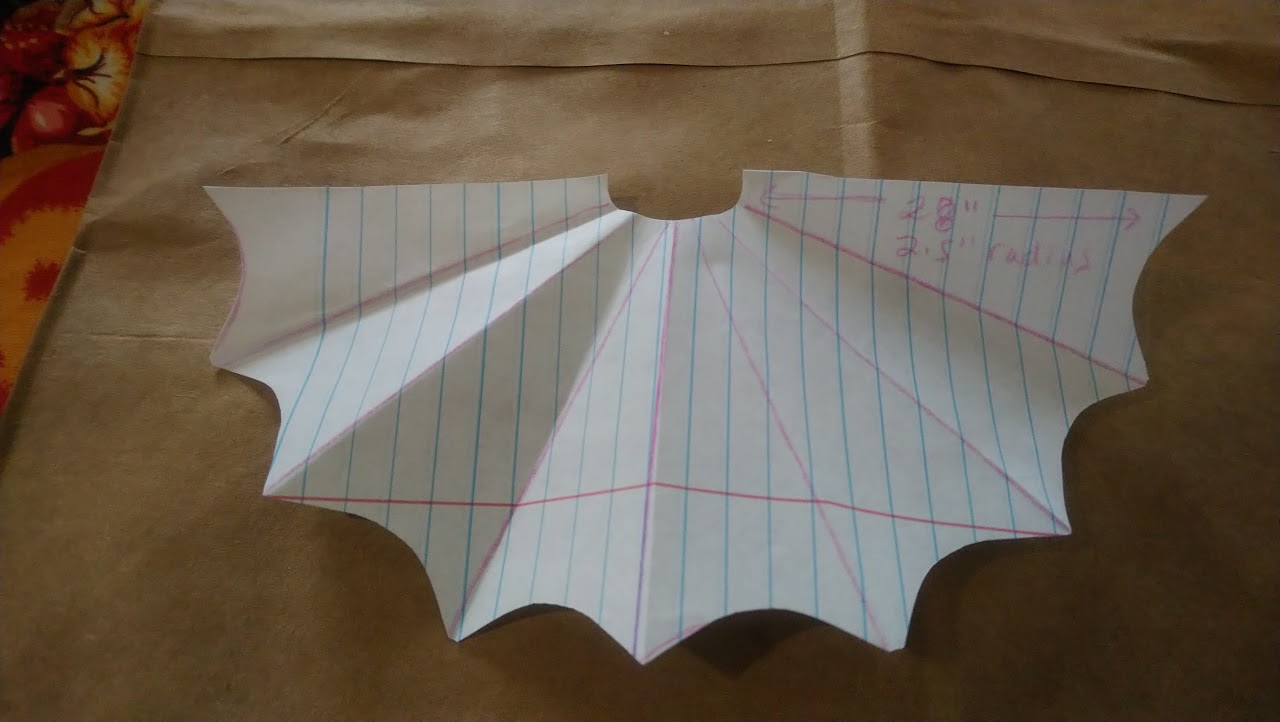 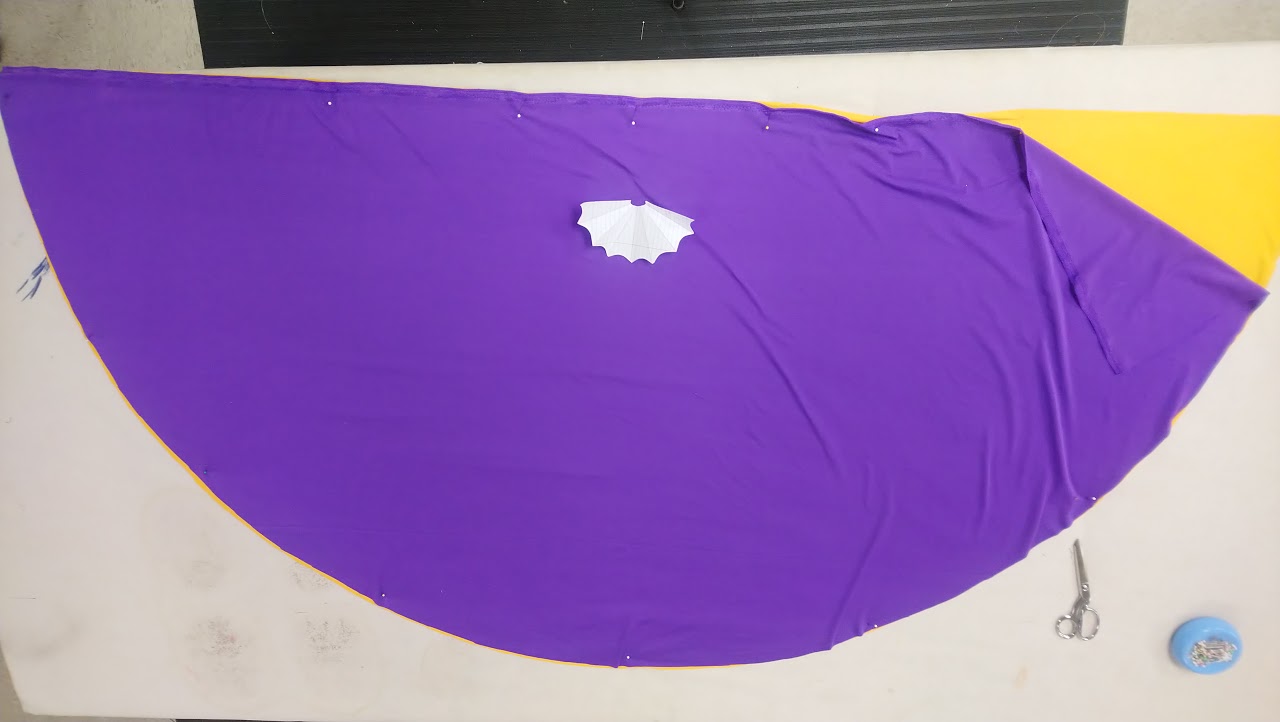  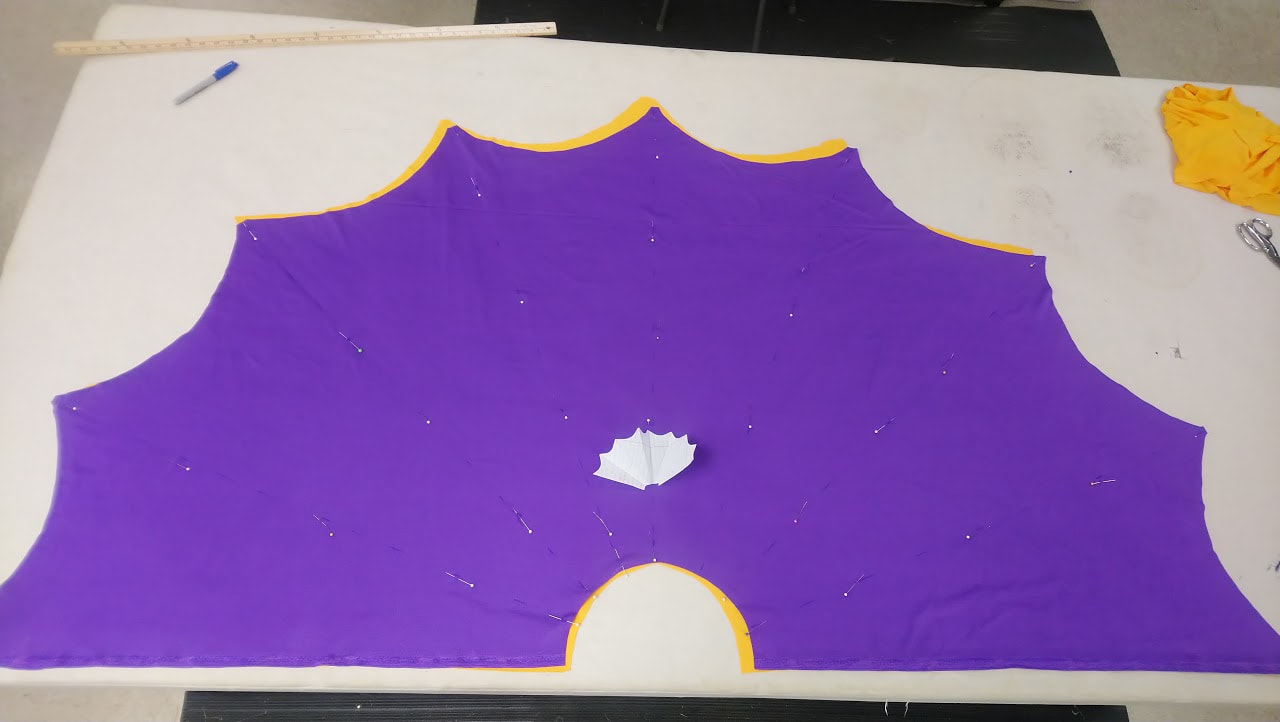  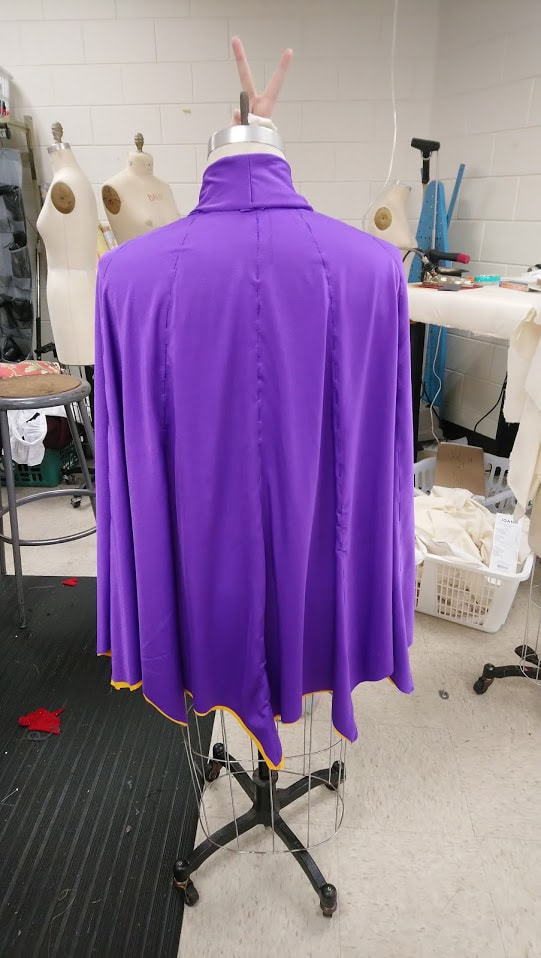 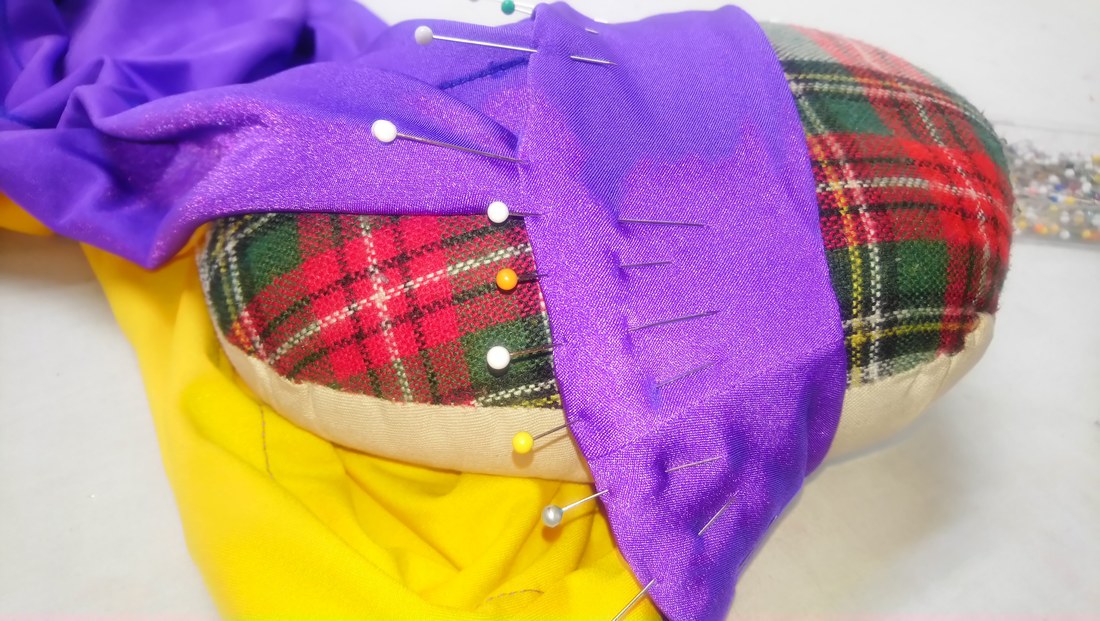 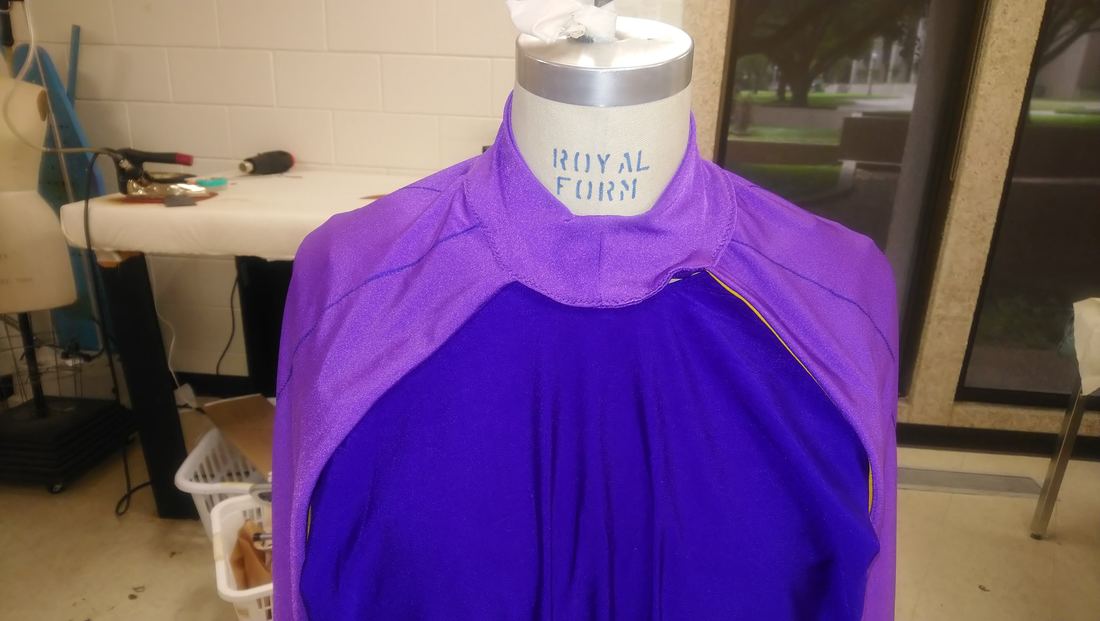 I decided that I'm unhappy with the gloves matching the unitard and wanted them to be out of the lavender fabric instead, so I found this instructable: http://www.instructables.com/id/How-to-Make-Gloves/ I always tell people not to make their own gloves, they will just get amazingly frustrated, yet here I am doing it. If I used the purple ready made gloves, I would still have to seam rip them open down one side and cut out the fins, sew them together, then sew them into the seam, then sew the gloves back up and that's pretty tedious as well. so we'll see how much more tedious it is to make them with fins from scratch. Today (Wed. July 11th) I started patterning the gloves with the help of the instructables page I mentioned earlier. On the first attempt, I discovered that the hole in the trank was too large for the thumb as you can see in the photo below, so I had to go back and fill in the hole in my paper pattern quite a bit and recut the tranks (the hand part of the glove). I had to hand baste the thumbs in to the trank first, and then go back and machine zig-zag around the seam from the inside. It was really tedious and I ran out of bobbin thread half way through the first one without realizing it. That's when I knew I'd been at it too long and it was time to quit, after 3 1/2 hours. I'm going back in tomorrow, so hopefully I'll have finished gloves by the end of the day. Thur July 12: Seven hours later, I came home with a finished pair of gloves. I spent the first three hours today hand basting the fourchette into the left glove and then machine zig-zagging it on one side. Then I had to lay in the fingers of the other side into the pocket created by the fourchette and the front side of the fingers. That was even more irritating. I had to do the pinning hand basting one finger at a time because the pins on the one side would get in the way of being able to pin the other side of the finger. So it went, put in three pins, baste, take out those pins and put in three more pins down the other side, baste. Wash, rinse, repeat. Super tedious and boring. But I finally got all the basting done and was able to machine stitch the other side. Then I had to stop and make the fins patterns, cut them out, cut out the interfacing, sew all six of them together and then put half of them into the first glove. Then I tried it on, took a photo, then did the hem. Then I took a real long lunch break and came back at 2. It only took 2 hours to complete the second glove. So that's a total of 8.5 hours to pattern and make one pair of gloves. It's way more cost and time efficient to just pay the $18.00 and order them from We Love Colors. I can now say that with the authority of experience behind me. Finished up today, took four hours. I hemmed the boot covers and added elastic under the heels. I trimmed the hood down in the back (for my hair to be exposed more) and around the ears. I spray glued the mask onto the hood and then zig-zagged around the top edge. I made the chest applique and added it to the unitard. Then I took a photo! 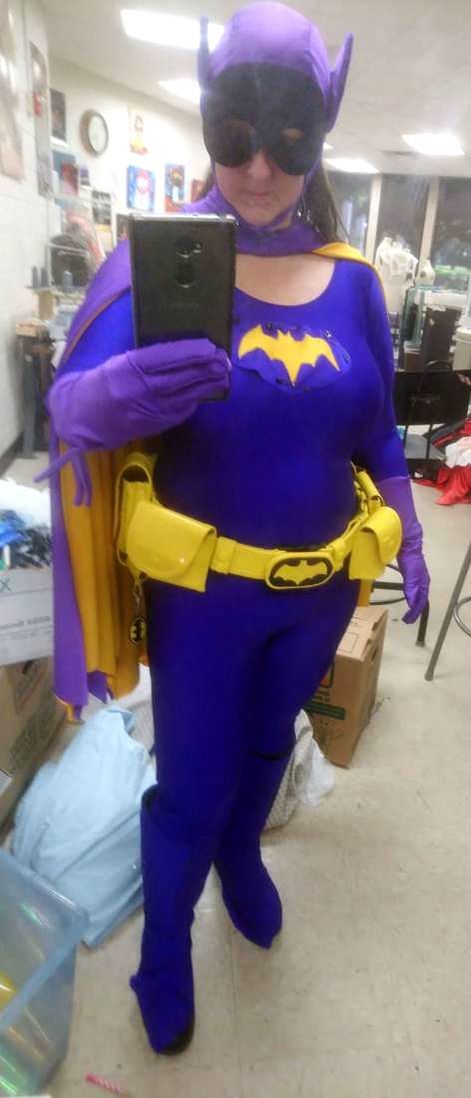 Catwoman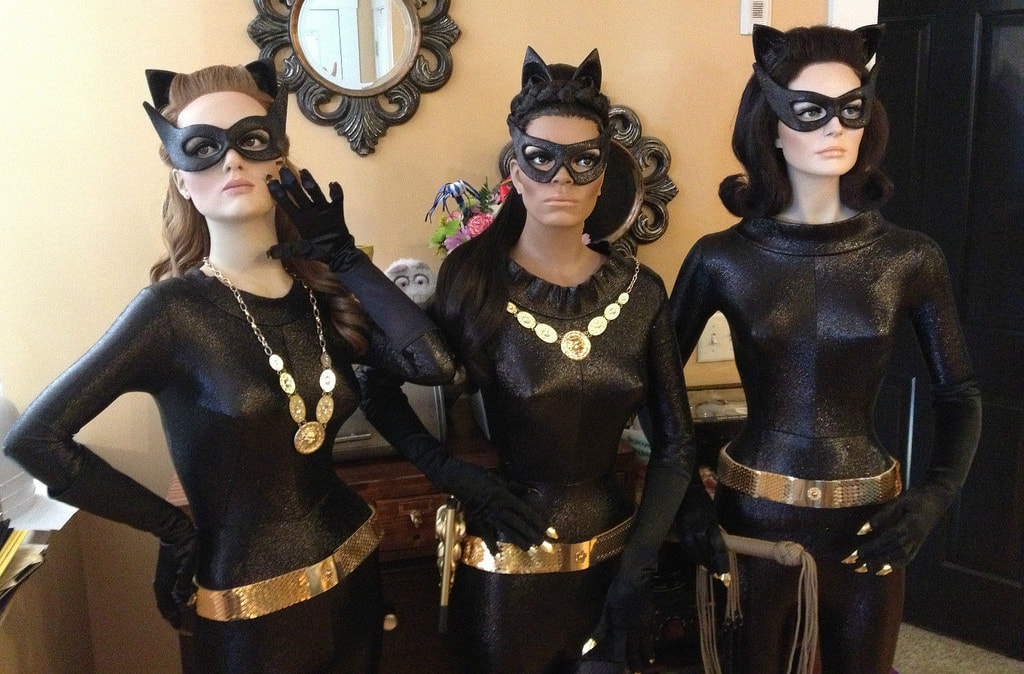 The Unitard and gloves are coming from We Love Colors, the ears and mask are coming from Amazon. I already have the gold belt and necklace. The only difficult part of this is going to be adding the gold nails to the gloves, but I've already done that once, so not a problem. I just need more E-6000 and fake nails. It's a bit fiddly, but nothing I can't handle. I've already ordered everything and it should arrive by next week. Stay tuned for my progress. Here's what it looks like with belt, jewelry and the proper foundation garments. I still have to attach the nails to the gloves tomorrow. 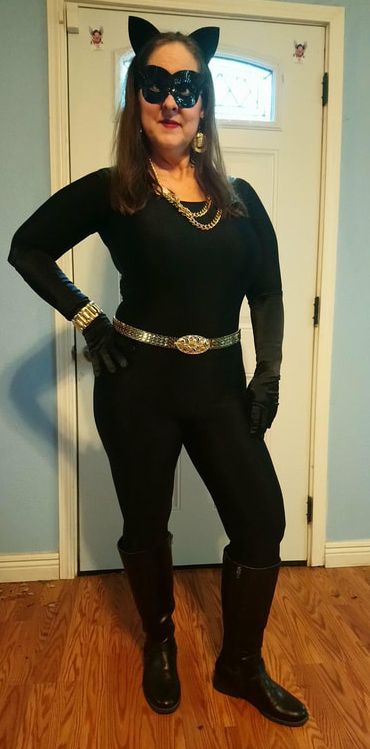
0 Comments
Leave a Reply. |
CategoriesArchives
July 2024
|


 RSS Feed