|
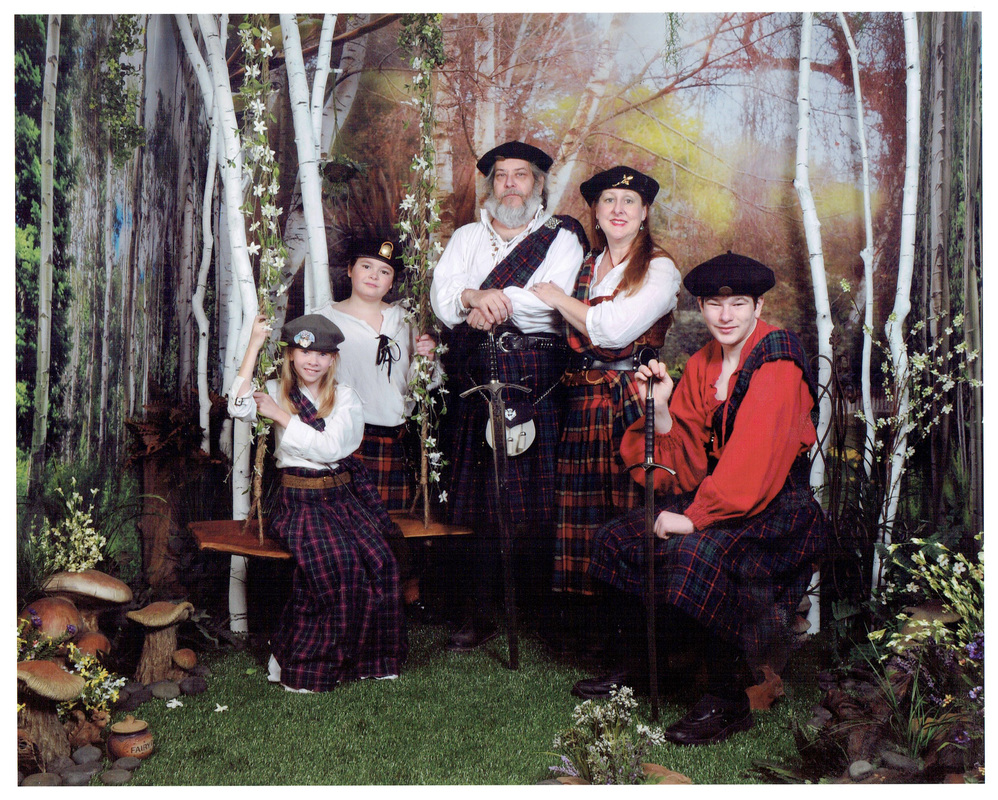
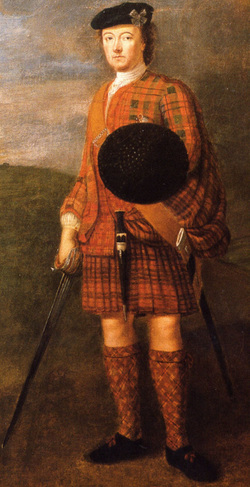
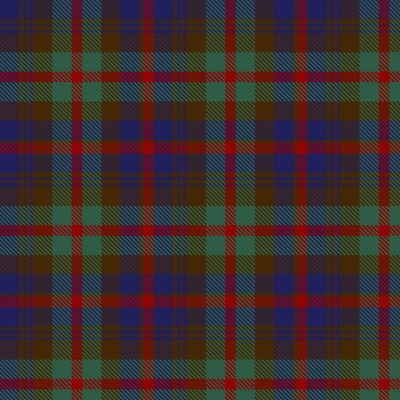
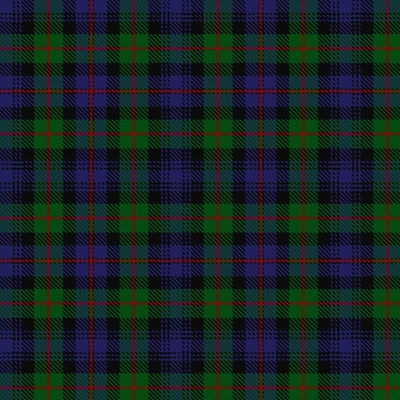
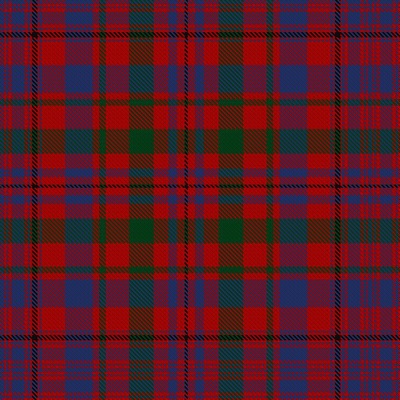
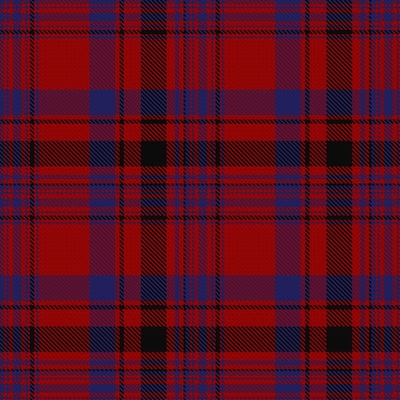
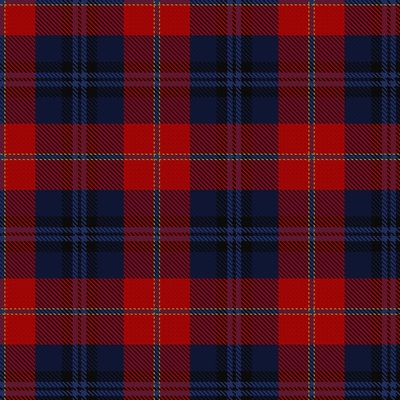
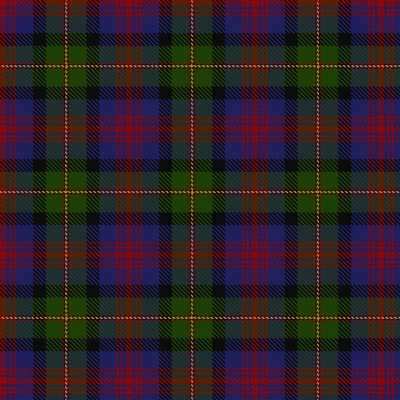
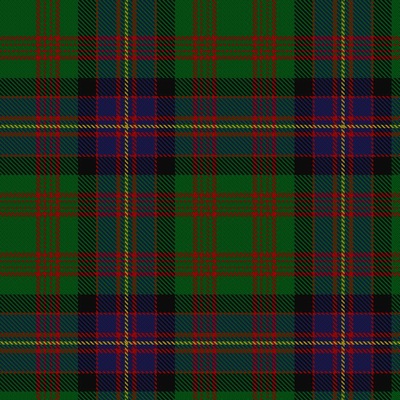
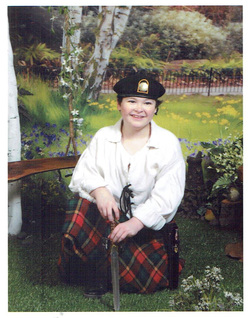
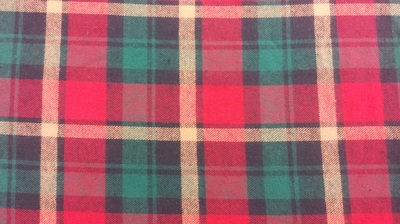
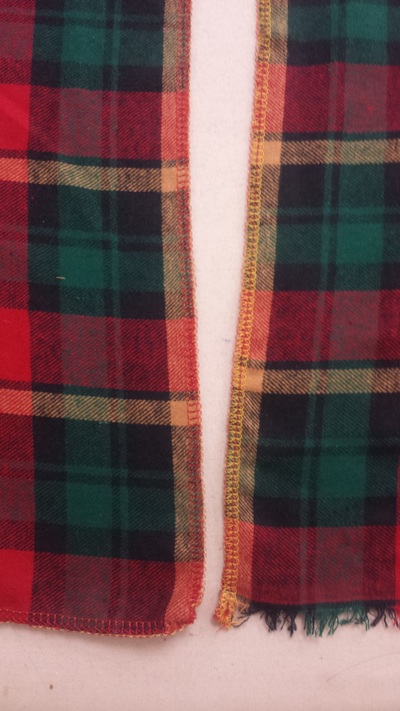
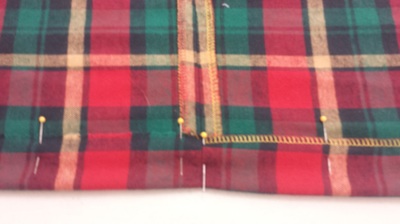
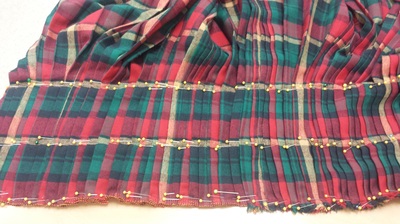
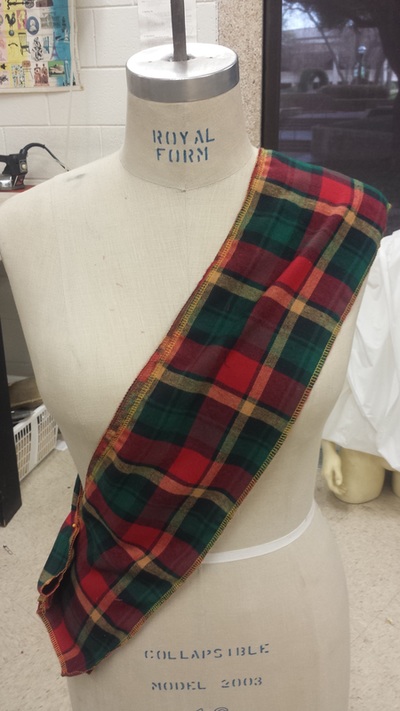
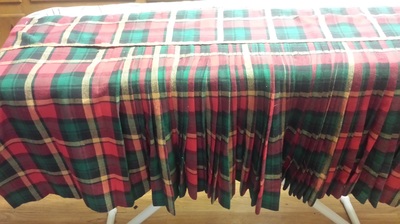
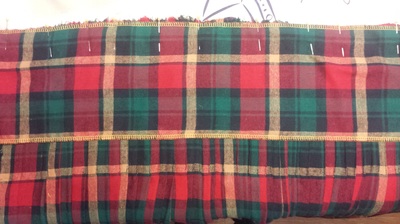
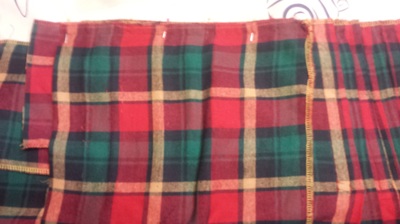
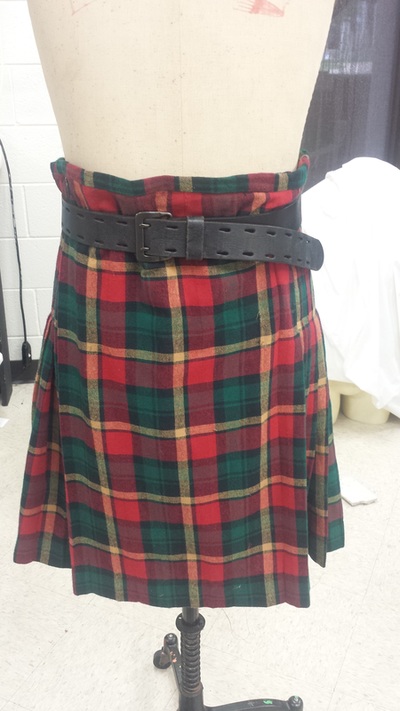
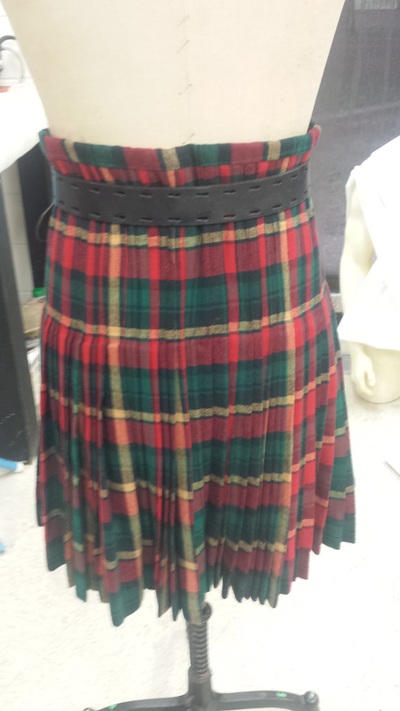
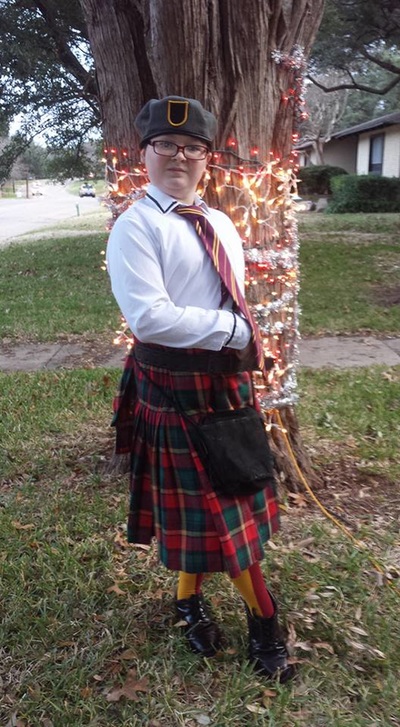
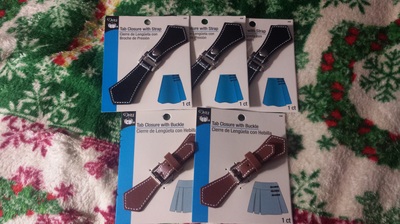
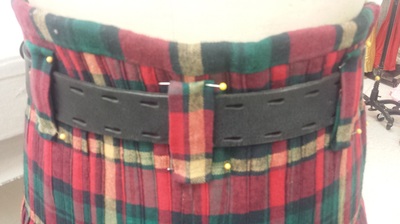
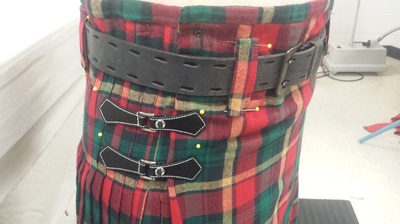
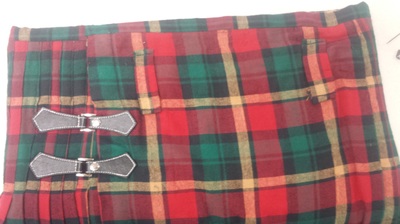
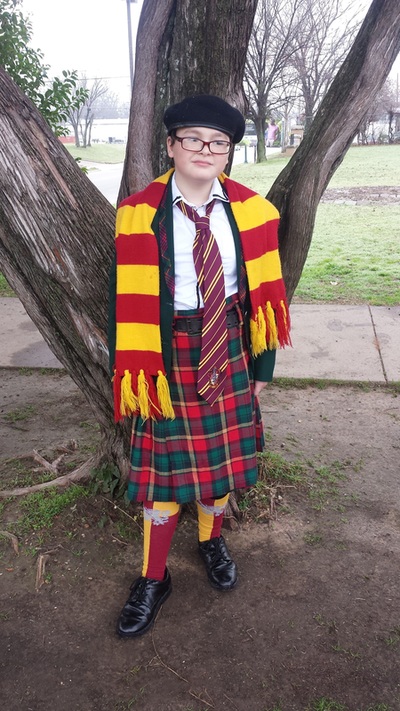
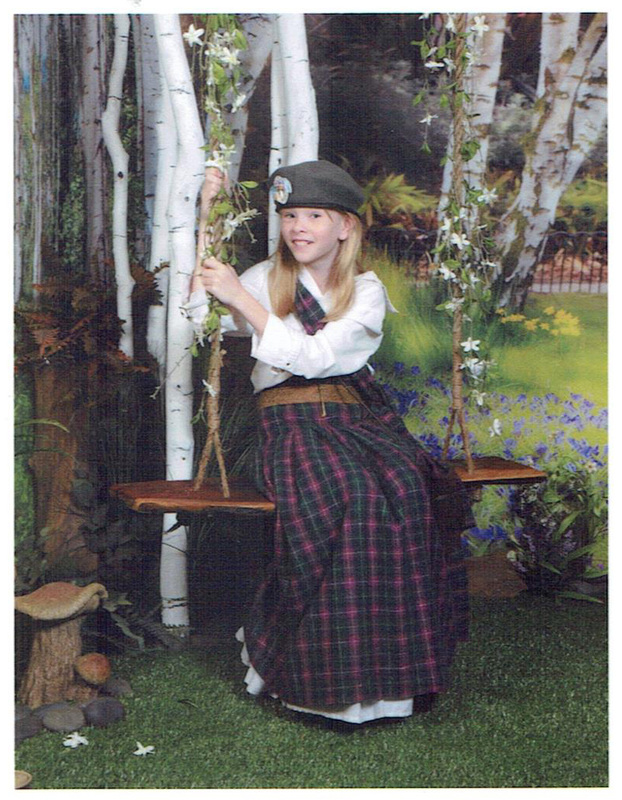
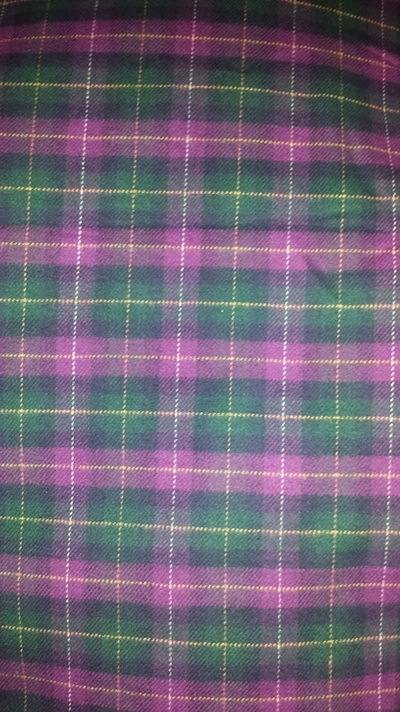
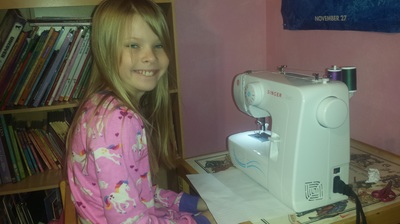
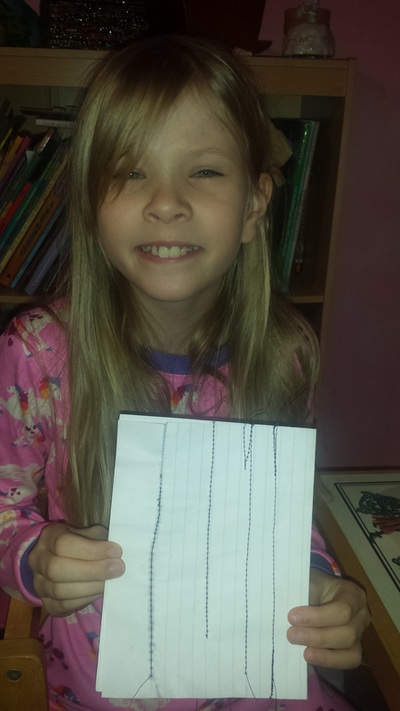
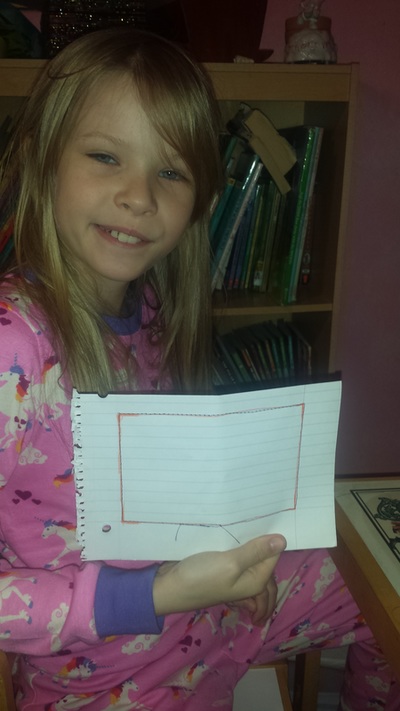
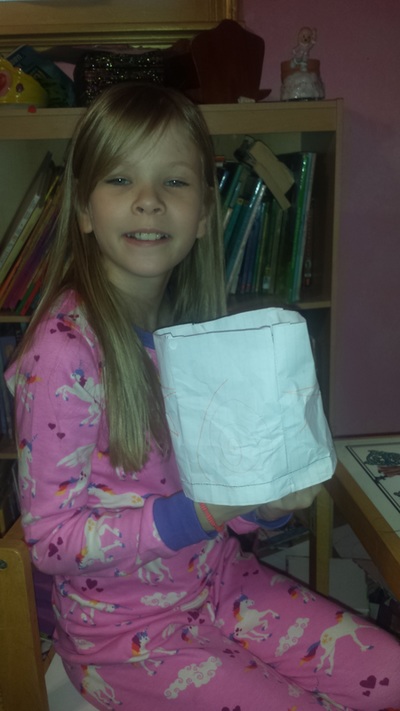
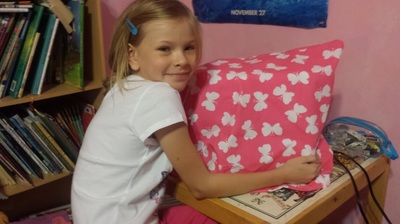
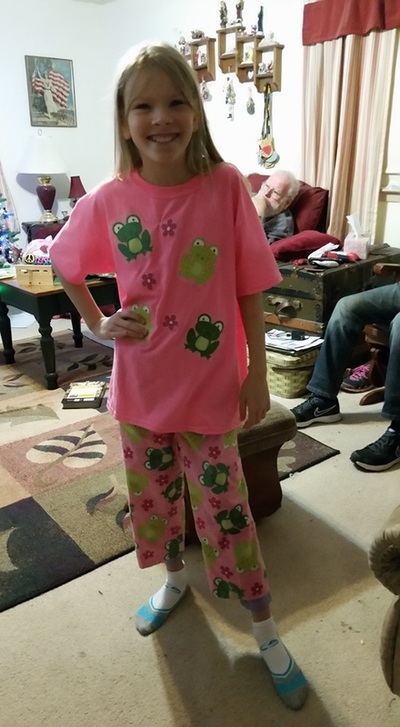
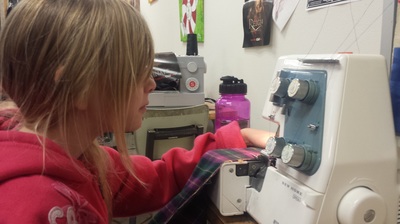
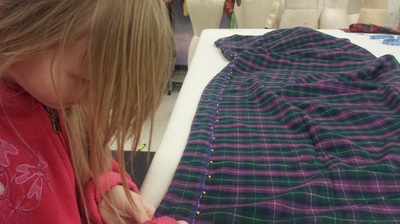
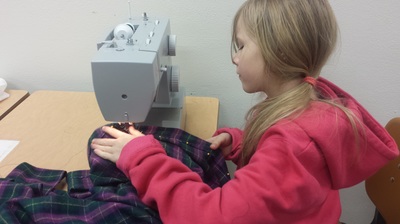
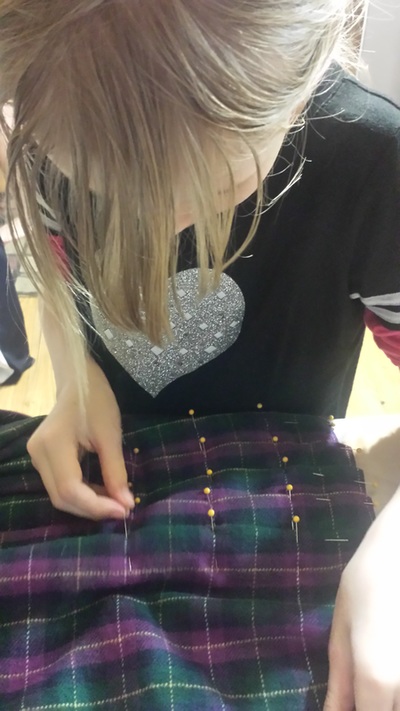
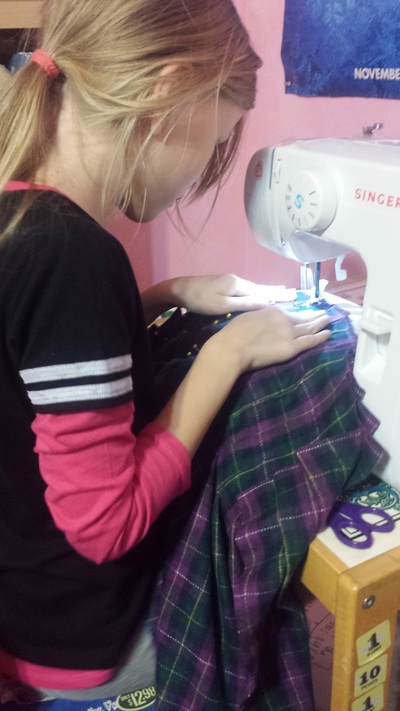
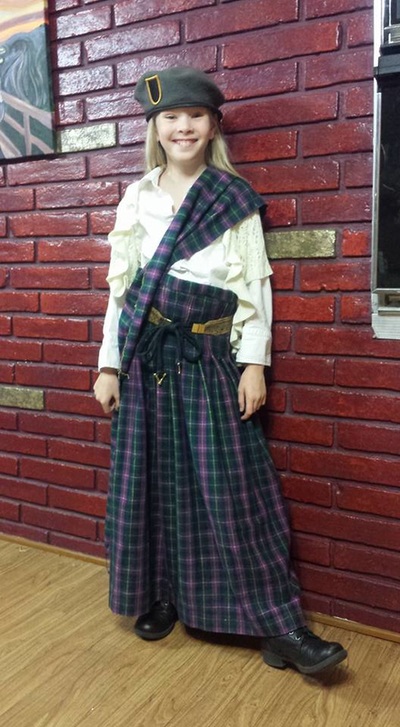
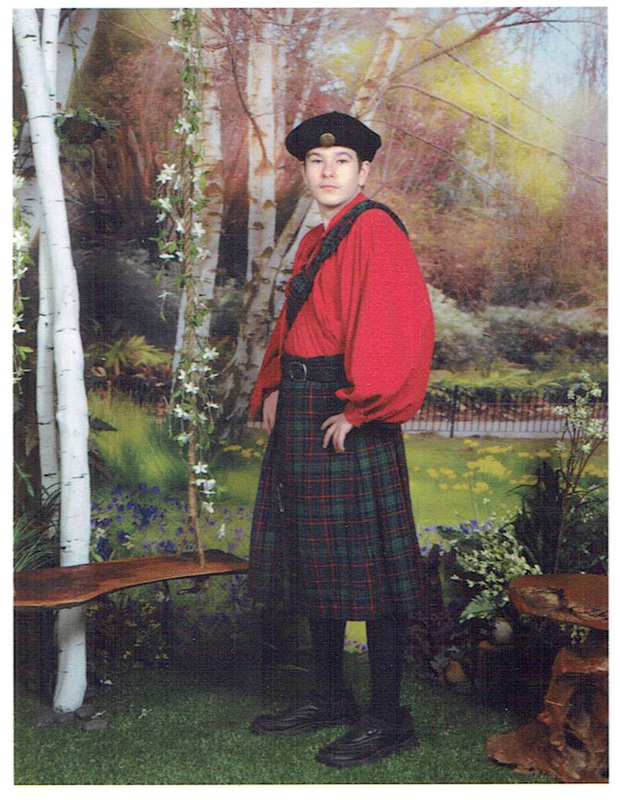
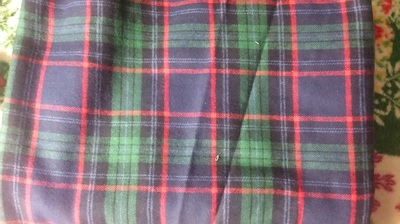
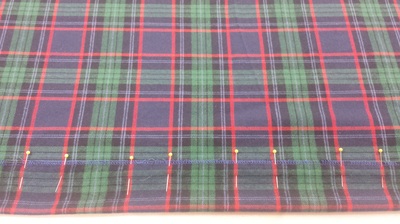
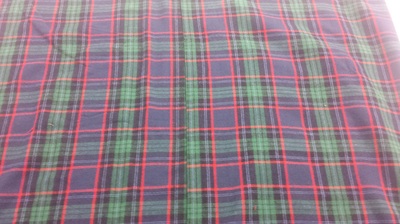
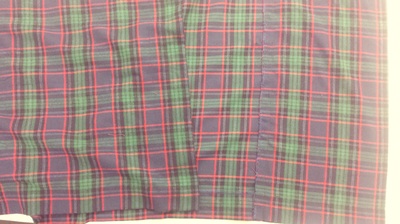
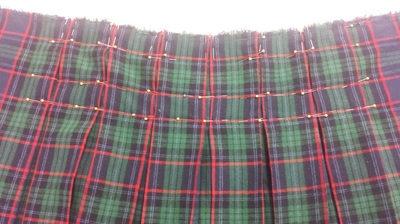
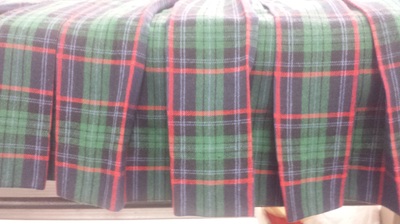
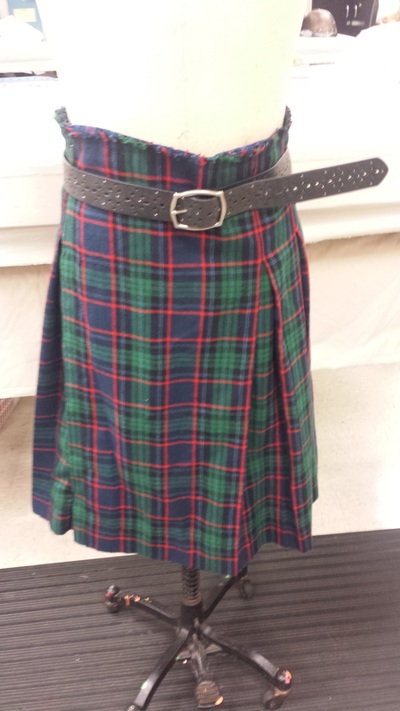
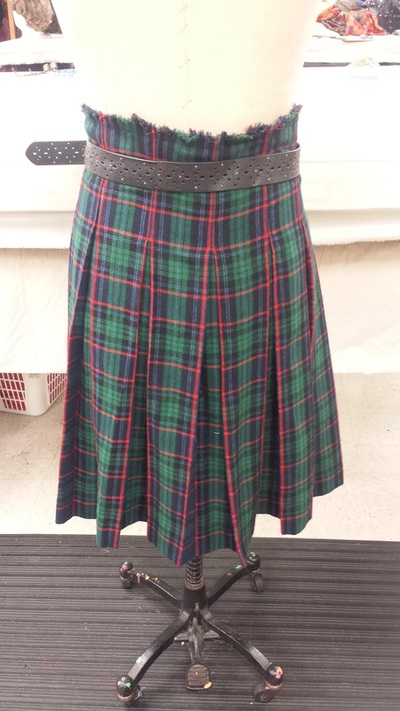
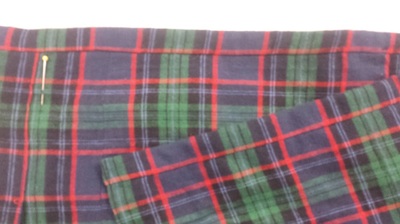
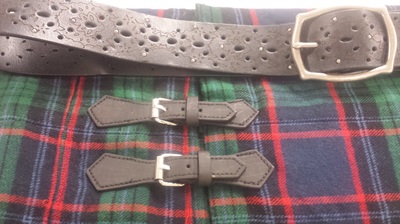
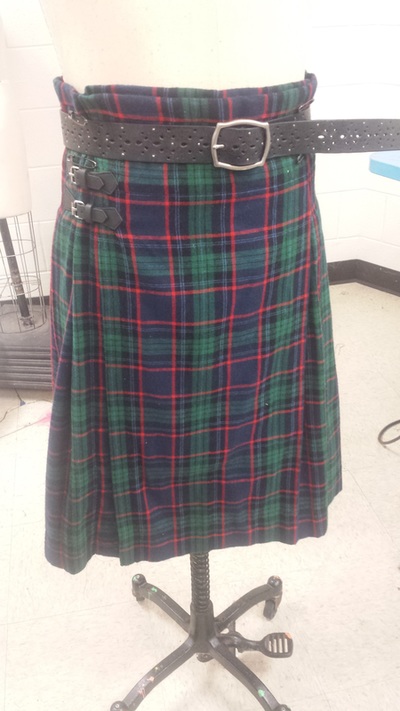
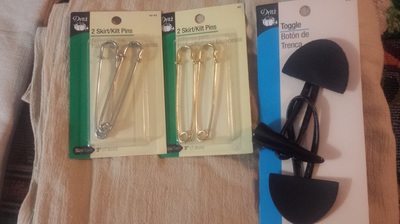
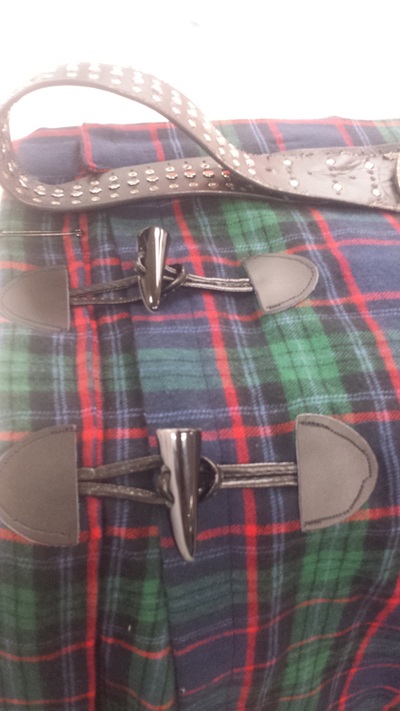
Rob's mom is very into Ancestry.com and has recently uncovered their family's Scottish heritage. She sent Rob a bunch of information on the Murray and MacKnight clans. It's always been a dream of mine to create costumes for each themed weekend of the Texas Renaissance Festival, the penultimate of which is always Highland Fling. So the two things dovetailed nicely into another costume project for me. I've been working on this one awhile now, doing an amazing amount of research. I started with this website on Ancient Highland Dress learning more about each piece of the costume: http://www.tartansauthority.com/highland-dress/ancient/ The next step was to find the correct Tartan design. There are many plaids, but only The Scottish Register of Tartans can tell you exactly what your clan's tartan looked like, who designed it, and how old it is. All tartans must be registered with the government in order to be considered official Scottish tartans. https://www.tartanregister.gov.uk/. It's a great resource. So I found the several versions of both the Murray tartan as well as the MacKnight tartan. I also found the Cochran tartan (for Sylvan). My Dad's ancestors were named Rabensburg and were German/Polish Jews and my mom's ancestors were named Lawson/Collier/Miller and were English, so no Scots in my family tree. However, I learned that it is permissible to wear the tartan of one's county (McLennan) or one's country which is why the Stewart (red and green) plaid of King James is so popular. Cochrane and McLennan were easy to find; both are mostly green with a little bit of red and blue. Searching for someone who sells the actual Murray or MacKnight tartans was much more difficult. For whatever reason the McLennan and Cochrane tartans are more readily available. https://www.scotweb.co.uk/products/casual-kilt/ is the only weaver of the actual Lord George Murray tartan and they will even make it up into a kilt for you too, however it is cost prohibitive at 481.04 pounds. The tartan is woven in three different weights of wool. The price is 79.00 pounds a meter. But the width is such that the 4 meters minimum purchase will only make one kilt, and at 320 pounds for just the fabric, that won't happen anytime soon. They also manufacture the McKnight, Cochran and McLennan tartans at the same expensive price which is too rich for my blood. http://www.sohoskirts.com/#!cart/cp8h has a similar tartan to the MacKnight tartan in 65% poly 35% viscose; very cheap but red and black not red and blue called Menzies and it's 5 yards for $80.00 which will make two kilts. They are a Canadian company so perhaps shipping would be slightly cheaper than from Scotland. http://www.bluedesertco.com/plaid-fabrics/plaid-583.htm makes plaid fabrics for school uniforms. Plaid#583 is similar to the MacKnight. It's 100% poly but machine washable. $8.99 yard for 5 yards and will make 2 kilts. Sounds very durable but not very soft or drapey. They have a similar plaid to both the MacKnight and Cochran/McLennan tartan. They are based in SoCal, so shipping would be the cheapest. At this point I gave up on trying to find the exact right fabric and started researching construction details. Clearly a lot of pleating is involved, but what sort of pleats? Box or knife pleats? Research indicates using box pleats for 4/5 yds, of fabric for a small kilt, knife pleats for 8/9 yds. of fabric for a great kilt. http://www.xmarksthescot.com/forum/f157/whats-difference-between-4-yd-box-pleated-kilt-8-yd-knife-pleated-kilt-29086/ Further construction details: I was going to need a minimum of 2.5 yds if I was OK with having a seam down the middle, or a maximum of 4-5 yds if I preferred seamless. For reasons of budget I was fine with having a seam, I figured I'd hide it in a pleat anyway and it wouldn't matter. Selvage runs along the waist, and once the pleating is sewn, there needs to be a waistband on the inside. Pleats are sewn down to the high hip. Front overlaps@16” and both ends are flat front, not pleated. Button on inside, buckles on outside. Hem the entire length before pleating as well as the two ends. Pleating could be done one of two ways: to the sett (more traditional) or to the stripe (more modern). The sett is the entire plaid design unit, the stripe is the one skinny stripe that organizes the sett. Military kilts were pleated to the stripe, civilian kilts to the sett. Kilts pleated to the sett look the same front and back, while kilts pleated to the stripe do not. Also, kilts for men are short and only go to the knee. Technically, the kilt should not touch the back of the man's calf when he is kneeling. Pleated skirts for Scottish ladies are traditionally full length to the ankle or floor. Many decisions to be made before beginning the construction process. I had planned to make three kilts in the Murray tartan for Rob, Seth, and Sarah (assuming Seth would even wear one being an angsty teenager now), one in the Cochrane tartan for Sylvan, and one in the McLennan tartan for me. Rob has decided due to the Murray tartan being way out of our price range to wait and see if I can find a better option and let me go ahead and make some for the kiddos as the Guinea pig, experimental ones. Sylvan's Kilt Sylvan had no problem with his not being exactly the right pattern and chose a red and green one with a wide off center yellow stripe. I didn't realize how its asymmetrical sett would make me crazy during the pleating process at the time. But it was 100% cotton flannel, very soft, machine washable, and CHEAP! at $9.99 yd. I bought 3 yards. Sarah originally wanted a pink and purple plaid, but when I couldn't find those two colors together, she went with green and purple. Fortunately it was a perfectly symmetrical sett, also 100% cotton flannel and 40% off. Both fabrics were 59" wide. Sylvan is almost 13 and isn't going to get a whole lot taller, so I measured out 25 inches from both selvages, left room for the hem and enough of the sett to match plaids, and then I cut out the middle 9 inches and serged all my cut edges. The middle piece will become a sash later on. I had to invert the second half when I sewed it to the first half so that the plaids would match. Fortunately with a woven plaid the fabric is the same front and back. Then I hemmed the bottom 2" and the front flap 1 1/2". I left the end flap unhemmed since I wasn't exactly sure how I was going to pleat it yet and didn't know if I'd really need all 6 yards, since the research indicated 4-5 yards. Plus, I wanted to make sure it was going to still fit him as he grew. Sylvan's waist is already 34". His meds and his eating are far outstripping his exercising in middle school and he's gotten a little belly that's bigger around than his inseam is long which means he wears a 14 husky these days and I still have to hem his pants. I hemmed and hawed for two days trying to decide how to pleat his tartan. I had planned on box pleating just the 4 yards of fabric to make it the traditional way, but the assymetrical sett just wasn't cooperating and the whole thing was making my head hurt. Frankly I gave up trying to do it this way. I resolved to just knife pleat it and let the stripes fall where they may. I did one inch deep knife pleats every half inch so that each pleat was halfway overlapping the one underneath. I remembered from my research that dancers and pipe bands prefer the knife pleating as it puts more "swing" into the skirt and if my boy is anything it's a dancer. So that took two hours of me standing at the ironing table with my pins and my hem gauge carefully measuring, folding, pinning,and pressing each pleat as I went. It's important to know that the first 14 inches after the hem is flat. That's when the pleats start. The pleats end at 14 inches before the end of the yardage. I haven't sewn anything yet. The research indicates that you make the finished waist measurement the same as the hip measurement and your belt with hold it tautly against your waist. So I need to get Sylvan's hip measurement and figure out just how much too much skirt I have already so I can shorten it's "length" before I finish it. Right now the length is 50" but you have to take into account the 14" overlap in front. So really it's shaping up to be 36" finished. If his hip measurement is 36" then I won't need to cut any off. I'll keep updating as I make more progress. Clearly Sylvan's won't be finished in time for Christmas (which this year for us is going to be Monday Dec. 28) but I hope to have it finished for his birthday which is next Sunday Jan. 3rd. We're going in to the shop tomorrow to work some more on it. This morning we took his kilt to the shop and did a fitting. It was much too big. I seam ripped numerous pleats out from both ends towards the middle, until I ended up with only the amount of pleats I needed to go from his hip bone around the back of his waist, to his other hip bone. I pressed the rest of the fabric out flat again. Then I measured out 24" from the pleating on both sides and cut the excess off. I folded the flat ends in half to self finish the front and repressed. The excess bit I'm using for the sash got cut in half to become the waistband as well. I pinned that on to the right side of the kilt and tomorrow I will sew it on, turn it to the inside and press it again and that will finish off the last raw edge. Then there's just the matter of the button and the buckles. I have a button, but no buckles or leather straps for the buckles. That will be another shopping trip tomorrow afternoon. This morning it was 56 degrees in the shop when Sylvan and I went in to finish his kilt. I serged all the edges I'd cut off the other day, then repressed everything. I sewed in the waistband and then secured it on the inside with a slip stitch. I hemmed the sash and added two snaps to close on the inside. I needs buckles for the outside flap that I don't have yet. Got the buckles today at Hancock's with my 25% off total purchase coupon. I bought every one they had which was 2 in brown that are actually buckles and 3 in black that are really snaps. I'm putting the black ones on Sylvan's. I've also decided to use some more of his scraps to make 5 belt loops for the belt so it will stay up around his waist. His school had dress like your favorite literary character on their first Friday back from break and of course he wanted to wear his kilt. We went through a wikipedia list of famous Scottish literary characters and the only one whose book he'd actually read was Oliver Wood from Harry Potter. So he was oliver Wood. His friend Anna was Hermione, so that worked out well. Sarah's KiltI hadn't started on Sarah's yet because for Christmas this year we gave her a sewing machine of her own. I'm going to teach her how to sew while we make her kilt together. Hers of course will be full length, like a girl's. I convinced her that's what she wanted mostly because as she grows, it will become shorter every year. Right now, she's all about being girly (WISD makes uniform wearing very girl un-friendly). So I'm aiming to construct hers in such a way that it will expand as she grows so she can wear it many more years. I figure as she gets older, she won't mind it being short like the boys....her dad might, but she won't. Fortunately, the overlap in front makes for easy size adjusting. It's Monday night and Sarah's loved learning how to sew today. She's picking it up very fast and is being very careful and precise. I've got 3 1/2 yards of plaid to turn into her first kilt. We're cutting 9" off the bottom because it's 45"wide, not 59" like I remembered; I'll use the extra piece for her sash. Her waist is only 22" right now and she'll need an 8" overlap. Her paper skirt turned out really well. She has a play date with her friend Katryna tomorrow, so we'll get started on her kilt Wednesday. I decided she needed one more project on actual fabric before we started on her kilt. Naturally, that project was a machine cover. I measured and cut out the fabric for her and she pinned the seams and sewed it together. Then she hemmed it. After that she wanted to use the rest of the fabric for a bean bag, but I told her no. I didn't want to get side-tracked on something else. Today we start on her kilt. I took her to MCC so we could use the cutting tables and serger and more importantly the steam iron for when we start the pleating. We laid the fabric out and decided to cut 9" off the bottom. We'll turn that scrap into her sash. Then she serged the cut edges of her sash and I serged the cut edges of the larger piece. She turned the hem up 2" and pinned it. She had a little trouble sewing the hem as the excess fabric snuck up under her somewhere in the middle and she didn't realize it and kept sewing. Unfortunately, that means the first order of business this afternoon will be to seam rip the mistake part. In the meantime, we went home for a lunch break and a bike ride in the park. After lunch and the bike ride, she seam ripped her mistake while watching Pirates of the Caribbean. Then she finished hemming the skirt. Next we dug out the ironing board and the iron and started pinning in pleats. That took the rest of the afternoon until dinner was ready. After dinner we did a fitting (before she sewed any pleats in so we wouldn't make it too big like I had with Sylvan's). It was way too big as well. I thought for a little while about how best to make it fit her now, but also make it still fit her later as she grew. I gave up on trying to make it overlap like a boy's, and just cut out the 18 inches of flat fabric on both ends. leaving just enough for a seam allowance. My plan is to sew it up the back like a skirt and put the waistband on it. Her waist is 22, but I've made it to fit her at 25" and she can belt it for now. Also I could put some darts in over the pleating. As she grows, I can take the darts out. Then later on, I can add back in the fabric I cut out for the overlap and by that time it'll probably be shorter too and it will look like a boy's kilt. After the fitting, Sarah started to sew the pleats in. There's 25 of them and she has 11 more to go, but it was bedtime and I was going cross eyed and my knees were killing me sitting on her tiny little chairs. Mama needed a break, but she didn't want to take one. I told her it was good to take breaks because when you got tired, you started to make mistakes and she didn't want to make any more mistakes. She agreed that seam ripping sucked and so she's reading a book now. Sunday we got back to finishing the kilt after a New Year's visit to Grandma's where she made herself pajamas with Grandma's help. She sewed the last four pleats in, sewed it up the back, and resewed the inch or two of hem back down from when I cut off the excess overlap. Then we cut the waistband out of her sash fabric and zig-zagged over the edges since I didn't want to go up to school and use the sergers. We pinned in the waistband and she sewed it. I showed her a slip stitch to finish it off, but she didn't quite get the hang of it so I finished it for her. It still needs snaps and a button, and honestly it needs a petticoat. But that's a project for another weekend. School starts tomorrow. We also didn't hem the sash yet either. My goal is to get everyone's finished in time to wear them to Sherwood Forest Faire in February. After I dropped Sylvan off at the Valentine's Dance, I went back to the shop and finally hemmed her sash, and put hooks and eyes and snaps on her kilt. At some point earlier in the semester, I made her a petticoat. Seth's KiltSeth decided today that he too wants a kilt. I guess he's not too much of an angsty teenager yet. He agreed with his dad that it would be awesome to have the exact for real Lord George Murray tartan, but he sees how the price makes it impossible right now. So he's OK with finding something similar for now. So I'll be on the lookout for something probably tomorrow afternoon. We found at Hancock's this 100% cotton flannel tartan that's fairly similar to the Murray of Athol tartan. I bought three yards plus the buckles with my 25% off total purchase coupon. Tuesday morning I began by cutting the yardage width in half. I serged all the cut edges and pinned up a 1 1/2" hem. After stitching that in, I measured out a 12" overlap flap, turned it to the inside, pinned it and stitched it down on both sides. That was all I had time for this morning. Tomorrow morning I will begin the pleating. I'm thinking to try box pleats, since I only have 3 yards. Wednesday morning I fiddled around with the box pleats until I got the right measurements. Seth's sett is 5 inches wide. I pleated to the stripe, the green one, bringing each red stripe together. Each box pleat ended up being 2 1/2" wide and being made up of 5" of fabric. However, when I got it home last night to try it on him, it ended up 4" too short. His waist is a 32. So, today my plan is to undo the hemming I did on the underlap and pleat that up to give me the extra 4 inches I need and then add another 24"and hem that into the underlap. Then we'll see. I finally got around to finishing the alterations on Friday and it fits him just perfectly now. I also got a belt and a hat. It still needs a waistband, snaps, a hook and eye, buckles and belt loops. Maybe that will happen next week in all my spare time now that the students will be back. Tuesday update: got the waistband, snaps, and hook and eye on it. Just needs the buckles and belt loops now. I ended up painting the buckles black with acrylic paint since I didn't like the brown. I'll be sewing those on tomorrow morning. Finally got the buckles and belt loops sewn on. I used black thread since the acrylic paint painted over the original white thread. I did a much better job matching plaids with Seth's belt loops than Sylvan's because it's actually possible when box pleating with a symmetrical plaid. I also hemmed the sash. I found a great leather buckle for it, which I also had to paint black (it was brown) to keep it together at the shoulder. He's all done now. The Grownups' KiltsRob chose the same fabric as Seth and I chose the same fabric as Sylvan, so I'll be starting on those tomorrow. Unfortunately, Hancock's only had 2 and 2/3 yards left of Sylvan's fabric for me, so I may have to do box pleats instead of knife pleats. We'll see. The still didn't have any more kilt leather buckles, so Rob got toggles that look like horn or or a fang, with black leather. I only have two weeks left before our trip to Sherwood to finish Seth's and start and finish mine and Rob's. Lots of sewing to do tomorrow and Monday. Today I cut Rob's length of fabric in half, joined the two pieces together, and then hemmed the bottom. I hemmed the flaps as before, this time 15" each. I used the same box pleats to pleat up the remaining fabric. His waist is 42 inches. The resulting length was 44 inches, so not bad at all. I still need to do a waistband, hook and eye, and snaps. I'm still undecided as to what to do with my piddling 2 and 2/3 yards. I really don't want to do box pleats because I"m so in love with the swing of the knife pleats, but don't want to do a short kilt like a boy. What I need is more fabric but Hancock's doesn't have any more in the warehouse and they are not ordering any more. So, unless I pick a different fabric, I'm stuck with something that isn't really what I wanted. I finally made a decision about my kilt. I have a red petticoat that I wear underneath other Ren Faire costumes that is 3/4 length. The fabric is wide enough that if I cut it in half, it is the same length as the red petticoat. So, it won't be to the ankle like Sarah's, but it won't be to the knee like the boys. So, I did that, joined the two pieces, hemmed the whole thing, and got it knife pleated and sewn yesterday morning. I ended up only needing 3 and 1/3 yards out of the 5 1/3 I ended up with, but I"ll still need fabric for a waistband and the sash, so it should be just fine. Friday morning I cut the waistband for Rob's kilt, got it stitched on only planning to math the plaids on the front over flap, but ended up matching plaid on the under flap as well. Yes, I am just that good. My tip is to cut the waistband one extra sett wide so you have wiggle room (including seam allowance of course). Then I put on the hook and bar and the snaps. I placed the buckles but didn't have a belt that was long enough to go over his tummy. Rob wears his pants and belts underneath his belly but the kilt has to go over it. So I pulled a much longer belt from storage and hopefully that will work. This morning I hope to get my waistband cut and attached as well as my hook and bar and snaps. There's only a week left before we leave for Sherwood. I did in fact get all that done Monday. Tuesday I added the buckles and belt loops and did an amazing job at matching the plaids on both flaps of the waistband as well as the belt loops (I used 6). I found two matching silver buckles for our sashes but the fabric width wouldn't fit through it so I sewed elastic to the inside and the fabric runs through that. Rob's is now done. On Saturday I did a fitting on me which is ridiculously hard to do by yourself, only to discover that I really needed to seam rip out the lower several inches of pleating. I did that mostly in the car on the way to Fort Worth to see Whitney Coulter in Seven Guitars at the Jubilee. It hangs correctly now. The biggest problem is that out of my whole family I'm the only one with a smaller waist to hip ratio. Seth and Sarah are columns and Rob and Sylvan are apples. I'm the only pear shaped one. So I need to figure out how to do some clever darting at the waist so it doesn't fall off of me. I've only got three days left before Sherwood. I'm really hoping that the vintage photography booth will be there so I can get photos of us all. I finally got the hooks and eyes and snaps on mine and I think it will be fine. It's hard to tell when you're fitting yourself with no help. I also got us hats and pins and buckles for our sashes. I am going to post photos once we get all dresses up which will be tomorrow. It's a little scary not having a dress rehearsal before you take it on tour. But whatever doesn't go right for Sherwood, we'll fix for Scarborough. At this point the weather says it's going to be in the 70's on Sunday so no one will wear the jackets, doublets, etc. that I got for everybody. I'm sure it will be even hotter for Scarborough, so we may have to wait until TRF for the full outfits. How it's made
0 Comments
Leave a Reply. |
CategoriesArchives
July 2024
|
 RSS Feed