|
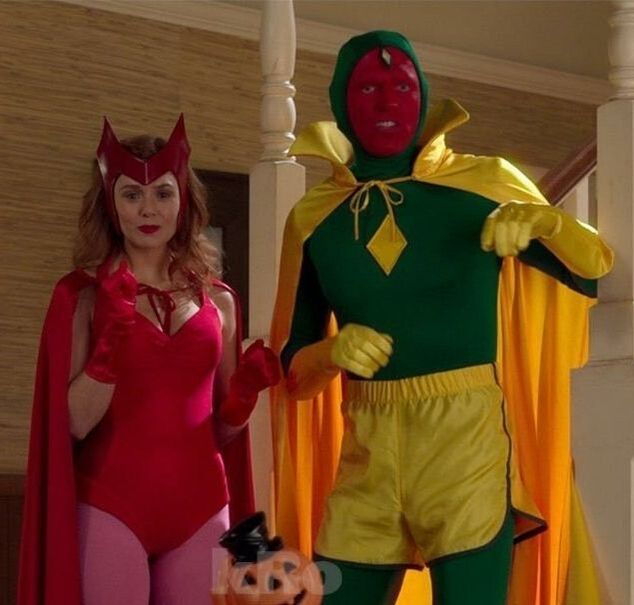
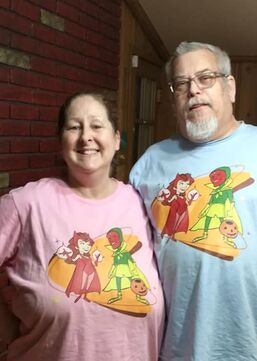
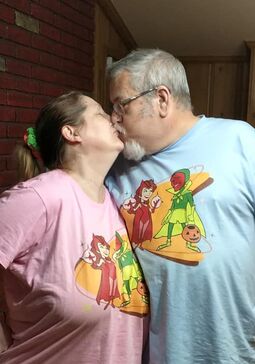
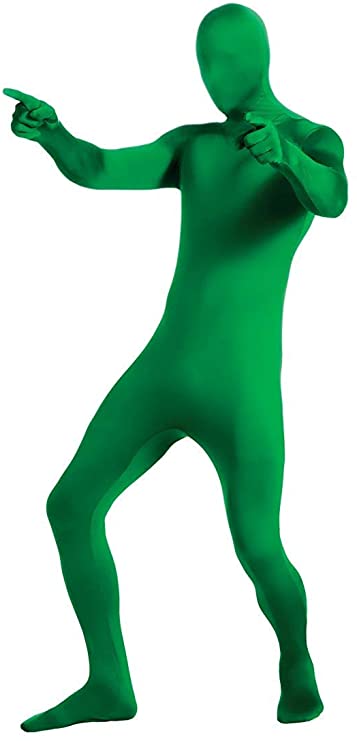
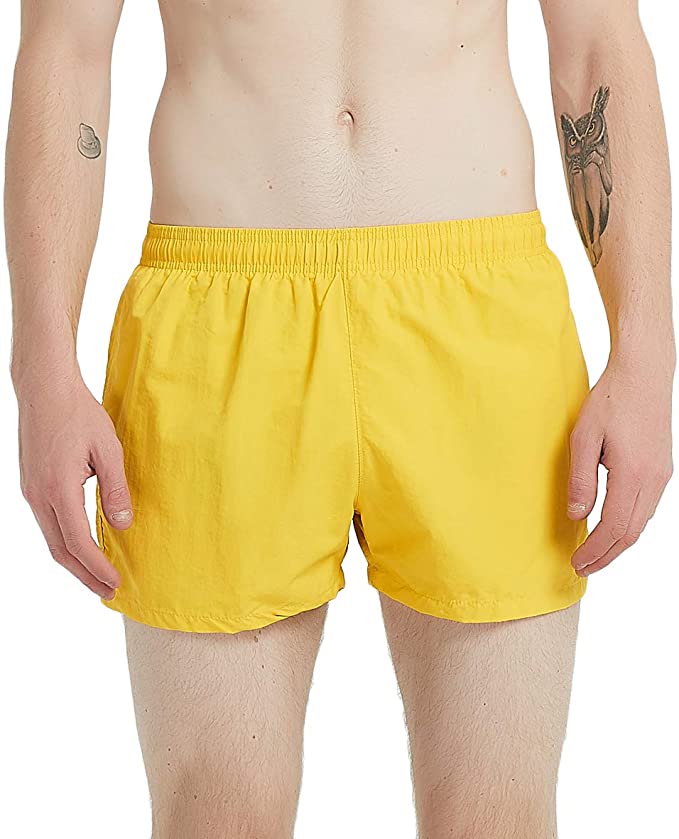
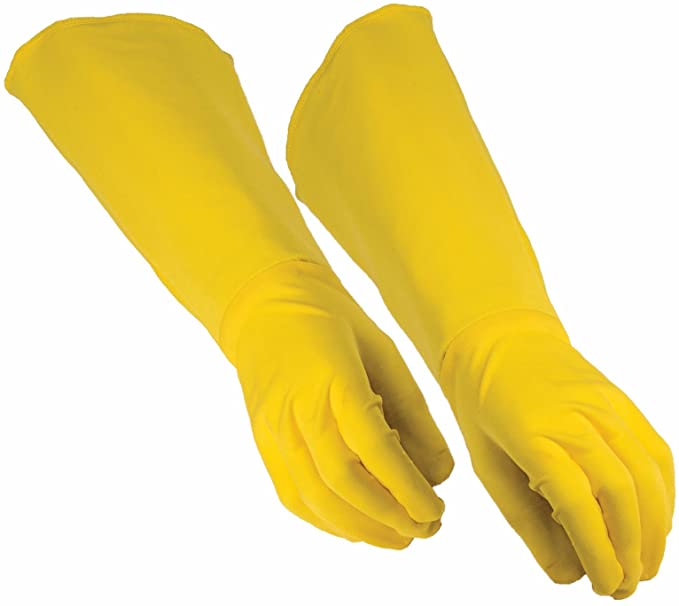
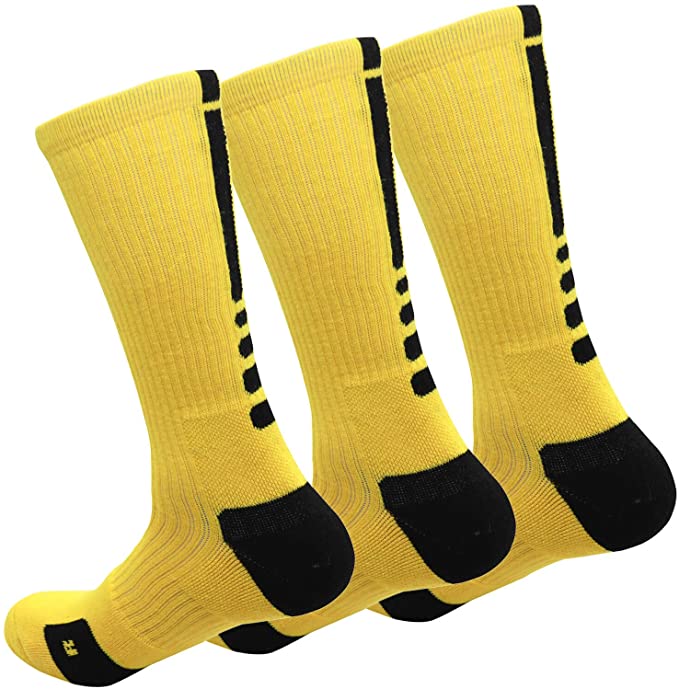
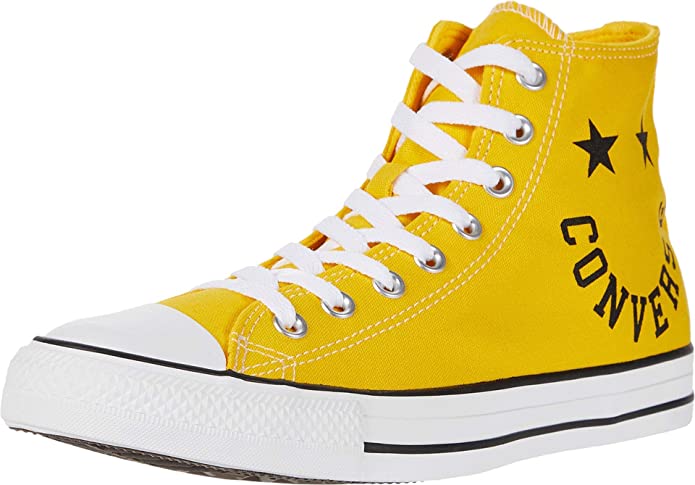
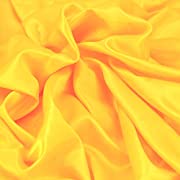
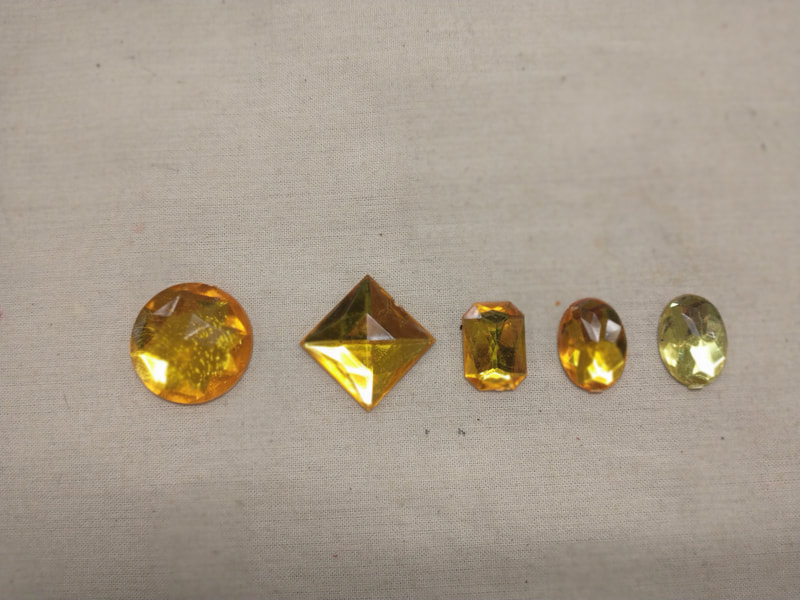
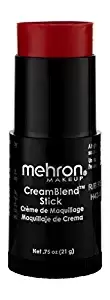
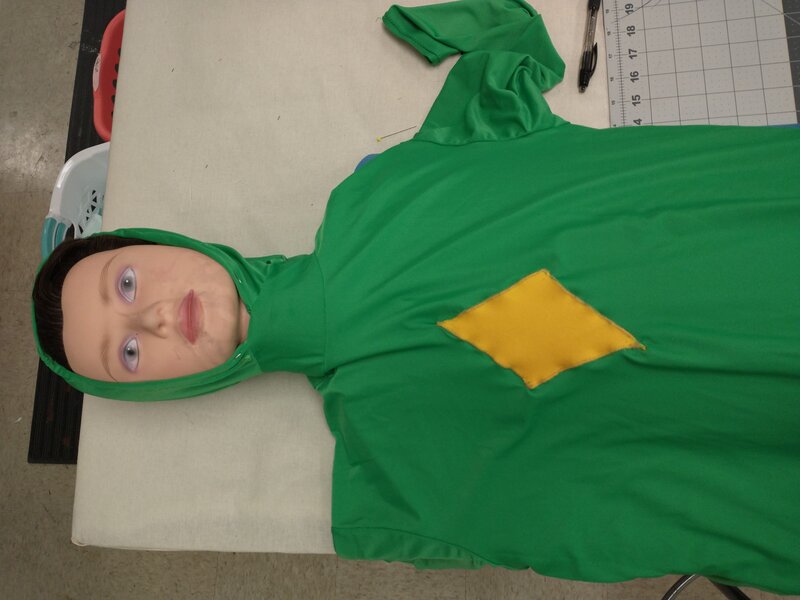
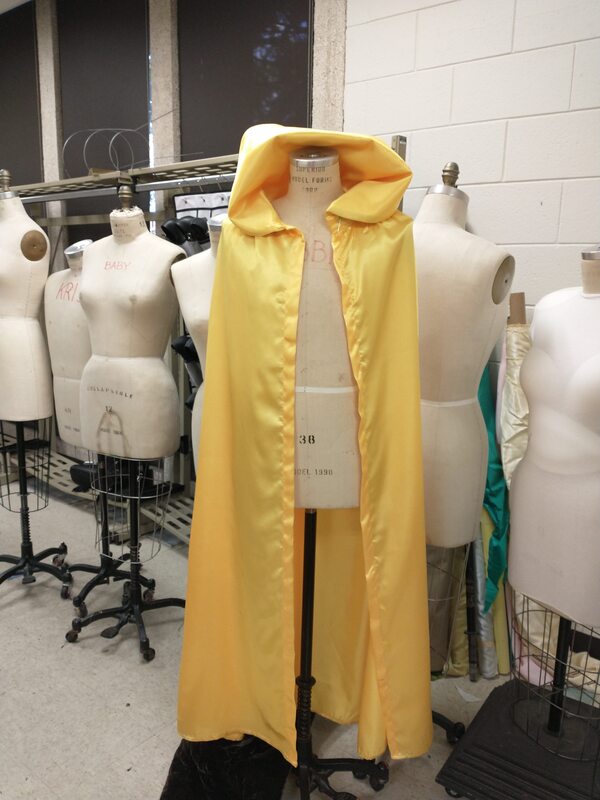
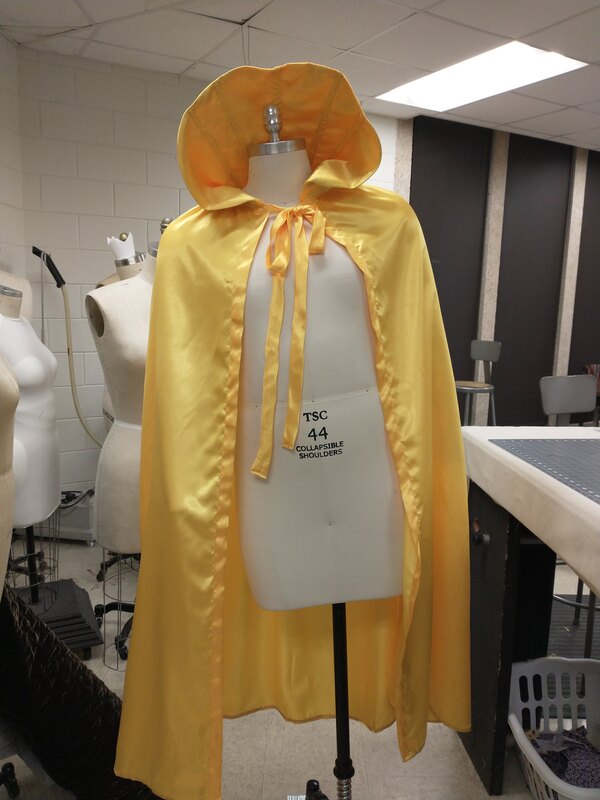
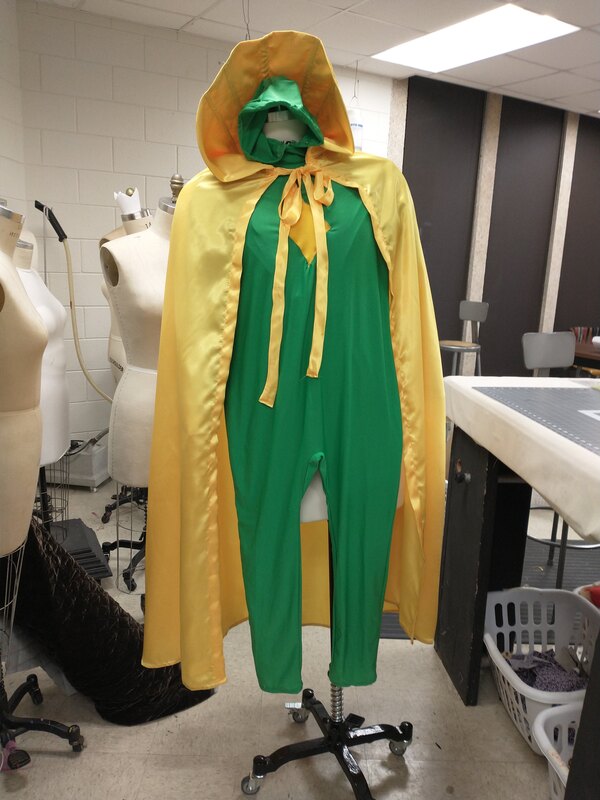
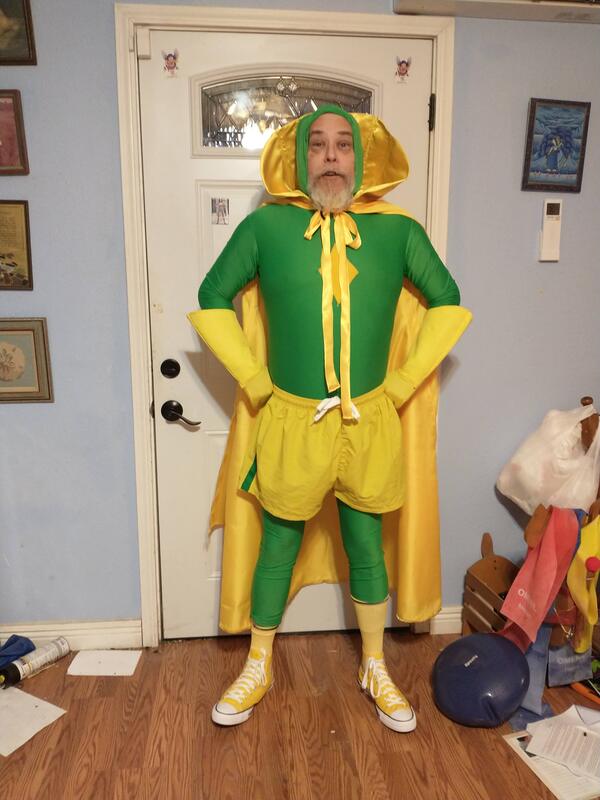
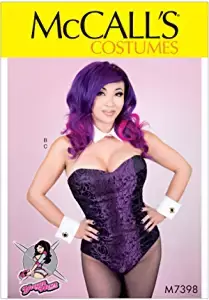
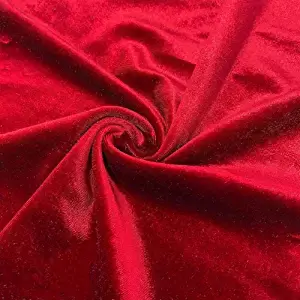
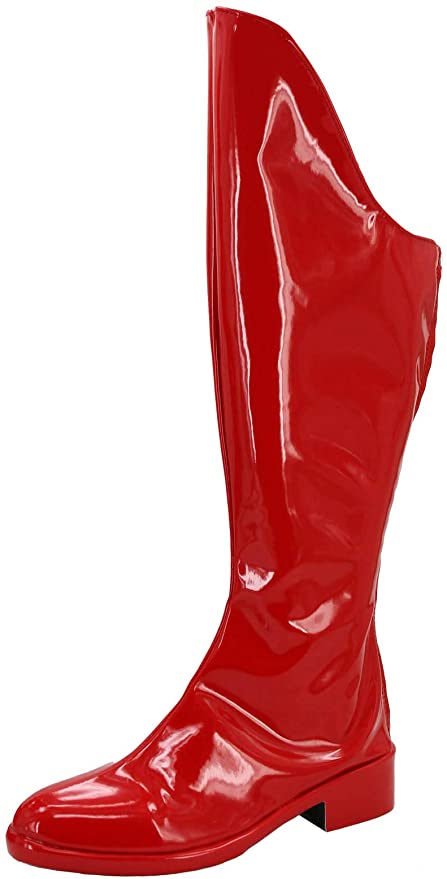
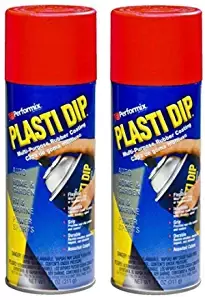
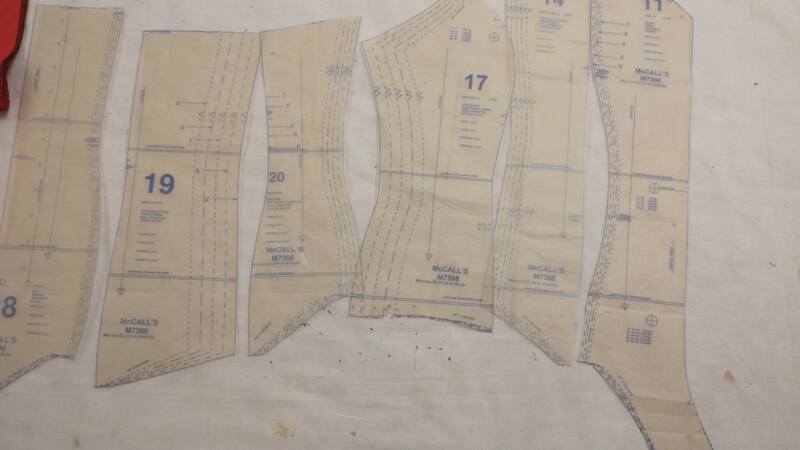
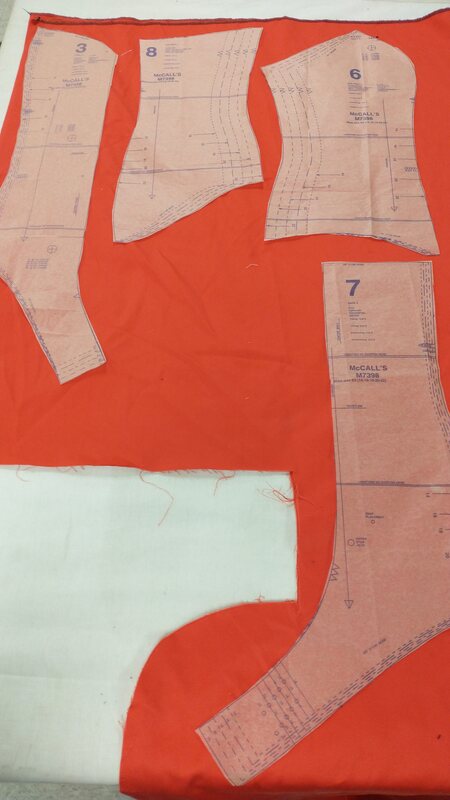
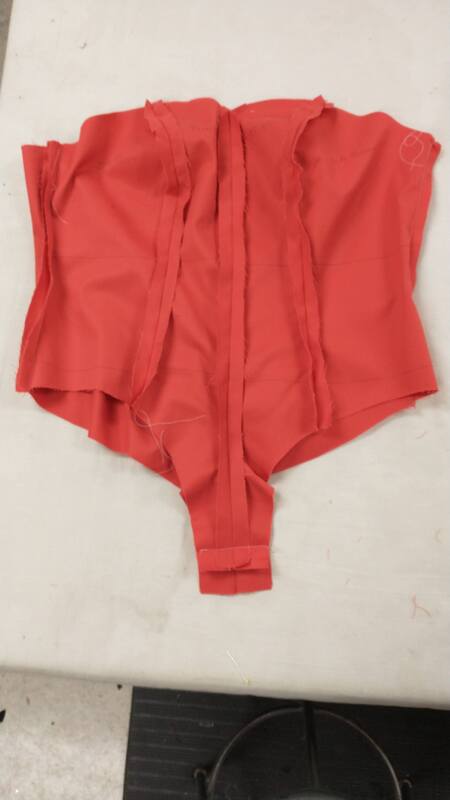
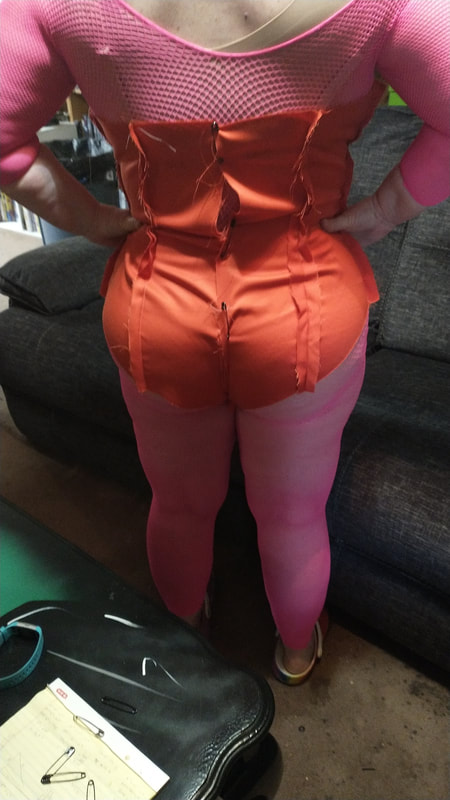
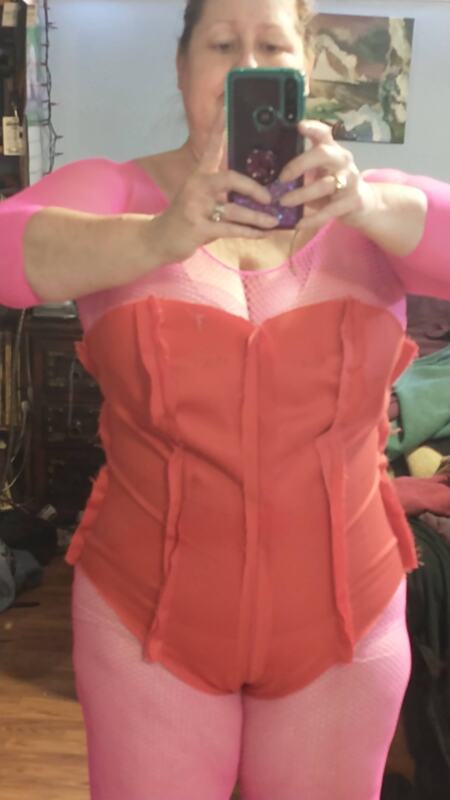
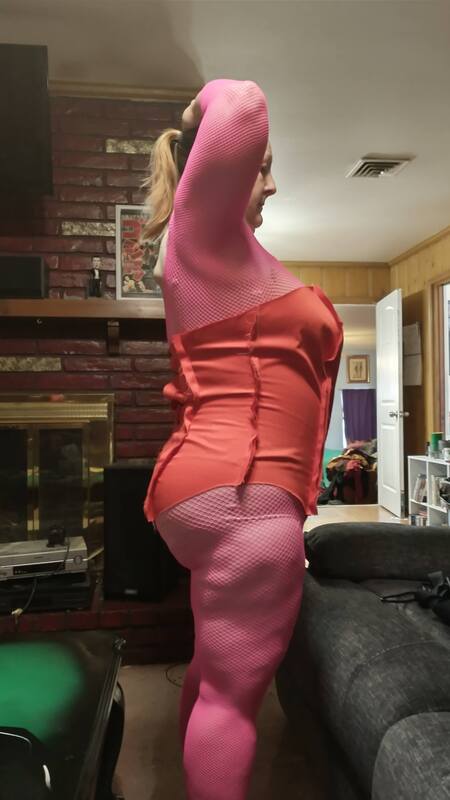
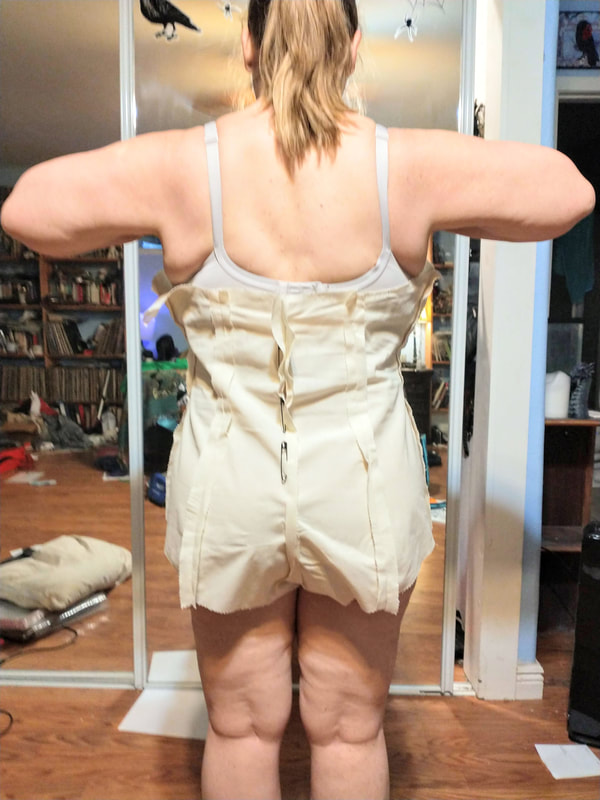
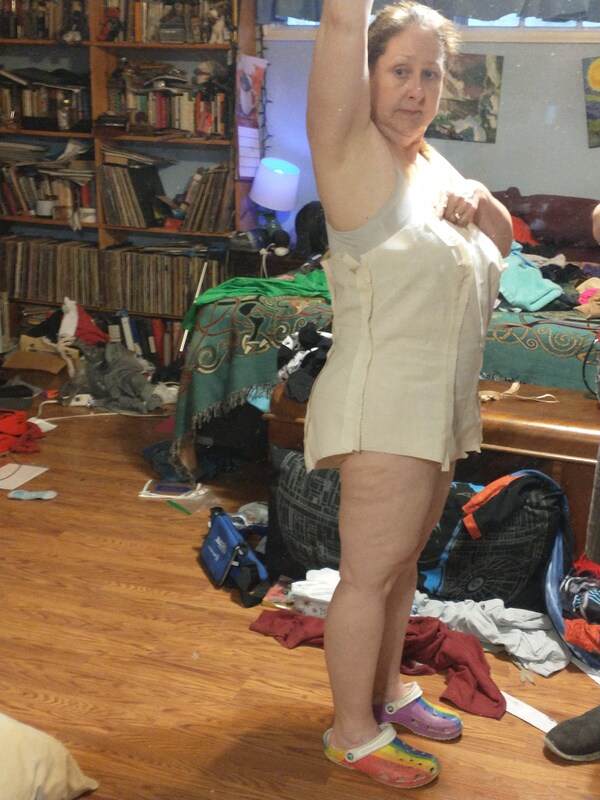
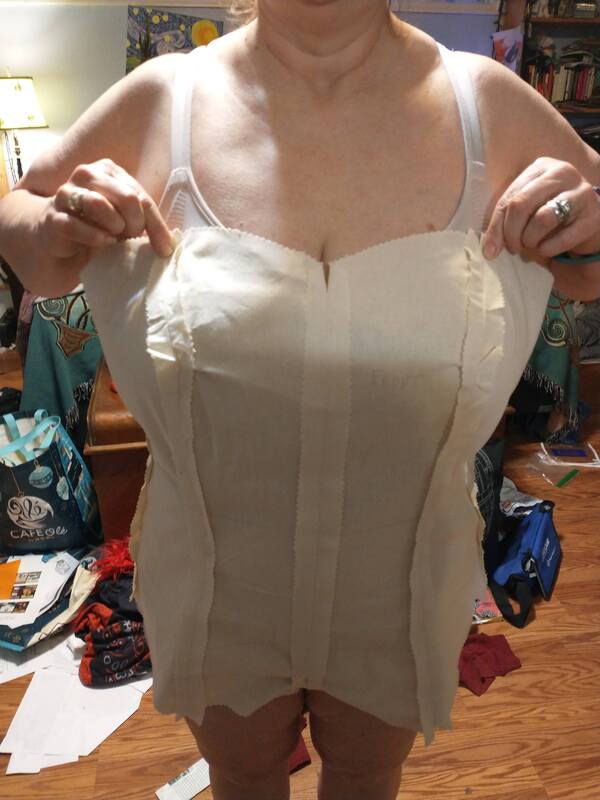
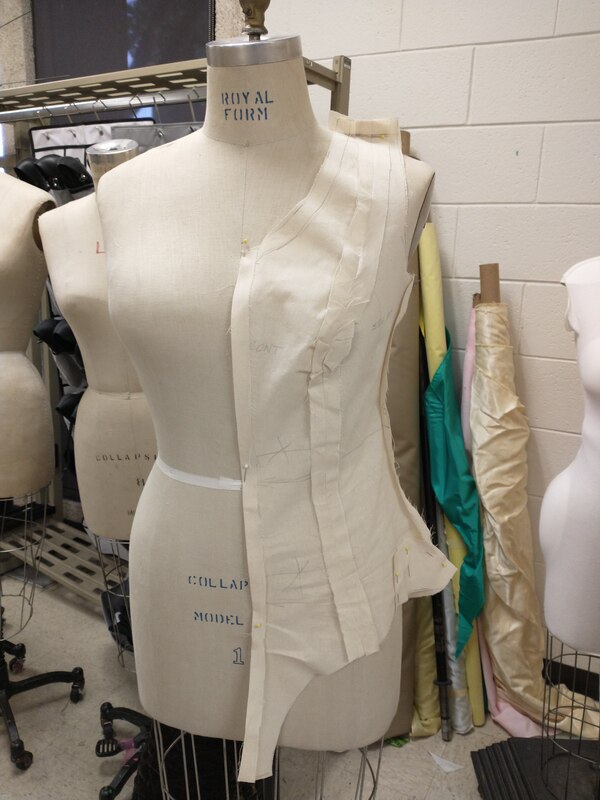
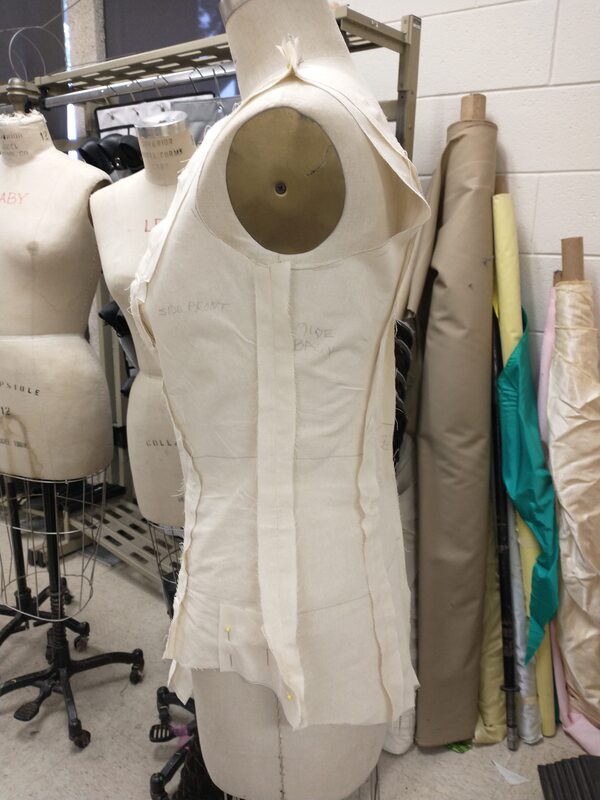
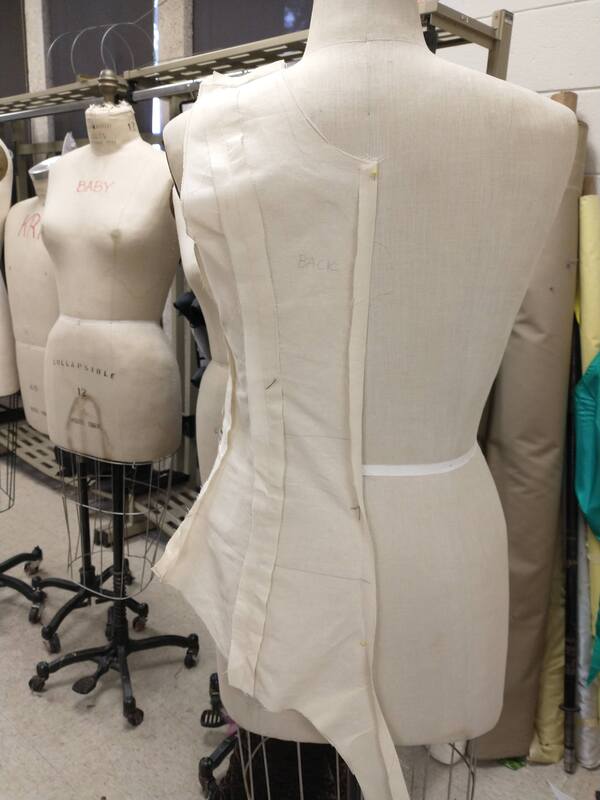
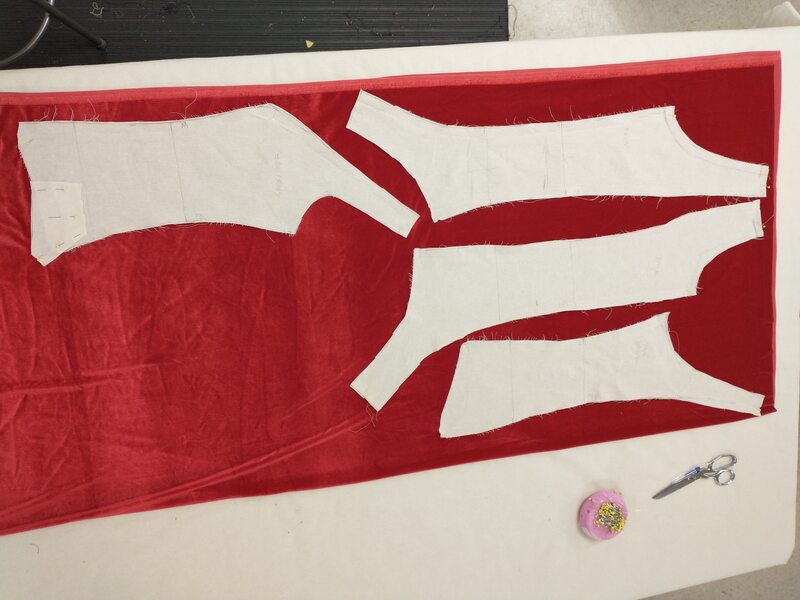
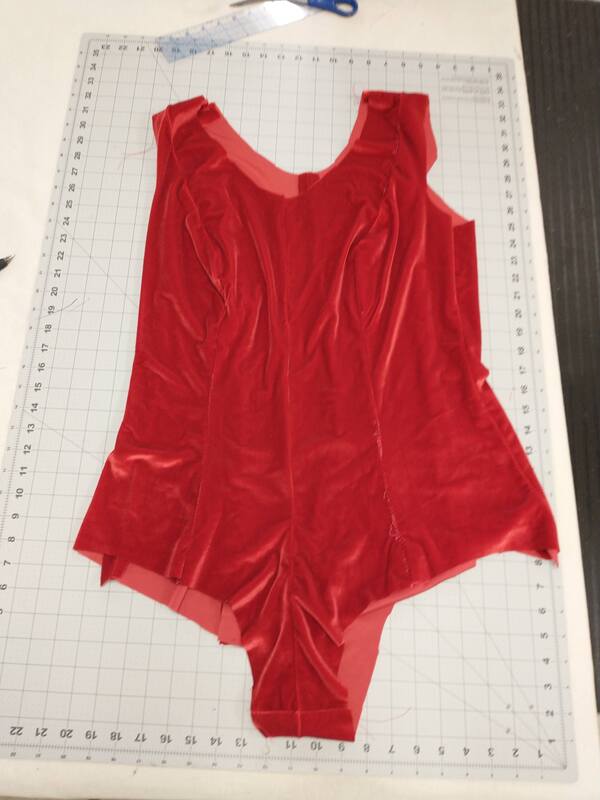
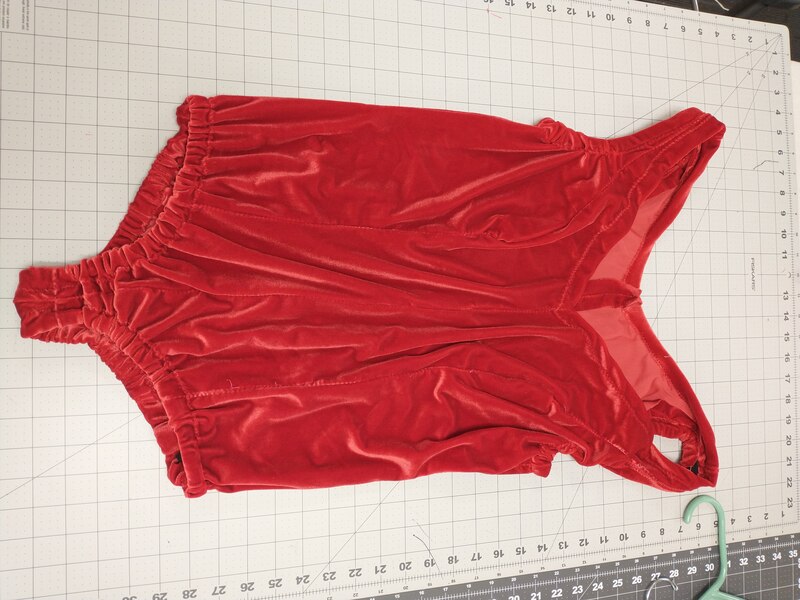
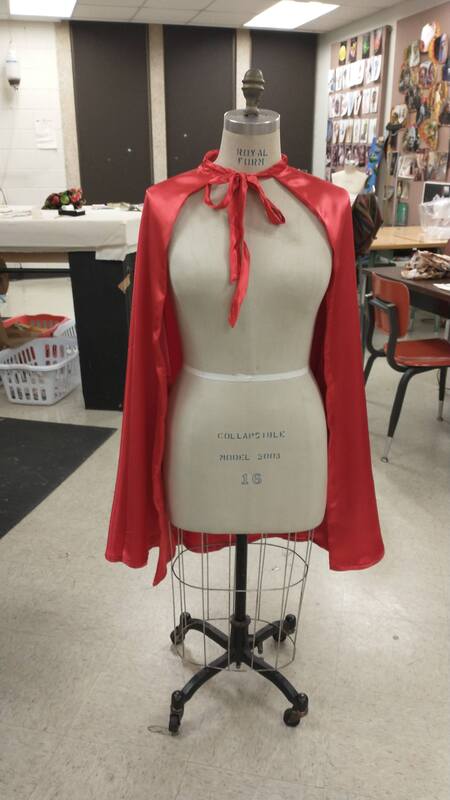
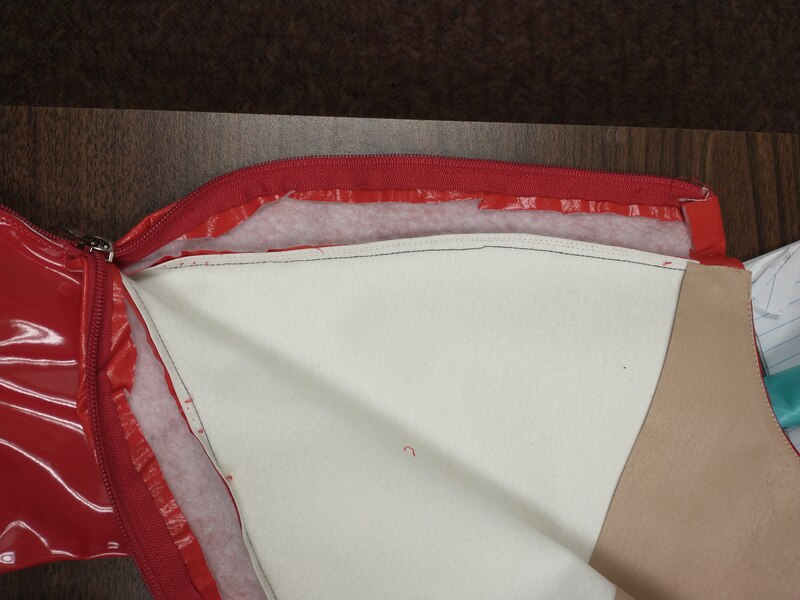
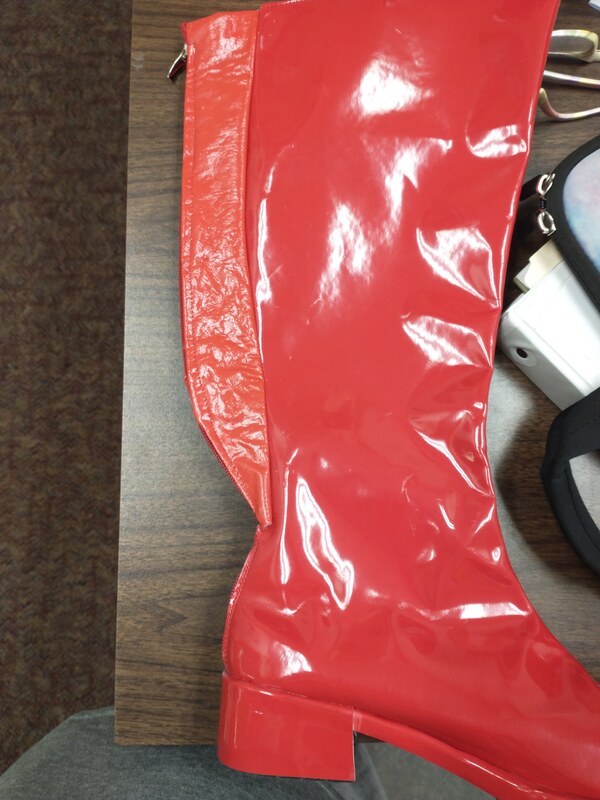
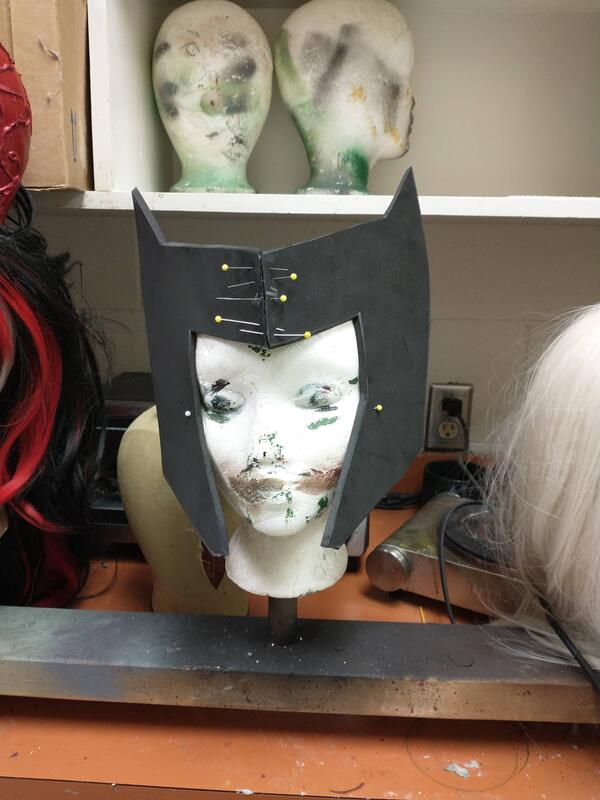
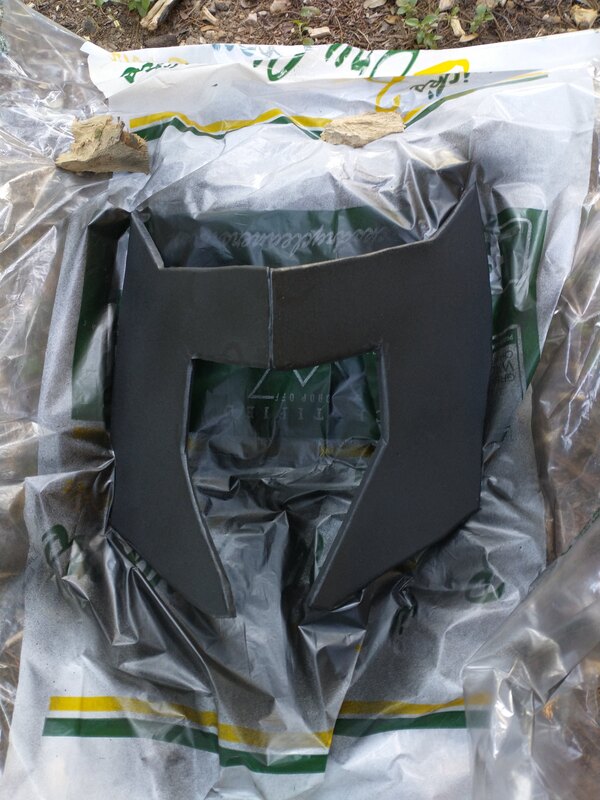
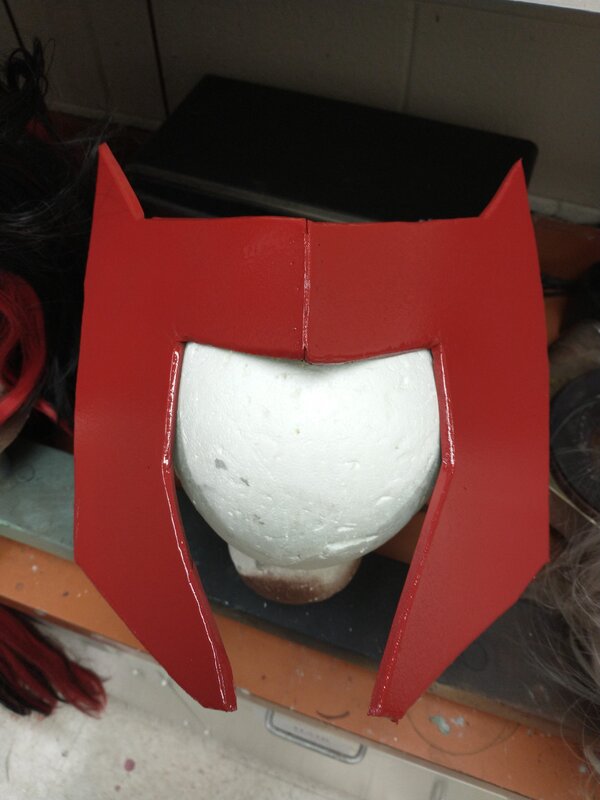
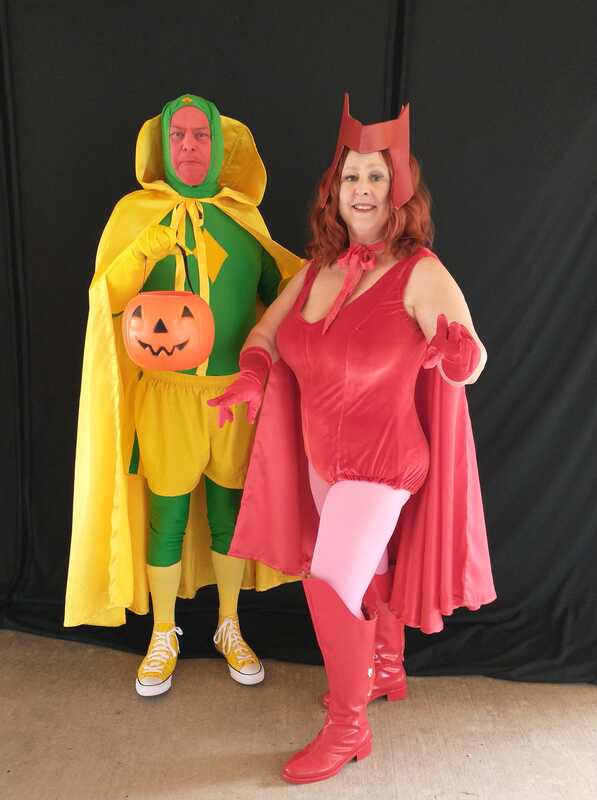
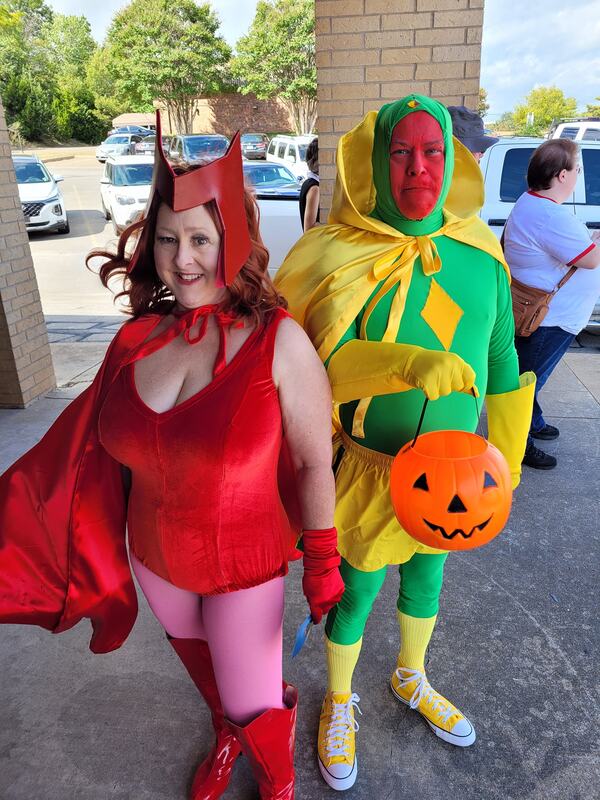
Rob and I are just in love with WandaVision. When the Halloween episode aired I just knew we had to do that for our next cosplay. Our anniversary is on Valentine's Day so I got us these super cute matching T-shirts. Since I'm done with both the musical and the opera costumes way ahead of schedule, I decided to start working on this project during Spring Break. I have never in my 20+ years of working at MCC, not had to work on the opera during Spring Break, so I am very excited that I get to do this so soon. Hopefully we will have conventions again soon. If Greater Austin Comic Con happens, we'll be ready. Vision As you know, Amazon is my go to place these days for online shopping. I was able to order most of the things I needed for Vision's costume. The Sentai suit will need to have it's face cut out and it's hands and feet cut off. I'll have to make his cape with the stand up collar out of 5 yds of yellow poly satin that I got from Amazon. Then I can use a lycra scrap for the diamond on his chest. I'll use the scraps from the Sentai suit to make the green stripe down the sides of the shorts. I have a ton of plastic gemstones for his mind stone too. Easy peasy. Production ProcessVision's suit was super simple to do. I cut the hands and feet off of the morph suit, since he had shoes and sock and gloves that went over it and didn't need the extra layer. I cut a hole in the face and used some fabric from the feet to widen the top of the forehead to give the mindstone a place to be glued to. Then I hemmed the opening with a channel for elastic so it would fit snugly around his face. I used some scrap yellow lycra to make the patch for the chest and used stitch witchery to heat set it in place and then zigzagged around the edges to keep it there. I used E6000 to glue the mindstone to the morph suit. Then all I had to do was make the cape out of the poly satin that I bought. I used boning in the collar to keep it upright. Scarlet WitchI have gained 40 lbs during the pandemic and as we all know, plus sized anything is hit and miss, so I decided pretty early on that I would need to make the bodysuit. I chose red stretch velvet which I will back with coutil so that it keeps it's structure like a corset.. I'm using the Yana Han cosplay pattern for that. It calls for lacing up the back like a corset, but Rob is lousy with lacing, so I'm putting a zipper up the back instead. On the show Wanda only wears pink tights underneath, I'll probably wear it over flesh colored tights too. My calves have always been too big for most boots, so I found boots that were shorter and much lower in the back, hopefully they'll fit. I'm also making the cape and the headpiece. The headpiece will be out of L200 foam and painted red. I found a great tutorial on you tube, which I will share here. I'll either wear my Nightmare Nurse or my Squirrel Girl wig, even though my hair is currently dyed red. Check back during Spring Break for more updates! Production ProcessI did the first mock up for my body suit during spring break. That's the first and second set of photos. The legs were cut way too high and the neckline was way too low. Also, the pattern didn't have any straps to keep the bodice up. So I had to alter the pattern a lot. My second attempt was out of muslin, and even though I made the legs lower and the neckline higher, it still wasn't working. I definitely needed straps. That's the third row of photos. I ended up draping a new pattern based on the design lines of the Yana Han pattern. At that point I gave up on the idea of backing it with coutil and just went with buying a new bra and a pair of Spanx. Also, I lost the 40 lbs I'd gained during the pandemic, so that helped a lot. That's the fourth row of photos. At that point I felt pretty confident that my new pattern would work so I went ahead and cut it out of my four way stretch fabric, nixxed the zipper up the back and the hook and eye closure in the crotch and just sewed it together. I put in the elatic at the legs like the pattern called for, and also put in elastic at the armholes. I thought I might need elastic at the neckline, but as it turned out, I didn't. That's the fifth row of photos. In the mean time I made the cape. Disappointingly, even after losing the 40 lbs, I still couldn't zip up the boots, so I removed the zippers up the back and added in a couple of inches of red vinyl on either side and then put the zippers back in. Now I don't even have to unzip them to slip them on. I did the headpiece last. I used all my experience on She Kills Monsters, to do a much better job on it than I would have had I tried to do it before. I learned so much from Jason on that show. So I traced the pattern off the screen on the youtube video and cut the shapes out of EVA foam. I glued them together with contact cement and then painted them with two coats of plastidip. I used gray primer, then two coats of gloss red and two coats of glossy clear coat to protect the paint job. I used spray adhesive to back to foam with pink felt and used wig pins to attach it to my wig as per the instructions in the video. Gallery
1 Comment
1/2/2023 04:28:07 am
Nice content i am very happy to read your content keep sharing content like this.
Reply
Leave a Reply. |
CategoriesArchives
July 2024
|


 RSS Feed